Advertisement
Quick Links
Advertisement

Related Manuals for Axxess ASWC


Summary of Contents for Axxess ASWC
-
Page 1: Installation Manual
AXXESS STEERING WHEEL CONTROL INTERFACE INSTALLATION MANUAL... -
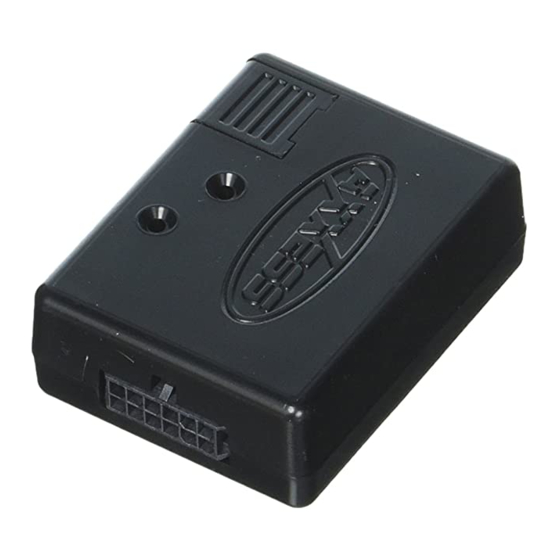
Page 2: What's Included In The Package
The ASWC is also updatable using the Axxess website (www.axxessinterface.com) and the USB-CAB update cable. If there is an update made to the ASWC there is no need to send inventory back, or ask for the latest version, you can update it yourself and save time and money. - Page 3 10 seconds to start manual programming mode 3) The slide cover for the USB update port – open this up to reveal the USB update port. Using the USB-CAB update cable and the Axxess website you can make sure you always have the latest, updated inventory.
- Page 4 1) Connect the Black wire of the ASWC (pin 6) to ground. You may use the same grounding point as the aftermarket radio. 2) Connect the Red wire of the ASWC (pin 12) to a 12 volt accessory wire, one that turns on and off with the ignition key.
- Page 5 6) The led will pause for another 2 seconds then flash up to 9 times. Again make a note of how many flashes. 7) This is the end of the auto detection stage. If the ASWC detected the vehicle and the radio successfully the led will light up solid red. 8) Make sure the steering wheel control buttons function correctly in the vehicle and enjoy your radio.
- Page 6 6) After the 2 seconds there will be a series of 7 flashes, some short and some long. 7) The led will pause another 2 seconds then a series of 9 flashes. 8) This is the end of the auto detection stage. If the ASWC detected the vehicle and the radio successfully the led will light up solid red. 9) Make sure the steering wheel control buttons function correctly in the vehicle and enjoy your radio.
- Page 7 5th led flash is pin #8 (Black/Green) on the ASWC 6th led flash is pin #11 (Gray/Blue) on the ASWC 7th led flash is pin #1 (Pink) on the ASWC If during the auto detect sequence there was no long led flash, just short ones, the ASWC was not connected to the correct wire in the vehicle or the incorrect wire was used on the ASWC. Double check connections and the vehicle information sheet to verify that you have the correct wires con- nected. The 2nd set of led flashes represents what brand radio the ASWC believes it is connected to.
- Page 8 If the next function on the list is not on the steering wheel press and hold the Volume Up button for 1 second till the led comes on then release the button. This tells the ASWC that the function is not avail- able and moves on to the next function.
- Page 9 2) After the 18th button is programmed or skipped the led will go back to the slow constant blink mode. * If at any time you get lost or mess up hold down the reset button on the ASWC for more then 10 seconds. This will restart the manual programming. Go back to step #4 and start again.
- Page 10 6th led flash is for Pioneer and Jensen 7th led flash is for Alpine* 8th led flash is for Visteon 9th led flash is for Valor * Note: If the ASWC flashes 7 times and you do not have an Alpine radio connected to it that means that the ASWC did not see any radio connected. Verify the 3.5mm connector is connected to the SWC input on the radio. 12) Make sure the number of flashes match what radio you have installed. 13) If the led flashes match the radio then hold down the Volume Down button until the led goes solid red. 14) Programming for the vehicle and the radio is now complete. Test out the steering wheel control functions to make sure it works correctly.
-
Page 11: Remapping Buttons
7) Go enjoy your radio. Remapping the SWC Buttons Let’s say you have the ASWC programmed to your vehicle and your radio and you want to change the button assignment for the steering wheel controls. For instance you would like Seek Up to be Mute. - Page 12 5) Follow the list below in order however pushing the steering wheel control button you want for the function below. If you want to skip a command press the Volume Up on the steering wheel, this will tell the ASWC to skip the command and go to the next one. 1. Volume Up 2.
- Page 13 6) After the last button is programmed on your steering wheel (you do not have to go through the whole list), hold down the Volume Up button for at least 10 seconds then the led will go out. After the 18th button is programmed or skipped the led will go out and the remapping is completed. If for any reason after remapping the steering wheel controls you want to go back to the original steer- ing wheel control settings, follow these steps: 1) Within the first 20 seconds of turning the ignition on. Press and hold down the original Volume...
Need help?
Do you have a question about the ASWC and is the answer not in the manual?
Questions and answers