Table of Contents

Related Manuals for Stevens AeroModel PuddleBug 2.4


Summary of Contents for Stevens AeroModel PuddleBug 2.4
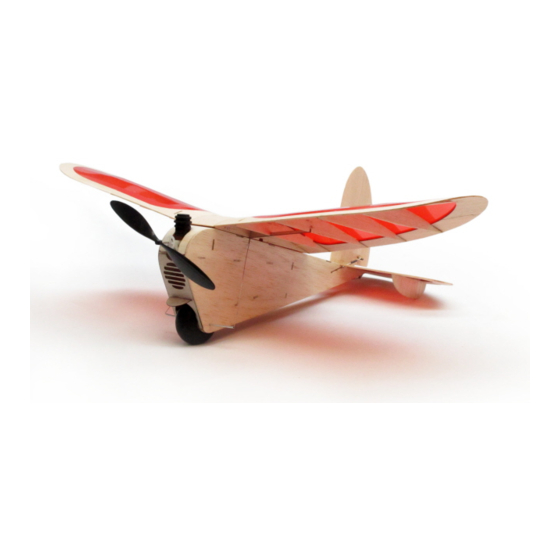
- Page 1 Micro RC Model for Spektrum / ParkZone 2.4 systems Length 10.5 inches | Span 17.75 inches | Wing Area 71 inches | Flying Weight 1.1 oz. Version 01/06/2010 PuddleBug © 2010 Stevens AeroModel all rights reserved. Page 1 of 13...
-
Page 2: Product Support
Product Support WARRANTY Stevens AeroModel guarantees this kit to be free from defects in both material and workmanship at the date of purchase. This warranty does not cover any component parts damaged by use or modification. In no case shall Stevens AeroModel’s liability exceed the original cost of the purchased kit. Further, Stevens AeroModel reserves the right to change or modify this warranty without notice. -
Page 3: Kit Contents
Covering Iron and Heat Gun Small Needle Nose Pliers Small Round “Rat-Tail” file. 1 in. x 2 in. length sticky back velcro 3/4 in. wide clear tape 1 Roll AeroLITE (solite) PuddleBug © 2010 Stevens AeroModel all rights reserved. Page 3 of 13... - Page 4 General Assembly Instructions Thank you, for purchasing this Stevens AeroModel PuddleBug™. An indoor micro RC model developed for the popular Spektrum and ParkZone 2.4ghz micro receiver/esc/servo “brick” or “puck” systems. This model has been developed and manufactured using state of the art CAD/CAM systems and features a unique interlocking construction process that, when compared to traditional methods found in other model aircraft kits, save countless hours of measuring, cutting, sanding, and fitting.
-
Page 5: Wing Construction
Glue. Install S2 and S3 spars to right and left wing panels within notches at wing frame and ribs R2, R3, R4, and R5. PuddleBug © 2010 Stevens AeroModel all rights reserved. Page 6 of 13... - Page 6 Wing root edge should align with tabs in ribs R2 and fit flush with edge of center section sheeting. Once satisfied with alignment, glue. Edge of W1 follows centerline of ribs R1. PuddleBug © 2010 Stevens AeroModel all rights reserved. Page 7 of 13...
- Page 7 We suggest AeroLITE covering film, available at StevensAero.com Cover only the top surface of the wing. PuddleBug © 2010 Stevens AeroModel all rights reserved. Page 8 of 13...
-
Page 8: Fuselage Construction
Fit left fuselage side to assembly. Square axle at fuselage side, then bond to inside structure on work table then glue at all surface of fuselage as illustrate on plan. contact points. PuddleBug © 2010 Stevens AeroModel all rights reserved. Page 9 of 13... - Page 9 Bond ply fender F11 to F10 above wheel Install F5 to the top of the fuselage assembly opening as indicated on plan sheet. then glue. PuddleBug © 2010 Stevens AeroModel all rights reserved. Page 10 of 13...
- Page 10 F9 and position this edge flat against of F8 to match radius/relief in grill for tire. leading edge of F5 atop F6. First, glue F9 where it contacts F5. PuddleBug © 2010 Stevens AeroModel all rights reserved. Page 11 of 13...
-
Page 11: Final Assembly
2 of 2 as a guide. Locate parts V3 Strakes to underside of H4 in Horizontal Stabilizer and glue. Trim mounting post from motor gear box [PKZ3624] prior to installation. PuddleBug © 2010 Stevens AeroModel all rights reserved. Page 12 of 13... - Page 12 Mount tire in base of fuselage with 1/16 in. dia. aluminum tube axle. DO NOT GLUE AXLE IN PLACE as this will allow removal of Trexler tire for inflation/deflation before and after flying sessions. PuddleBug © 2010 Stevens AeroModel all rights reserved. Page 13 of 13...
Need help?
Do you have a question about the PuddleBug 2.4 and is the answer not in the manual?
Questions and answers