Table of Contents
Advertisement
Quick Links
Advertisement
Table of Contents

Related Manuals for Marshall Electronics AR-AM4


Summary of Contents for Marshall Electronics AR-AM4
-
Page 1: Marshall Electronics
Marshall Electronics AR-AM4 Analog Audio Monitor Operating Instructions... - Page 2 This page left intentionally blank...
-
Page 3: Table Of Contents
Front Panel Features ..........................7 Rear Panel Features ...........................8 Basic Operation ..........................9 Overview................................9 Volume Control ....................................9 Channel Select ....................................9 Balance Control ....................................9 Headphone Output..................................9 Specifications............................10 AR-AM4 Audio Monitor..........................10 Input / Output ..............................11 Warranty ............................12... - Page 4 This page left intentionally blank...
-
Page 5: Product Overview
Audio Monitor Installation The AR-AM4 audio monitor can be installed in an EIA-standard 19-inch rack. At only 6” inches deep, the AR-AM4 can also be installed in many shallow racks cases. Alternately, the AR-AM4 audio monitor can be placed on any level surface. -
Page 6: Quick Start Guide
Quick Start Guide 1. Connect an Audio Source Connect an audio source to any of the 4 pairs of rear panel input connectors. We recommend the use of the Balanced XLR female connectors using a balanced audio signal with a nominal level of +4dBu. 2. -
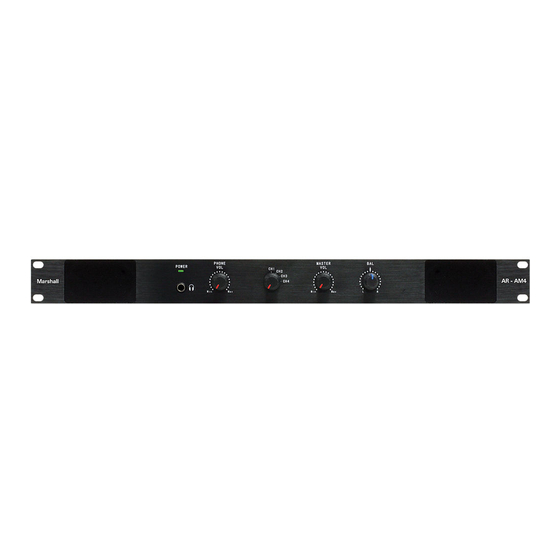
Page 7: Front Panel Features
Front Panel Features Stereo Loudspeakers Input Select The stereo loudspeakers are always active regardless of connected headphones. Rotate knob to switch between input channels 1 through 4. Power Indication LED The power LED will illuminate green when power is Master Volume Control supplied to the audio monitor. -
Page 8: Rear Panel Features
Rear Panel Features Power Input Connector Use only the included power supply to power the AR-AM4 audio monitor. Audio Outputs XLR- 3pin male connector. Balanced audio out is same level as XLR audio input. This is an active output from the selected Audio Input. -
Page 9: Basic Operation
Basic Operation Overview Basic operation of the AR-AM4 Audio Monitor involves connecting audio sources, and monitoring through the stereo speakers. The user can choose between listening to the amplified internal speakers, or headphones. Audio volume can be adjusted from front panel controls. -
Page 10: Specifications
Specifications AR-AM4 Audio Monitor ■ ACOUSTIC Speaker Power Output: Left/Right RMS @ 4 : 3W RMS, 5W Peak Peak Acoustic Output: 99 dB SPL @ .1m Headphone Power Output: 150 mW ■ ELECTRICAL Power Consumption: Voltage Requirement: 29VDC Included Power Supply AC Input: 100V-240V, 1.0A, 50-60Hz... -
Page 11: Input / Output
Specifications (continued) Input / Output ■ ANALOG STEREO INPUT (x 4) XLR 3-pin Female +4dBu nominal level (balanced differential) ■ ANALOG STEREO OUTPUT (Selected) Outputs: 2 x Analog (Balanced XLR) Reference: Active balanced from selected Audio Input... -
Page 12: Warranty
Warranty Marshall Electronics warranties to the first consumer that this AR-AM4 Audio Monitor will, under normal use, be free from defects in workmanship and materials, when received in its original container, for a period of one year from the purchase date.
Need help?
Do you have a question about the AR-AM4 and is the answer not in the manual?
Questions and answers