
Related Manuals for Marshall Electronics V-LCD70P-HDMI


Summary of Contents for Marshall Electronics V-LCD70P-HDMI
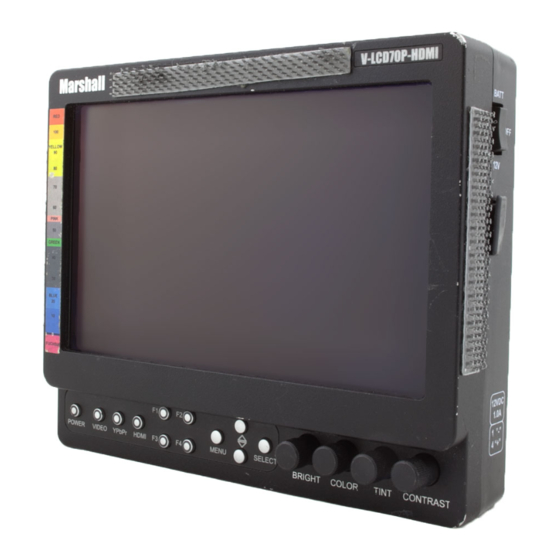
- Page 1 Marshall Electronics V-LCD70P-HDMI 7” High Resolution Field Monitor Operating Instructions...
- Page 2 This page intentionally left blank.
-
Page 3: Table Of Contents
Contents Product Overview............................... 4 Features................................4 Installation and Initial Setup ........................... 5 Unpacking..................................5 Mounting.................................... 5 Changing the Battery Adapter............................5 Connections and Power-On............................. 5 Front and Side Panel Features ........................6 Power Button..................................6 Menu Navigation Buttons ..............................6 User-Definable Function Buttons............................ -
Page 4: Product Overview
Focus-Assist, False Color filter, Aspect ratio settings, underscan mode, blue-only mode, monochrome mode, and H/V delay are a few of the advanced features which make the V-LCD70P-HDMI at home in any broadcast environment. The HDMI Input allows display of incoming formats in the RGB or YCbCr color space. Pixel-to-Pixel mode also allows native display of any incoming image format. -
Page 5: Installation And Initial Setup
The monitor will draw no more than 1.0 Amps at 12 Volts in operation (12 Watts). Connect the required cables for video signal input and output. (Power must be applied to the V-LCD70P-HDMI for the active loop-through outputs to be activated.) All BNC connectors are rated at 75 . -
Page 6: Front And Side Panel Features
Front and Side Panel Features Power Button Image Adjustment Knobs Use the power button to toggle between ON and Use the image adjustment knobs to adjust color STANDBY modes. In the STANDBY state, the LED saturation, brightness and contrast of the image. on the button will illuminate bright green. -
Page 7: Rear Panel Features
Pin 4: +12VDC Connect HDMI Sources here. Accepted input formats can be found on page 8. Battery Adapter The V-LCD70P-HDMI can be powered from a variety Power Input of batteries. Several user-interchangeable battery Connect 12VDC to the 4-Pin XLR power input adapters are available. -
Page 8: Compatible Input Formats
Compatible Input Formats Format Composite YPbPr HDMI ☺ NTSC ☺ ☺ 480i ☺ 576i ☺ ☺ 480p / 59.94 ☺ ☺ 576p / 50 ☺ ☺ 720p / 60 ☺ ☺ 720p / 59.94 ☺ ☺ 720p / 50 ☺ ☺... -
Page 9: On-Screen Menu
On-Screen Menu STRUCTURE OVERVIEW Color Temperature D93, D65, D55, User RGB Bias and Gain R, G, B Bias (0-100) / R, G, B Gain (0-100) Check Field Off, Mono, Blue, Green, Red Ratio Full Screen, 4:3, 16:9 Video Configuration Pixel-to-Pixel Off, On H/V Delay Off, H &... -
Page 10: Video Configuration Submenu
Main Menu On-Screen Menu (continued) VIDEO CONFIGURATION SUBMENU Video Configuration Submenu ■ Color Temperature Use this setting to choose one of three color temperature presets: • D55 (5500K) • D65 (6500K) • D93 (9300K) • USER (Adjustable Color Bias and Gain) ■... -
Page 11: Check Field
Disable Blue Check Field mode. ■ Aspect Ratio Settings Use to switch between Full Screen, 4:3 and 16:9 aspect ratios. As the V-LCD70P-HDMI monitor has a native resolution of 800 x 480 RGB pixels, incoming images are automatically scaled to fit the screen: •... -
Page 12: Pixel-To-Pixel Mode
On-Screen Menu (continued) VIDEO CONFIGURATION SUBMENU (continued) ■ Pixel-to-Pixel Mode Use this setting to enable Pixel-to-Pixel mode. This mode bypasses the monitor’s internal scaling function and displays incoming images in their native resolution and aspect ratio, with a one-to-one mapping: •... -
Page 13: Marker Configuration Submenu
On-Screen Menu (continued) MARKER CONFIGURATION SUBMENU Marker Configuration Submenu ■ Markers Use this setting to enable or disable all on-screen markers. This setting affects the center marker, full screen markers, 16:9 markers, and 4:3 markers. ■ Center Marker Use this setting to display a center marker on the screen. ■... -
Page 14: 4:3 Markers
On-Screen Menu (continued) MARKER SETUP SUBMENU (continued) ■ 4:3 Markers / Full Screen Markers Use this setting to superimpose one of 5 markers on the screen when in 4:3 or Full Screen mode. This setting is disabled when the aspect ratio is set to 16:9, or when Pixel-to-Pixel, Underscan, or H/V Delay is enabled. •... -
Page 15: Filter Configuration Submenu
On-Screen Menu (continued) FILTER CONFIGURATION SUBMENU ■ False Colors This monitor has a false color filter to aid in the setting of camera exposure. As the camera Iris is adjusted, elements of the image will change color based on the luminance or brightness values. This enables proper exposure to be achieved without the use of costly, complicated external equipment. -
Page 16: Filter Configuration Submenu
On-Screen Menu (continued) FILTER CONFIGURATION SUBMENU (continued) ■ Peaking Filter (Focus assist) The Peaking Filter is used to aid the camera operator in obtaining the sharpest possible picture. When activated, all color will be removed from the display and a black-and-white image will remain. The internal processor will display RED color on the screen where sharp edges appear. -
Page 17: System Configuration Submenu
On-Screen Menu (continued) SYSTEM CONFIGURATION SUBMENU System Configuration Submenu ■ Input Format OSD Use this option to enable on-screen display of input/format status in the upper-left corner of the screen. ■ User-Definable Function Buttons Use the Function on F1, F2, F3 and F4 menu items to define each function button on the front panel of the monitor. The following options are available for each button: •... -
Page 18: Specifications
Specifications ■ PANEL ■ BATTERY ADAPTER Screen Size 7.0” Diagonal Display Area (h x v) 152.40 x 91.44 mm Field-Interchangeable Battery Adapter Options Aspect Ratio 15:9 (16:9 / 4:3 Selectable) (Sold Separately): Pixels 800 x 480 Color Depth 18-bit (262,144 Colors) Marshall Battery Battery... -
Page 19: Maintenance
This warranty is extended to the first consumer only, and proof of purchase is necessary to honor the warranty. If there is no proof of purchase provided with a warranty claim, Marshall Electronics reserves the right not to honor the warranty set forth above. - Page 20 Marshall Electronics, Inc. 1910 East Maple Ave. El Segundo, CA 90245 Tel: (800) 800-6608 / (310) 333-0606 • Fax: 310-333-0688 2009-0311b www.LCDRacks.com • sales@lcdracks.com...
Need help?
Do you have a question about the V-LCD70P-HDMI and is the answer not in the manual?
Questions and answers