Table of Contents
Advertisement
Advertisement
Table of Contents

Subscribe to Our Youtube Channel
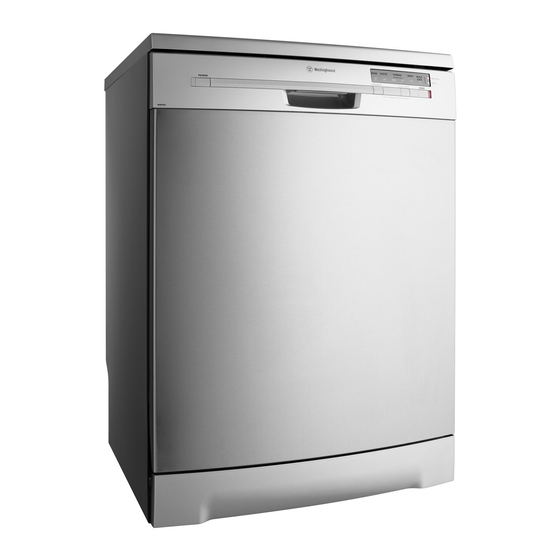
Summary of Contents for Westinghouse WDF901
- Page 1 Dishwasher WDF901...
-
Page 2: Table Of Contents
2 westinghouse Electrolux. Thinking of you. Westinghouse. We are part of the Electrolux family. Share more of our thinking at www.electrolux.com Contents Safety information Care and cleaning Product description What to do if… Control panel Technical data Use of the appliance... - Page 3 3 Installation – if the mains cable or water hoses are damaged, • Make sure that the appliance is not dam- – if the control panel, worktop or plinth aged because of transport. Do not con- area are damaged so that you can get nect a damaged appliance.
-
Page 4: Product Description
4 westinghouse Product description Upper basket Rating plate Air vent and water hardness dial (the dial Filters is only functional for dishwashers with a Lower spray arm water softener) Upper spray arm Detergent dispenser Worktop Rinse aid dispenser... -
Page 5: Control Panel
5 Control panel On/off button (POWER) Program selection button (PROGRAM) Button lock button (Button LOCK) Start button (START) Start indicator light Indicator lights Button lock indicator light Program indicator lights Indicator lights WASHING The indicator light comes on when the washing program op- erates and goes off when the washing program is completed. -
Page 6: Use Of The Appliance
6 westinghouse Use of the appliance Refer to specified instructions for each step 3. Set the correct washing program for the of the procedure. type of load and soil. 1. Fill the rinse aid dispenser with rinse aid. 4. Fill the detergent dispenser with the cor- 2. -
Page 7: Loading Cutlery And Dishes
7 Turn the rinse aid dial to increase or decrease Wash hands to remove any residue of the dosage. rinse aid from skin. – Increase the dosage if there are water droplets or limescale on the dishes. – Decrease the dosage if there are streaks, whitish stains or bluish layers on the dishes. -
Page 8: Use Of Detergent
8 westinghouse Adjustment of the height of the upper basket If you put large plates in the lower basket, first move the upper basket to the upper position. If the points of the knives or other thin items come out from the bottom of the basket, they... -
Page 9: Rinse Aid Dispenser
9 Do not use more than the correct quan- tity of detergent to decrease pollution. Follow these steps to fill the detergent dis- penser: 1. Open the lid of the detergent dispenser. 5. Close the lid of the detergent dispenser. -
Page 10: Select And Start A Washing Program
10 westinghouse Select and start a washing program 1. Close the appliance door. • The program continues from the point of 2. Press the on/off button. interruption. 3. Make sure that the appliance is in setting Cancelling a washing program mode. -
Page 11: Washing Programs
11 Washing programs Washing programs Program Degree of soil Type of load Program description partial load (to be 1 cold rinse (to prevent food RINSE completed later in scraps to bond). the day). Detergent is not necessary with this program. -
Page 12: Care And Cleaning
12 westinghouse Care and cleaning 5. Hold the coarse filter (A) by the handle Warning! Switch the appliance off before you clean it. with the hole. 6. Remove the coarse filter from the micro- Cleaning the filters filter. 7. Remove the flat filter (C) from the bottom Caution! Do not use the appliance of the appliance. - Page 13 13 1. Disconnect the mains plug from the If not possible, empty the appliance and mains socket. close the door. Disconnect the water inlet 2. Close the water tap. hose and remove water from the water inlet 3. Keep the door open to prevent unpleas- hose.
-
Page 14: Troubleshooting
14 westinghouse What to do if… The appliance does not start or stops during if...'. If you cannot find a solution to the prob- operation. lem yourself, contact your dealer or the Cus- If there is a fault, first try to find a solution to tomer Care Centre. -
Page 15: Technical Data
15 Technical data Dimensions Width cm Height cm Depth cm 63,5 Electrical connection - Voltage - Information on the electrical connection is given on the rating plate Overall power - Fuse on the inner edge of the dishwasher door. -
Page 16: Water Connection
16 westinghouse Water connection Remove the sink plug when the appliance Water inlet hose drains the water to prevent that the water Connect the appliance to a cold water sup- goes back into the appliance. ply. If you connect the water drain hose to a trap... -
Page 17: Environment Concerns
17 type of supply on the rating plate match The mains plug must be accessible after that of the supply where the appliance is the appliance has been installed. to be installed. Never unplug the appliance by pulling on The fuse rating is also to be found on the the cable. -
Page 18: Warranty
18 westinghouse Warranty als and workmanship for the Warranty Period. 4. During the Warranty Period Electrolux or FOR SALES IN AUSTRALIA AND NEW ZEA- its Authorised Service Centre will, at no LAND extra charge if your appliance is readily APPLIANCE: AEG-ELECTROLUX... - Page 19 19 – The Appliance's serial number or war- extent permitted by law, the liability of ranty seal has been removed or de- Electrolux (if any) arising out of or in re- faced. lation to the Appliance or any services –...
- Page 20 117956690 - 00 - 122008...


Need help?
Do you have a question about the WDF901 and is the answer not in the manual?
Questions and answers