Table of Contents
Advertisement
Quick Links
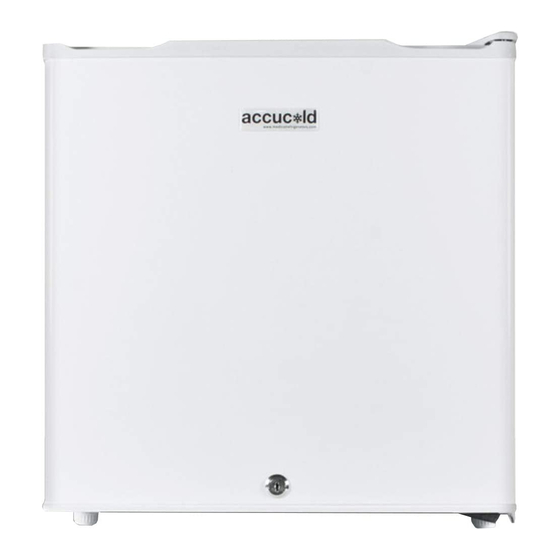
COMPACT FREEZER
BEFORE USE, PLEASE READ AND FOLLOW ALL SAFETY RULES
AND OPERATING INSTRUCTIONS. KEEP THIS MANUAL IN A SECURE LOCATION.
Write Serial Number (on back of unit) here:
_______________________________
FS21L
Model No.
Instruction Manual
Felix Storch, Inc.
770 Garrison Avenue
Bronx, New York 10474
www.summitappliance.com
Advertisement
Table of Contents

Summary of Contents for Summit FS21L
- Page 1 COMPACT FREEZER FS21L Model No. Instruction Manual BEFORE USE, PLEASE READ AND FOLLOW ALL SAFETY RULES AND OPERATING INSTRUCTIONS. KEEP THIS MANUAL IN A SECURE LOCATION. Felix Storch, Inc. Write Serial Number (on back of unit) here: 770 Garrison Avenue...
-
Page 2: Table Of Contents
Reversing the Door Swing of Your Freezer ..........8 Locking the Freezer .................. 9 Wiring Diagram ....................9 Troubleshooting ....................10 Limited Warranty ..................... 11 Technical Information Model Number: FS21L Capacity: 1.42 cubic feet Electrical Rating: 110V AC / 60Hz Input Power: 87 watts... -
Page 3: Important Safeguards
IMPORTANT SAFEGUARDS Before the freezer is used, it must be properly positioned and installed as described in this manual, so read the manual carefully. To reduce the risk of fire, electrical shock or injury when using the freezer, follow basic precautions, including the following: ... - Page 4 Use two or more people to move and install the freezer. Failure to do so can result in back or other injury. To ensure proper ventilation for your freezer, the front of the unit must be completely unobstructed. Choose a well-ventilated area with temperatures above 60°F (16°C) and below 90°F (32°C).
-
Page 5: Location Of Parts
LOCATION OF PARTS INSTALLATION PLACEMENT The freezer should not be placed in direct sunlight or close to heat sources such as oven, grill, radiator, etc. Also avoid locations where the unit will be exposed to moisture or can be easily splashed. ... -
Page 6: Electrical Connection
When installing the unit on a table or countertop, keep the following in mind: Surface (countertop) is flat, level, and strong enough to support the unit once it is fully loaded. Surface is wide enough to accommodate the unit without any overhang. ... -
Page 7: Operation
OPERATION TEMPERATURE ADJUSTMENT The cabinet temperature is controlled by the thermostat located at the back of the unit in the lower left corner. Rotate the dial to adjust the cabinet temperature. The setting O indicates that the device is turned off. Turning the temperature control clockwise from this setting turns the device on automatically, with setting 7 resulting in the coldest inside temperature. -
Page 8: Normal Phenomena
Food should not touch the rear wall of the freezer. An unpleasant odor inside the freezer is a sign that something is wrong with the food or that your freezer needs cleaning. Odors may be eliminated or reduced by washing the interior of the freezer with a mild solution of water and vinegar. -
Page 9: Moving Your Freezer
The unit is delivered to you with the door opening from the left side. Should you desire to reverse the opening direction, you can refer to the diagram below. If you have a problem, call SUMMIT Customer Service at 1-800-932-4267. -
Page 10: Locking The Freezer
LOCKING THE FREEZER Your freezer comes with two keys and a lock at the bottom center of the door. Turn the key a quarter-turn to the left to lock the door, and a quarter-turn to the right to unlock it. Keep keys in a secure place. -
Page 11: Troubleshooting
The gasket is dirty. The shelf is out of position. If your freezer shows other symptoms than those described above, or if you have checked all items listed as the cause and the problem still exists, then call SUMMIT® Customer Service at 1-800-932-4267... -
Page 12: Limited Warranty
LIMITED WARRANTY ONE-YEAR LIMITED WARRANTY Within the 48 contiguous United States, for one year from the date of purchase, when this appliance is operated and maintained according to instructions attached to or furnished with the product, warrantor will pay for factory-specified parts and repair labor to correct defects in materials or workmanship. Service must be provided by a designated service company.


Need help?
Do you have a question about the FS21L and is the answer not in the manual?
Questions and answers