Table of Contents
Advertisement
Quick Links
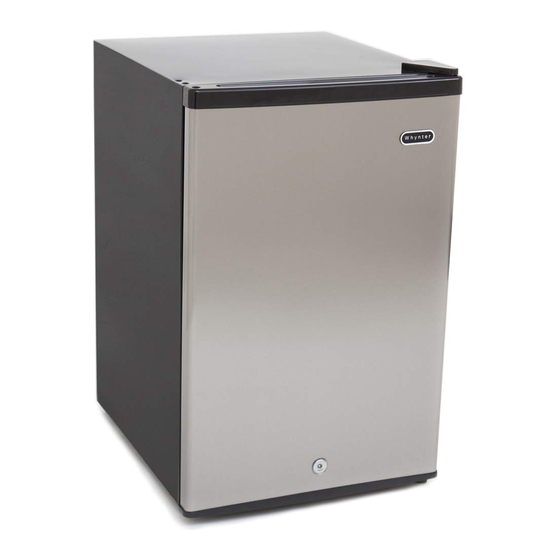
COMPACT FREEZER
Models
CM405
FS407L
FS407LBI
FS408BL FS408BLBI
CM411L
CM421BL
Owner's Manual
BEFORE USE, PLEASE READ AND FOLLOW
ALL SAFETY RULES AND OPERATING INSTRUCTIONS
FELIX STORCH, INC.
Write the Serial Number here:
770 Garrison Avenue
_________________________
Bronx, NY 10474
www.summitappliance.com
Advertisement
Table of Contents

Related Manuals for Summit FS408BL


Summary of Contents for Summit FS408BL
- Page 1 COMPACT FREEZER Models CM405 FS407L FS407LBI FS408BL FS408BLBI CM411L CM421BL Owner's Manual BEFORE USE, PLEASE READ AND FOLLOW ALL SAFETY RULES AND OPERATING INSTRUCTIONS FELIX STORCH, INC. Write the Serial Number here: 770 Garrison Avenue _________________________ Bronx, NY 10474 www.summitappliance.com...
-
Page 2: Important Safeguards
IMPORTANT SAFEGUARDS Your safety and the safety of others are very important. We have provided many important safety messages in this manual and on your appliance. Always read and obey all safety messages. This is the Safety Alert Symbol. This symbol alerts you to potential hazards that can kill or injure you and others. - Page 3 NOTE: Models FS407L and FS408BL (no “BI” suffix) are not designed to operate in enclosed spaces. When placing your unit, make sure you allow adequate airflow around it, at least 4” on both sides, at the back and at the top.
-
Page 4: Table Of Contents
Table of Contents Important Safeguards ......................1 - 2 Location of Parts ........................3 Technical Information ......................4 Installation Instructions ....................... 4 - 6 Before Using Your Freezer ..................4 Installing the Freezer ....................4 - 5 Electrical Connection / Extension Cord ............... 5 Reversing the Door Swing / Door Handle Installation .......... -
Page 5: Technical Information
Models FS407L and FS408BL: When installing, allow at least 5 inches of space at the back and sides of the unit, which will allow the proper air circulation to cool the compressor and condenser. -
Page 6: Electrical Connection / Extension Cord
possible, leave extra space on the hinge side so the door can open wider than its width (to make it easier to remove storage bins). Locate the unit away from direct sunlight and sources of heat (stove, heater, radiator, etc.). -
Page 7: Reversing The Door Swing / Door Handle Installation
Reversing the Door Swing: Figure 1 (Default position) Figure 2 (After door reversal) 1. Upper hinge cover 6. Screws 2. Screws 7. Hole cover 3. Upper hinge 8. Cabinet 4. Door 9. Pin cap 5. Lower door hinge This freezer can be opened from either the right side or the left. By default, the door hinge is on the right side. -
Page 8: Operating Your Freezer
Operating Your Freezer Temperature Control: The temperature control is located at the rear bottom corner of the freezer. When you turn the unit on for the first time, set the control to its maximum position, 6, using a coin or flathead screwdriver. The range of the temperature control is from position 1 (warmest) to 6. -
Page 9: Care And Maintenance
Care and Maintenance Cleaning Your Freezer: 1. Unplug the freezer and remove the food and drawers. 2. Wash the inside surfaces with a solution of warm water and baking soda. The solution should contain about 2 tablespoons of baking soda to a quart of water. -
Page 10: Problems With Your Freezer? (Troubleshooting)
Freezer storage drawers should not be lined with aluminum foil, wax paper or paper toweling. Liners interfere with cold air circulation, making the freezer less efficient. Organize and label food to reduce door openings and extended searches. Remove as many items as needed at one time, and close the door as soon as possible. - Page 11 Notes...
-
Page 12: Limited Warranty
Limited Warranty ONE-YEAR LIMITED WARRANTY Within the 48 contiguous United States, for one year from the date of purchase, when this appliance is operated and maintained according to instructions attached to or furnished with the product, warrantor will pay for factory-specified parts and repair labor to correct defects in materials or workmanship. Service must be provided by a designated service company.
Need help?
Do you have a question about the FS408BL and is the answer not in the manual?
Questions and answers