Table of Contents
Advertisement
Advertisement
Table of Contents

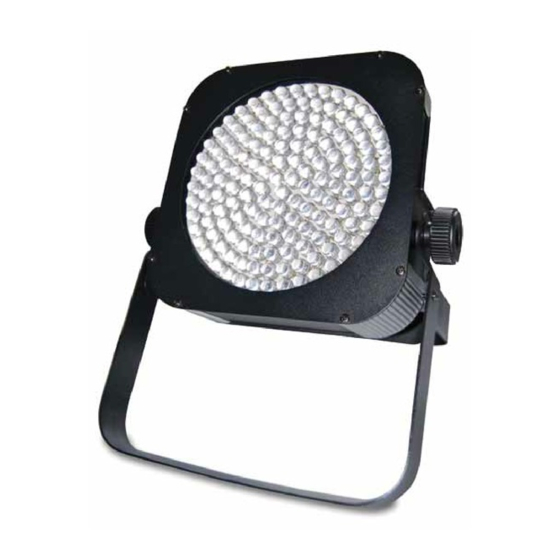
Summary of Contents for Stairville LED Flood Panel 150
- Page 1 Owner‘s Manual LED Flood Panel 150 LED Panel controllable by DMX...
-
Page 2: Table Of Contents
The device does not work at all ....................11 No response to the DMX controller ..................11 Cleaning ............................11 Technical data ...........................12 Protecting the environment .......................12 Disposal of the packaging material ..................12 Disposal of your old device ...................... 12 LED Flood Panel 150... -
Page 3: Safety Notes
Safety notes Read all safety notes and all instructions. Failure to follow the notes and instructions may result in electric shock, fire or serious injury. Save this manual for future reference. DANGER Electric shock caused by high voltages inside! Within the unit there are areas where high voltages may be present. To reduce the risk of electric shock do not remove any covers unless the AC mains power cord is removed. -
Page 4: Installation
A female 3-pin XLR connector is used for the DMX output, a male 3-pin XLR connector for the DMX input. The figure below and the following table show the pin assignment. Ground DMX data (–) DMX data (+) LED Flood Panel 150... -
Page 5: Components And Functions
ö Mode Setup Down DMX In DMX Out Power In Power Out 240V/50Hz 240V/50Hz LED FLOOD PANEL 150 RoHS ö Bracket adjustment knobs Ventilation areas Operation panel and connectors Hanging bracket/floor stand Operation panel and connectors 8 8 8 8... -
Page 6: Operation
Press “Setup”. You can now set the value for the change speed. Select a value between “SP.01” (slow) and “SP.99” (fast) or “SP.FL” (flashing) using the “Up” and “Down” buttons. Press “Setup” again. You can now set the desired flash value using the “Up” and “Down” buttons. Select a value between “FS00” and “FS99”. LED Flood Panel 150... -
Page 7: Auto Show Mode
Auto show mode Press “Mode” until the display shows “Auto”. In this mode, the device runs the built-in programs one AUT0 after another in a continuous loop. Press “Setup”. You can now set the value for the speed. Select a value between “SP.01” (slow) and “SP.99” (fast) or “SP.FL”... -
Page 8: Functions In 8-Channel Dmx Mode
Intensity of green (0 to 100 %) Channel 6: 1…255 No function Channel 6: 0 0…255 Intensity of blue (0 to 100 %) Channel 6: 1…255 No function 0…9 No function 10…255 Strobe (slow to fast) LED Flood Panel 150... - Page 9 Channel Value Function Static RGB mix as defined with channels 2, 3 and 4 1…24 Static colour, as defined with channel 2 25…49 Sets Pr02 (7-colour fading) 50…74 Sets Pr03 (3-colour fading) 75…99 Sets Pr04 (7-colour jumping change) 100…124 Sets Pr05 (3-colour jumping change) 125…149 Sets Pr06 (fantasy change 1) 150…174...
-
Page 10: Menu Diagram
Menu diagram Pr.01 Pr.01 Built-in programs mode Pr.10 SP.00 Auto show mode SP.99 SP.FL FS00 FS99 Fd00 Fd99 d.001 d.001 DMX mode 3-ch d.512 4-ch 8-ch Id.01 Id.66 SLAu Master/Slave mode SU.25 SU.00 Sound mode SU.31 LED Flood Panel 150... -
Page 11: Troubleshooting
Troubleshooting A few common problems that may occur during operation are shown in the following. Here are some sugges- tions for easy troubleshooting: The device does not work at all 1. Check the power connection and main fuse. No response to the DMX controller 1. -
Page 12: Technical Data
Technical data LED Flood Panel 150 20° LED Flood Panel 150 40° Item no. 253358 253359 Beam angle 20° 40° Number of DMX channels 3, 4 or 8 LEDs 48 red, 51 green and 51 blue LEDs, 10 mm diameter Input voltage 110 VAC …...


Need help?
Do you have a question about the LED Flood Panel 150 and is the answer not in the manual?
Questions and answers