GE Monogram ZV750 Installation Instructions Manual
36" vent hood
Hide thumbs
Also See for Monogram ZV750:
- Installation instructions manual (56 pages) ,
- Owner's manual (32 pages) ,
- Technical service manual (30 pages)
Table of Contents
Advertisement
Quick Links
Advertisement
Table of Contents

Related Manuals for GE Monogram ZV750


Summary of Contents for GE Monogram ZV750
- Page 1 ® GE Monogram Installation Instructions 36" Vent Hood Model ZV750...
-
Page 2: Table Of Contents
This appliance must be properly grounded. See “Electrical Supply”, page 4. CAUTION WARNING If you have questions concerning the OBSERVE THE FOLLOWING: installation of this product, call the GE Answer A. Use this unit only in the manner intended ® Center Consumer Information Service at by the manufacturer. -
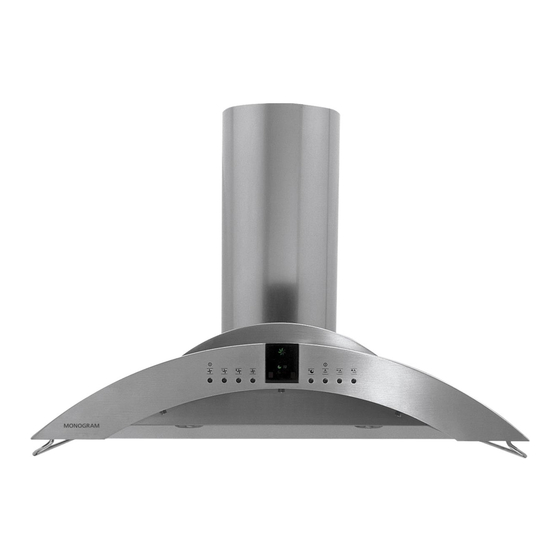
Page 3: Model Available
36" Vent Hood Model This vent hood is designed to be used in Model vented installations. ZV750 Available A decorative duct cover is provided to cover the duct from the top of the hood to an 8 ft. or 9 ft. ceiling. -
Page 4: Advance Planning
Design Information 36" Vent Hood ZV750SY Installation Heights Advance Using Duct Cover Accessories Actual • A duct cover accessory may be required for Planning * Possible Hood Ceiling your hood installation height. Refer to this Duct Cover Installation Height Height chart to determine the need for the ZX10SY 7′... -
Page 5: Installation Preparation
33 ft. *Actual length of straight duct plus duct fitting Total Duct Run equivalent. Equivalent length of duct pieces are based on actual tests conducted by GE Evaluation Engineering and reflect requirements for good venting performance with any ventilation hood. -
Page 6: Tools And Materials Required
Installation Preparation 36" Vent Hood Tools & • Tape measure • Safety glasses • Knife • Tape to mount template Materials • Spirit level • Gloves to protect against sharp edges Required • Wire cutter • 120V 60Hz. 15 or 20 Amp, 2 wire with (not supplied) •... -
Page 7: Installation
Installation 36" Vent Hood Locate the hardware accessory box packed with range hood and check contents. Step Wall 2 Large Check Fasteners Flat Washers Installation 2 Mounting Hardware Brackets Wood Screws Decorative Duct Cover Duct Cover Bracket • Drill 1/8" Pilot Holes For Mounting Brackets. 5-7/8"... -
Page 8: Step 4: Install Mounting Brackets
Installation 36" Vent Hood Whenever possible, the vent hood should be Screws Step “B” secured to wall studs. • With the template taped in place, use a punch to mark all mounting screw locations. Install Screws • Drill 1/8" pilot holes at the 6 punched Mounting “A”... -
Page 9: Step 6: Install Duct Bracket
Installation 36" Vent Hood Step • Install the 2 small screws into the sides of the duct bracket. Remove the screws. This will insure ease of final installation. • Temporarily install a piece of 6" duct cut to length between the hood outlet and the Install Duct ductwork at the ceiling. -
Page 10: Step 7: Connect Ductwork
Installation 36" Vent Hood Do not use sheet metal screws at hood flange Step connection. Doing so will prevent proper Duct Tape damper operation. Seal connection with Over Seam Connect tape only. and Screw Screw Ductwork • Install ductwork, making connections in direction of airflow as illustrated. -
Page 11: Step 10: Install Filters
Installation 36" Vent Hood Step Install Filters • Remove protective film on filters. • To remove the filters, grasp the knob and • Tip the filter into the lower slots at the push the filter towards the rear and tilt rear of the opening, lift the filter and pull downwards. - Page 12 For Monogram local service in your area, call 1.800.444.1845. NOTE: Product improvement is a continuing endeavor at General Electric. Therefore, materials, appearance and specifications are subject to change GE Consumer & Industrial without notice. GE Appliances General Electric Company Louisville, KY 40225 Pub.
Need help?
Do you have a question about the Monogram ZV750 and is the answer not in the manual?
Questions and answers