Advertisement
Quick Links
Advertisement

Related Manuals for Proline ProV Island


Summary of Contents for Proline ProV Island
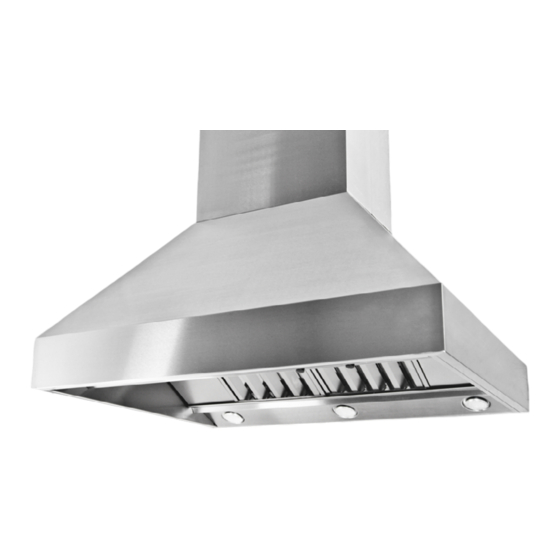
- Page 1 ProV Island Installation Manual...
-
Page 2: Parts Provided
| 4 Parts Provided Installation Steps Top and Bottom Adjustable Support Brackets (8) Place your Ceiling Mounting Bracket on the ceiling where Chimney Sections you’d like your hood to hang from. Use a Marking Pencil to trace the bracket and mark where the 4 load bearing screws will go. - Page 3 | 6 Slide Bottom Chimney Section over the Top Chimney Set the Adjustable Support Brackets to your desired Section and secure it in place using Paper Tape. height and secure them using 4 Bolts 4 Threaded Screws on each bracket.
- Page 4 | 8 Additional Steps Attach your range hood body to the bottom of the If you’ve followed all the previous steps, your range hood should now Adjustable Support Brackets using 4 Threaded Screws be installed. But in order to get it completely up and running, there are each bracket.
Need help?
Do you have a question about the ProV Island and is the answer not in the manual?
Questions and answers