
Related Manuals for ACTi TCM-1231 Series


Summary of Contents for ACTi TCM-1231 Series
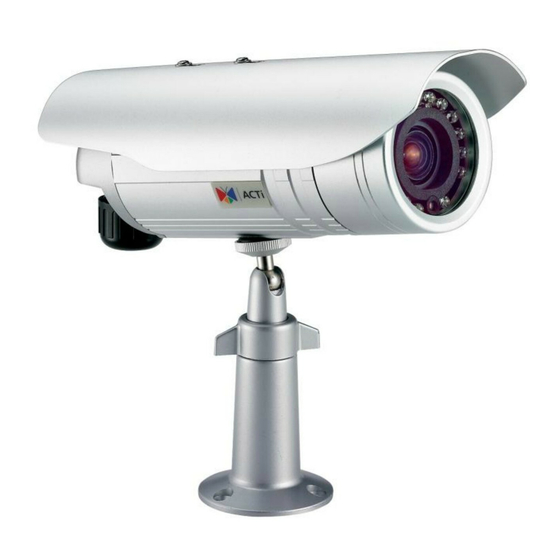
- Page 1 TCM-1231 Series H.264 Megapixel Outdoor IP IR D/N PoE Bullet Camera Hardware User’s Manual Ver. 2011/6/15...
-
Page 2: Table Of Contents
TCM-1231 Series Hardware User’s Manual Table of Contents Precautions Introduction Package Contents ................4 Features and Benefits ..............5 Safety Instructions ................7 Physical description ................ 9 Preparing for Installation ............. 12 Remove the back cover by unscrewing the three attachments ..12 Remove the sunshade by unscrewing the two screws .... -
Page 3: Precautions
TCM-1231 Series Hardware User’s Manual 0. Precautions Read these instructions You should read all the safety and operating instructions before using this product. Heed all warnings You must adhere to all the warnings on the product and in the instruction manual. Failure to follow the safety instruction given may directly endanger people, cause damage to the system or to other equipment. -
Page 4: Introduction
TCM-1231 Series Hardware User’s Manual 1. Introduction Package Contents TCM-1231 Series Power Adaptor (No Bracket Included) Product CD Terminal Blocks for Power, Audio and DIO Warranty Card www.acti.com... -
Page 5: Features And Benefits
TCM-1231 Series Hardware User’s Manual Features and Benefits This is a cutting-edge digital video surveillance camera. It can compress and transmit real time images with outstanding image quality (18 FPS @ SXGA, 1280x1024) through a standard TCP/IP network. This camera is your best choice to build an intelligent IP surveillance system. - Page 6 TCM-1231 Series Hardware User’s Manual Digital Time Code Embedded The “Digital Time Code Embedded” function records video time in the video stream. Therefore, each image frame is marked with its original recording time. It is very useful when users want to find the video at an exact time or between a certain time intervals.
-
Page 7: Safety Instructions
TCM-1231 Series Hardware User’s Manual Safety Instructions Don’t use the power supply with other voltages This device is likely to be damaged or damage other equipments / personnel, if you use a power supply with different voltage than the one included with this device. All warranty of this product will be voided in the situations above. - Page 8 TCM-1231 Series Hardware User’s Manual extensive work by a qualified technician to restore the video product to its normal operation. Safety Check Upon completion of any service or repairs to this video product, ask the service technician to perform safety checks to determine if the video product is in proper operating condition.
-
Page 9: Physical Description
TCM-1231 Series Hardware User’s Manual Physical description 1) Power Input Connect the power adaptor here if your power input is DC12V. NAME DESCRIPTION DC Power Input Ground Pin If your power input is AC24V. Please follow the description on the connector to connect to power. - Page 10 TCM-1231 Series Hardware User’s Manual Terminal Block wiring diagram is as follows: This camera provides: •1 transistor output - For connecting external devices such as relays and LEDs. Connected devices can be activated by Output buttons on the Live View page or through video management software.
- Page 11 TCM-1231 Series Hardware User’s Manual 3) Reset Button Step 1: Switch off IP device by disconnecting the power cable Step 2: Press and continue to hold the Reset Button (with a sharp tipped object, like a pen.) Step 3: Reconnect the power cable while continuing to hold the reset button.
-
Page 12: Preparing For Installation
TCM-1231 Series Hardware User’s Manual Preparing for Installation Remove the back cover by unscrewing the three attachments Remove the sunshade by unscrewing the two screws www.acti.com... -
Page 13: How To Do The Waterproof Installation
TCM-1231 Series Hardware User’s Manual How to Do the Waterproof Installation The following installation procedure makes the camera be water-resistant even for the situations where the camera can easily be flooded by pouring rain. The important part to focus on during the installation: The protection of the cabling has to be done by a proper flex conduit. - Page 14 TCM-1231 Series Hardware User’s Manual The third piece goes through the back side cover of the camera. The fourth piece (locking nut) is used to lock the gland firmly from the inside of the back side cover. Pull the network cable through the back side cover of the camera.
- Page 15 TCM-1231 Series Hardware User’s Manual Tighten the domed sealing nut. Plug the network cable into the camera’s RJ-45 connector before closing the back side of the camera. If you are not using PoE and need an additional power cord then please connect it at this stage, too.
-
Page 16: Basic Connections
TCM-1231 Series Hardware User’s Manual Basic Connections Follow the procedures below to connect the IP device to the respective apparatuses. If you have a PoE (Power over Ethernet) supported switch or injector: 1) Connect your IP Camera to the Switch / Injector by CAT5 or CAT6 cables with RJ45 connector. -
Page 17: Product Specification
TCM-1231 Series Hardware User’s Manual Product Specification TCM-1231 TCM-1232 Device Micron Progressive Scan CMOS Image Size 1/3 inch Effective Pixels 1280(H) x 1024 (V) Color Color mode automatically switched to B/W mode under 4 Lux 0 Lux (IR LED ON) Min. -
Page 18: Accessing Camera
TCM-1231 Series Hardware User’s Manual 2. Accessing Camera If you have DHCP server / router in your network: Many network server / routers are able to automatically provide IP addresses through DHCP. If you are using such a network, just plug in your computer and IP Camera into the network and your IP device will acquire network address by itself. - Page 19 TCM-1231 Series Hardware User’s Manual Please set the settings as below. IP address: 192.168. 0.xxx Subnet mask: 255.255.255. (NOTE: xxx should be a number from 1 to 254 except 100, which is used by the IP device. Please also...
- Page 20 TCM-1231 Series Hardware User’s Manual If you are using a single camera, this is enough to access the device. If you are using multiple devices, you need to change the current device to another unused IP address, so that when the next device is connected to the network, no two devices use the same IP.
- Page 21 TCM-1231 Series Hardware User’s Manual 10. Click “Apply” 11. Please go to Maintain -> Save & Reboot, and click ”Apply”. Internet Explorer will close after a few seconds. This is normal. 12. Wait for 30 seconds, and open IE again to connect to the IP.
- Page 22 TCM-1231 Series Hardware User’s Manual www.acti.com...
Need help?
Do you have a question about the TCM-1231 Series and is the answer not in the manual?
Questions and answers