
Subscribe to Our Youtube Channel
Related Manuals for ACTi TCM-123 Series


Summary of Contents for ACTi TCM-123 Series
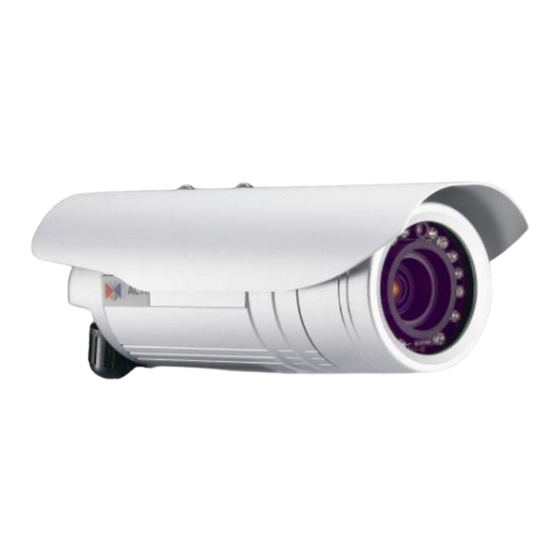
- Page 1 TCM-123x Series H.264 Megapixel IP Outdoor IR Bullet Camera Hardware User’s Manual (DC 12V / PoE / AC 24V) Ver. 2010/1/5...
-
Page 2: Table Of Contents
14 Basic Connections ................15 Product Specification ..............16 Accessing Camera If you have DHCP server / router in your network: ...... 17 If you do NOT have DHCP server / router in your network: ..17 www.acti.com... -
Page 3: Precautions
Operation of this equipment in a residential area is likely to cause harmful interference in which case the users will be required to correct the interference at their own expense. www.acti.com... -
Page 4: Introduction
TCM-123x Series Hardware User’s Manual 1. Introduction Package Contents TCM-123x Series Power Adaptor (Optional) (No Bracket Included) Product CD Terminal Blocks for Power, Audio and DIO Warranty Card www.acti.com... -
Page 5: Features And Benefits
Software Development Kit Support This camera can be integrated or controlled by applications from third party software developers. Software developers can save considerable efforts by using our Streaming Library or ActiveX control. Please contact us for details on integration support. www.acti.com... - Page 6 The “Digital Time Code Embedded” function records video time in the video stream. Therefore, each image frame is marked with its original recording time. It is very useful when users want to find the video at an exact time or between a certain time intervals. www.acti.com...
-
Page 7: Safety Instructions
4) If the video product does not operate normally by following the operating Instructions in this manual. Adjust only those controls that are covered by the instruction manual, as an improper adjustment of other controls may result in damage, and will often require www.acti.com... - Page 8 Safety Check Upon completion of any service or repairs to this video product, ask the service technician to perform safety checks to determine if the video product is in proper operating condition. www.acti.com...
-
Page 9: Physical Description
2) Digital Input / Output & Audio Terminal Connector This IP Camera supports DI/O & Audio input / output via terminal block. Used in applications like motion detection, event triggering, time lapse recording, alarm notifications, etc., the I/O terminal connector provides an interface to respective devices. The www.acti.com... - Page 10 Voltage: 12V DC, the power supply, this pin provides an auxiliary Max: 1.2W connector for mains power to the unit. This pin can also be used to power auxiliary equipment, with a maximum current of 100mA. DIO GND Ground www.acti.com...
- Page 11 IP device can auto detect the speed of local network segment (10Base-T/100Base-TX Ethernet). 5) Power LED Indicator The LED indicator lights up once the power is turned up. It will light up again when the device is fully booted up. www.acti.com...
-
Page 12: Installation Procedure
TCM-123x Series Hardware User’s Manual Installation Procedure Remove the back cover by unscrewing the three attachments Remove the sunshade by unscrewing the two screws www.acti.com... -
Page 13: Insert The Network Cable Through The Back Cover And Wire Gland
TCM-123x Series Hardware User’s Manual Insert the network cable through the back cover and wire gland Assemble the gland / network cable with the back cover Attach to the brackets and connect the cables according to the physical description section www.acti.com... -
Page 14: Remove The Front Cap And Adjust The Focus / Zoom
TCM-123x Series Hardware User’s Manual Remove the front cap and adjust the focus / zoom Restore the front cap, adjust the sunshade position on top of the camera and secure the back cover. www.acti.com... -
Page 15: Basic Connections
1) Connect the power adaptor to IP Camera 2) Connect IP device’s Ethernet port to Network switch (via RJ45 connectors). 3) Connect a PC to the Ethernet switch (via RJ45 connectors) Please refer our PoE Guide for more details on Power over Ethernet related concepts. www.acti.com... -
Page 16: Product Specification
TCP, UDP, HTTP, HTTPS, DHCP, PPPoE, RTP, RTSP, DNS, DDNS, NTP, Protocol ICMP, ARP, IGMP, SMTP, FTP, UPnP, IPv6 Web Browser Microsoft Internet Explorer 6.0 or above Software ACTi SDK-10000 Security Password Protection: Configured by the Administrator Operating Temperature -20 ºC ~ 50 ºC (-4 ºF ~ 122 ºF) Power Requirement PoE (IEEE 802.3af) with Class 3... -
Page 17: Accessing Camera
IP Camera into the network and your IP device will acquire network address by itself. Find and access the device with our IP Utility program. You may download it at: http://www.acti.com/product/detail/Software/ACTi_Utility_Suite If you do NOT have DHCP server / router in your network: 1. - Page 18 5. When you see the login window, please input default user and password: Default User: Admin Password: 123456 6. After logging in, you will see the video from camera. To go to the main menu, click the ”Setup” button on the top left. www.acti.com...
- Page 19 8. Change the IP mode to Static. 9. Change the IP to 192.168.0.101 or any other unused IPs. Do NOT use the PC’s IP address or 192.168.0.100.). If this is not the first device you add to the network, please also avoid other devices’ IPs. www.acti.com...
- Page 20 12. Wait for 30 seconds, and open IE again to connect to the IP. (In this example, 192.168.0.101). For the second device or more you add into the network, please type the correct IP. 13. Adjust the default Video setting by going to Video & Audio -> Media 1 www.acti.com...
- Page 21 TCM-123x Series Hardware User’s Manual www.acti.com...
Need help?
Do you have a question about the TCM-123 Series and is the answer not in the manual?
Questions and answers