Table of Contents
Advertisement
Advertisement
Table of Contents

Subscribe to Our Youtube Channel
Related Manuals for Polycom Polycom


Summary of Contents for Polycom Polycom
- Page 1 Polycom Phones User Guide © 2003 - 2012 Bicom Systems...
-
Page 2: Table Of Contents
UAD Settings ................................. 9 Creating Extension ................................. 10 Registering Phone ................................. 12 DHCP ..............................12 TFTP or HTTP & HTTPS ..............................12 TFTP ............................13 HTTP & HTTPS ............................13 DNS SRV ..............................14 © 2003 - 2012 Bicom Systems... -
Page 3: Part I Introduction
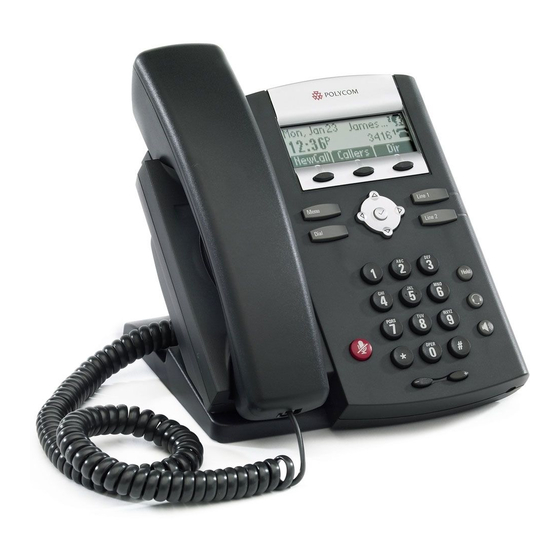
Polycom Phones User Guide This User Guide is written as general guide on how to set up the Polycom phone models: IP 301, IP 320, IP 321, IP 330, IP 331, IP 335, IP 450, IP 501, IP 550, IP 560, IP 601, IP 650 and IP 670 to work with PBXware 3.1. -
Page 4: Part Iii Installation
This chapter describes how to install and connect the phone to the electrical power and data network as well as how to apply factory settings. The following topics are covered: Power adapter Power over Ethernet (PoE) Factory Settings © 2003 - 2012 Bicom Systems... -
Page 5: Power Adapter
Reset Device Settings and press select button. Registering Phone This chapter describes how to identify Polycom phone model, requirements that must be met and how to register the phone using manual configuration or auto provisioning. The following topics are covered:... -
Page 6: Manual Configuration
2. UAD settings Navigate to Settings:UAD. Make sure Polycom UAD is enabled. To check the UAD status click on the edit icon corresponding to your Polycom phone. Make sure Status is set to Active, Auto provisioning is set to No, and DHCP is set to Yes. -
Page 7: Creating Extension
Navigate to Extensions. Click on Add Extension. The standard options window will be shown below. Select Polycom phone model from the UAD select box. Select Location: Local or Remote. Local is for all extensions registered on the LAN and Remote is for all extensions registered from remote networks, WAN, Internet etc. -
Page 8: Registering Phone
Example: john.smith@bicomsystems. Click on the Save button. 4.1.3 Registering Phone This chapter describes how to register Polycom phone using Hostname or IP Address, or DNS SRV. The following topics are covered: Hostname or IP Address DNS SRV 4.1.3.1... -
Page 9: Dns Srv
PBXware, or if you have access to the PBXware you can check this yourself. Open a new browser window and enter the IP address in order to access the PBXware web administration login screen. Example: http://192.168.1.10. Login to PBXware with your e-mail address and password. © 2003 - 2012 Bicom Systems... - Page 10 Make sure you replace Hostname from this example with your PBXware Hostname. Make sure DNS server is configured to automatically route registration request to a PBXware which is actually under another domain name, example: newbicomsystems.com. © 2003 - 2012 Bicom Systems...
-
Page 11: Auto Provisioning
2. UAD settings Navigate to Settings:UAD. Make sure Polycom UAD is enabled. To check the UAD status click on the edit icon corresponding to your Polycom phone. Make sure Status is set to Active, Auto provisioning is set to Yes, and DHCP is set to Yes. -
Page 12: Creating Extension
Navigate to Extensions. Click on Add Extension. The standard options window will be shown below. Select Polycom phone model from the UAD select box. Select Location: Local or Remote. Local is for all extensions registered on the LAN and Remote is for all extensions registered from remote networks, WAN, Internet etc. - Page 13 Example: john.smith@bicomsystems. Auto Provisioning Set to Yes. MAC Address Enter Polycom phone MAC address. Example: 0002FDFF1536. MAC address can be found at the back of the phone. Additional Config You can set additional settings to be sent to this phones configuration: o For BLF/Presence <feature feature.1.name="presence"...
-
Page 14: Registering Phone
4.2.3.2 1. Network Configuration If there is no DHCP in your network, you can still auto provision your Polycom phone. Please refer to your Polycom phone model User Guide for instruction about setting static IP address. After you configure your Polycom phone to use a static IP address, continue with the following steps. -
Page 15: Tftp
Auto provisioning process will start during phone reboot process, phone will pickup appropriate configuration file from PBXware. If everything is done as above described, you should have successfully registered your phone to PBXware. Dial © 2003 - 2012 Bicom Systems... -
Page 16: Dns Srv
Yes. If it is set to No or N/A, set to Yes and click on the Save button. N O TE Y ou m ust re-sav e all y our ex tensions configured for Auto Prov isioning. Follow instruction given for registering the phone using TFTP or HTTP & HTTPS. © 2003 - 2012 Bicom Systems...
Need help?
Do you have a question about the Polycom and is the answer not in the manual?
Questions and answers