Table of Contents
Advertisement
Advertisement
Table of Contents

Related Manuals for HP J9079A


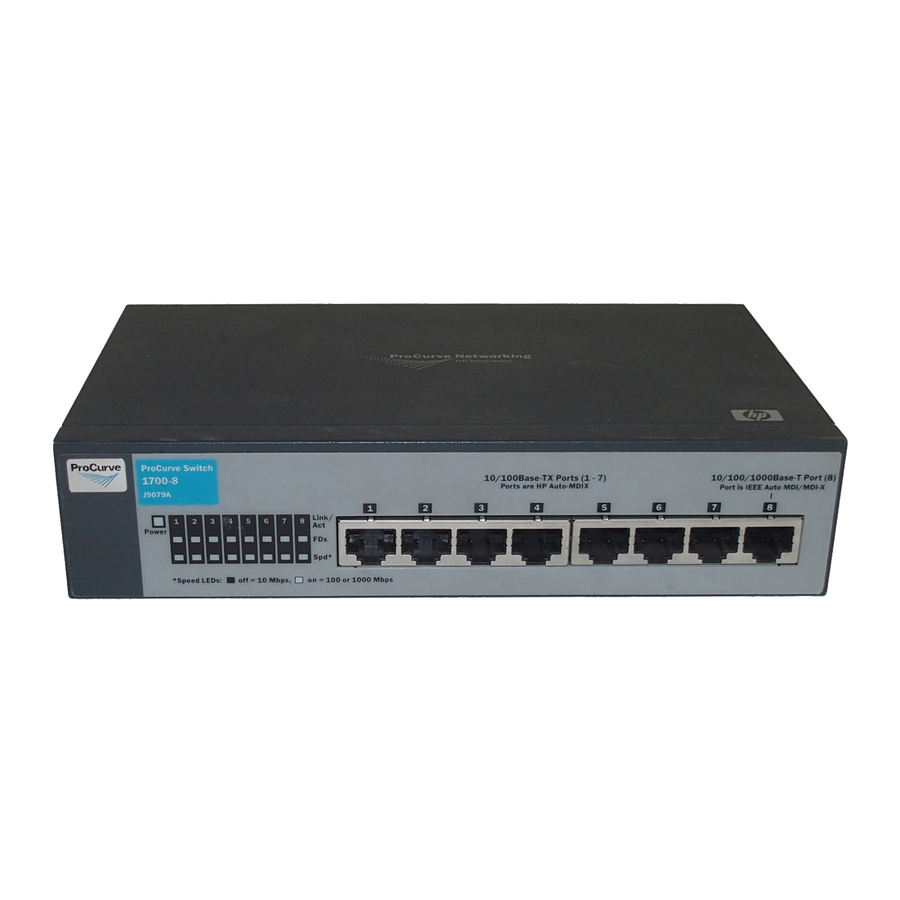
Summary of Contents for HP J9079A
- Page 1 HP ProCurve 1700 Switches Management and Configuration Guide July 2009...
- Page 3 HP ProCurve 1700 Switches Management and Configuration Guide...
-
Page 4: Warranty
© Copyright 2007, 2009 Hewlett-Packard Development Company, L.P. The information contained herein is subject to change without notice. The only warranties for HP products and services are set forth in the express warranty statements accompanying such products and services. Nothing herein should be construed as constituting an additional warranty. -
Page 5: Table Of Contents
Displaying the System Name ........2-8 Setting the Switch’s IP Address ....... . 2-8 Configuring the Logon Password . - Page 6 Forgotten the IP Address or Password ......3-2 Testing the Switch by Resetting It ......3-2 ProCurve Networking Customer Support Services .
-
Page 7: Getting Started
Software management, including downloading software to the switch ■ Software fixes addressed in current and previous releases ■ To view and download a copy of the latest release notes for your switch, see “Getting Documentation From the Web” on page 1-2. . (See “Getting Documentation From the... -
Page 8: Getting Documentation From The Web
Getting Started Getting Documentation From the Web Getting Documentation From the Web Go to the ProCurve Networking Web site at http://www.hp.com/go/procurve/manuals Click on the product for which you want to view or download a manual. -
Page 9: Sources For More Information
Sources for More Information To Set Up and Install the Switch in Your Network Use the Installation and Getting Started Guide shipped with your switch for the following: ■ Instructions for physically installing the switch in your network. Quickly assigning an IP address, subnet mask, and gateway, set a ■... -
Page 11: Using The Procurve Web Browser Interface
The Web agent can be accessed by any computer on the network using a standard Web browser (Internet Explorer 5.5 or above). Prior to accessing the switch from a Web browser, be sure you have first performed the following tasks: Configure the switch with a valid IP address, subnet mask, and default gateway. -
Page 12: Configuration Options
Device Image Main Menu Information Screen N o t e The examples in this chapter are based on the 24-port switch. Other than the number of fixed ports, there are no major differences between the 8-port and 24-port switch. Configuration Options Configurable parameters have a dialog box or a drop-down list. -
Page 13: Panel Display
“Every visit to the page.” Panel Display The Web agent displays an image of the switch’s ports. The port will turn green when the corresponding front-panel port is in connection with another device. To show the port number, place mouse pointer onto the intended port. - Page 14 The ProCurve Switch 1700 supports pass through (flooding) of spanning tree BPDUs so that upstream devices on the network which support Spanning Tree Protocol can detect loops that exist on the ProCurve Switch 1700 interface. Description Selects ports to group into static trunks.
-
Page 15: Web Configuration
• Management VLAN – ID of a configured VLAN. By default, all ports on the switch are members of VLAN 1. However, the management station can be attached to a port belonging to any VLAN, as long as that VLAN has been assigned an IP address. - Page 16 (Default: 1) Trunk/LACP Information • Trunk/LACP – The trunk label. “T1” through “T12” on the 24-port switch and “T1” through “T4” on the 8-port switch are used as trunk labels. • Type – Displays the trunk type as “Static” or “Dynamic.”...
- Page 17 Using the ProCurve Web Browser Interface Web Configuration Web - Click System, Information.
-
Page 18: Displaying The System Name
Setting the Switch’s IP Address This section describes how to configure an IP interface for management access over the network. The IP address for this switch is 192.168.2.10 by default. To manually configure an address, make sure the DHCP Enabled box is unchecked, then change the switch’s default settings (IP address... - Page 19 VLAN, as long as that VLAN has been assigned an IP address. N o t e Be sure to keep a record of the switch’s IP address. If you cannot remember the switch’s IP address, you can restore the original settings by following the procedure described in the “Troubleshooting”...
-
Page 20: Configuring The Logon Password
Confirm New Password – Re-enter in the new password for confirmation. N o t e Be sure to keep a record of the switch’s password. If you cannot remember the password, you can restore the original settings by following the procedure described in the “Troubleshooting” section. -
Page 21: Rate Limits
You can protect your network from broadcast storms by setting a threshold for broadcast traffic for each port. Any broadcast packets exceeding the specified threshold will then be dropped. N o t e Rate limiting is not supported on the ProCurve Switch 1700-8 due to a hardware limitation. Field Attributes •... -
Page 22: Port Configuration
Using the ProCurve Web Browser Interface Web Configuration Port Configuration You can use the Port Configuration page to manually set the speed, duplex mode, and flow control. You can enable jumbo frames to support data packets 9216 bytes in size. Field Attributes Enable Jumbo Frames –... -
Page 23: Port Mirroring
N o t e If the total ingress bandwidth exceeds the mirror port’s egress bandwidth, packets will eventually be dropped on ingress to the switch, which means they will not reach the mirror port or their intended destination port. Input rate- limiting in conjunction with port flow-control should be used to ensure that the total ingress bandwidth never exceeds the egress bandwidth. - Page 24 Using the ProCurve Web Browser Interface Web Configuration Web – Click Ports, Port Mirroring. 2-14...
-
Page 25: Showing Port Statistics
Showing Port Statistics You can display statistics on network traffic from the ports. These statistics can be used to identify potential problems with the switch (such as a faulty port or unusually heavy loading). All values displayed for a port have been accumulated since the last system reboot, but can be reset to zero by clicking the CLEAR button. -
Page 26: Trunk Membership
Port Trunking Support Ports per trunk (maximum) Trunks per switch (maximum) The Membership Table has one row for each port and a column for each trunk, plus an additional column for ports that are not members of a trunk. Each row contains radio buttons that are used to indicate which trunk (if any) the port belongs to. -
Page 27: Aggregation Mode
Aggregation Mode When incoming data frames are fowarded by the switch over a trunk, the switch must determine which port link in the trunk to use for each outgoing frame. To maintain the frame sequence for traffic flows between devices in the network, the switch also needs to ensure that frames in each “conversation”... -
Page 28: Defining The Members Of A Trunk
2, 3, 4, and 5 under the column labeled “Not a Trunk Member.” Click APPLY. N o t e For the 8 port switch, you can only create up to a maximum of 4 trunks of up to 7 ports each. Field Attributes •... -
Page 29: Trunk Configuration
Web – Click Trunks, Membership. To assign a port to a trunk, click the required trunk number, then click APPLY. Trunk Configuration You can use the Trunk Configuration page to manually set the speed, duplex mode, and flow control. Modifying Trunk Settings On the Trunks Configuration page, modify any of the following settings: •... -
Page 30: Lacp Settings
You can configure any number of ports on the switch as LACP, as long as they are not already configured as part of a static trunk. If ports on another device are also configured as LACP, the switch and the other device will negotiate a trunk link between them. -
Page 31: Enabling Lacp
Click APPLY. N o t e Do not enable LACP or static trunks for ports 1 and 2 at the same time. Doing so will result in the switch resetting to factory default configuration when power cycled. Field Attributes •... - Page 32 Using the ProCurve Web Browser Interface Web Configuration Web – Click Trunks, LACP Setup. 2-22...
-
Page 33: Lacp Status
LACP group that is attached to this switch. • Local Port Aggregated – Displays port member list of the local LACP group. The port members are port on this switch. • Seconds Since Last Changed – Number of seconds since the last LACP was received. - Page 34 Using the ProCurve Web Browser Interface Web Configuration Web – Click Trunks, LACP Status. 2-24...
-
Page 35: Vlan Setup
(trunks are labelled T1 to T12 for the 24-port switch, and T1 to T4 for the 8-port switch). Creating a VLAN Use the VLAN Setup page to create VLANs on the Switch. In VLAN ID, input a number from 1 to 4094. Click ADD. -
Page 36: Modifying A Vlan
Using the ProCurve Web Browser Interface Web Configuration Modifying a VLAN Use the VLAN Setup page to modify a VLAN. Under the VLAN List section, click on the radio button of the VLAN you would like to modify. Click MODIFY. Select the ports to be added to or removed from this VLAN. -
Page 37: Vlan Port Config
Using the ProCurve Web Browser Interface Web Configuration Web – Click VLANS, VLAN Setup. VLAN Port Config You can configure VLAN behavior for specific interfaces, including the default VLAN identifier (PVID) and accepted frame types. This page allows you to change the VLAN membership and behavior of individual ports. - Page 38 Using the ProCurve Web Browser Interface Web Configuration • VLAN Aware Enabled – VLAN aware ports are able to use VLAN tagged frames to determine the destination of the frame. Click to enable or disable VLAN awareness mode for this port. (Default: Enabled) •...
- Page 39 Using the ProCurve Web Browser Interface Web Configuration Web – Click VLANS, VLAN Port Config. 2-29...
-
Page 40: Lldp Configuration
Using the ProCurve Web Browser Interface Web Configuration LLDP Configuration This page allows you to configure the Link Layer Discovery Protocol (LLDP) configuration. LLDP allows devices on the network to share information about themselves for the reasons of simplified troubleshooting, enhanced network management, and maintaining an accurate network topology. - Page 41 Using the ProCurve Web Browser Interface Web Configuration Web – Click LLDP, Configuration. 2-31...
-
Page 42: Lldp Neighbor Table
Using the ProCurve Web Browser Interface Web Configuration LLDP Neighbor Table This page displays the LLDP Neighbor Table. This table provides information on neighboring devices. The table contains the following seven columns: Field Attributes • Local Port – The local port of the neighboring device. •... -
Page 43: Snmp Configuration
This operation allows you to test the network connections by sending an Internet Control Message Protocol (ICMP) echo request packet from the switch to other devices on the network. The page will display the results of the operation. Field Attributes Ping Parameters •... - Page 44 Using the ProCurve Web Browser Interface Web Configuration Ping Results • Target IP Address – The IP address of the device to ping on the network. • Status – Displays the current status of the ping operation. • Received replies – Number of replies received. •...
-
Page 45: Restore To Factory Defaults
Restore to Factory Defaults This operation allows you to either restore the switch back to the original factory default configuration, or to clear all configuration information except the IP Address, Subnet Mask and Gateway IP Address (see the SYSTEM > IP Address page). -
Page 46: Reboot Switch
After you have completely finished configuring the switch settings, it is important to download the configuration file. You can use this saved configuration file to restore the switch settings at a later point if the switch settings have been changed or restored to the default settings. -
Page 47: Download Text Readable Configuration/Status File
Web – Click Support, Configuration File. Download Text Readable Configuration/Status File This page allows you to download the switch system configuration and status information in text file format. Select the type of information you would like to download. After you click the APPLY button, you will be prompted to save your file. -
Page 48: Update Software
Updates the switch software using a file provided by ProCurve Networking. Click on the “Browse” button to select the software file. Press the APPLY button to update the selected switch software file. You can download software files for your switch from the support section of the ProCurve Networking... -
Page 49: Support
Using the ProCurve Web Browser Interface Web Configuration Support This page directs you to the ProCurve Networking Web site for further information. Web – Click Support, ProCurve Web Site. 2-39... - Page 50 Using the ProCurve Web Browser Interface Web Configuration 2-40...
-
Page 51: Troubleshooting
Troubleshooting This section describes how to troubleshoot the switch. You can perform more in-depth troubleshooting on the switch using the software tools available with the switch, from the built-in Web browser interface. This chapter describes the following: ■ basic troubleshooting tips ■... -
Page 52: Forgotten The Ip Address Or Password
Testing the Switch by Resetting It If you believe the switch is not operating correctly, you can reset the switch to test its circuitry and operating code. To reset a switch, unplug and plug in the power cord (power cycling) Power cycling the switch cause the switch to perform its power-on self test. -
Page 53: Before Calling Support
Troubleshooting ProCurve Networking Customer Support Services Information Location the front of the switch, and on labels on the mini-GBICs (mini-GBIC is for the 24 port switch only) Web interface your network records... -
Page 55: Index
… 2-11 configuring … 2-12 mirroring … 2-13 statistics … 2-15 rate limits, setting … 2-11 reboot switch … 2-36 SNMP configuration … 2-33 software version, displaying … 2-5 software, update … 2-38 statistics port … 2-15 statistics, switch …... - Page 56 user password … 2-10 VLANs port configuration … 2-27 setup … 2-25 Web interface configuration options … 2-2 home page … 2-1 main menu … 2-3 panel display … 2-3 Index-2...
- Page 57 To learn more, visit www.hp.com/go/procurve/ © Copyright 2007, 2009 Hewlett-Packard Development Company, L.P. The information contained herein is subject to change without notice. The only warranties for HP products and services are set forth in the express warranty statements accompanying such products and services.
Need help?
Do you have a question about the J9079A and is the answer not in the manual?
Questions and answers