Sign In
Upload
Download
Table of Contents
Contents
Add to my manuals
Delete from my manuals
Share
URL of this page:
HTML Link:
Bookmark this page
Add
Manual will be automatically added to "My Manuals"
Print this page
×
Bookmark added
×
Added to my manuals
Manuals
Brands
ATEN Manuals
Extender
CE774
User manual
ATEN CE774 User Manual
Usb dual view kvm extender
Hide thumbs
1
2
3
4
Table Of Contents
5
6
7
8
9
10
11
12
13
14
15
16
17
18
19
20
21
22
23
24
25
26
27
28
29
30
31
32
33
34
35
36
37
38
39
40
41
42
43
44
45
46
47
page
of
47
Go
/
47
Contents
Table of Contents
Troubleshooting
Bookmarks
Table of Contents
FCC Information
Rohs
Sj/T 11364-2006
User Information
Online Registration
Telephone Support
User Notice
Package Contents
Table of Contents
About this Manual
Conventions
Product Information
1 Introduction
Overview
Features
Requirements
Consoles
Computers
Cables
Operating Systems
Components
CE774L / CE775L (Local Unit) Front View
CE774R (Remote Unit) Front View
CE774L / CE775L Rear View
CE774R / CE775R Rear View
2 Hardware Setup
Rack Mounting
Installation
Grounding
Setting up
Installation Diagrams
3 Operation
Operating Modes
Mode Selection
Deskew and Picture Compensation
Wake up PC
Firmware Upgrade
LED Display
CE774L / CE775L (Local Unit)
Hotkey Setting Mode
Invoking HSM
Alternate HSM Invocation Keys
Keyboard Operating Platform
Hotkey Summary Table
4 Keyboard Emulation
Mac Keyboard
Sun Keyboard
5 The Firmware Upgrade Utility
Before You Begin
Starting the Upgrade
Upgrade Succeeded
Upgrade Failed
Appendix
Safety Instructions
General
Rack Mounting
Technical Support
International
North America
Specifications
Troubleshooting
Overview
About SPHD Connectors
Limited Warranty
Advertisement
Quick Links
1
Troubleshooting
Download this manual
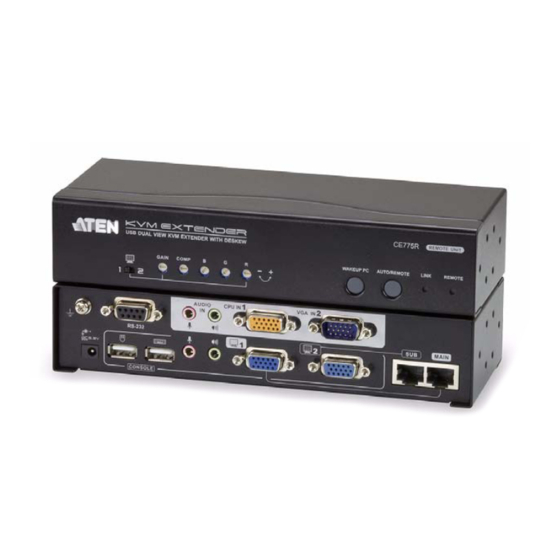
USB Dual View KVM Extender
CE774 / CE775
User Manual
www.aten.com
Table of
Contents
Previous
Page
Next
Page
1
2
3
4
5
Advertisement
Table of Contents
Need help?
Do you have a question about the CE774 and is the answer not in the manual?
Ask a question
Questions and answers
Related Manuals for ATEN CE774
Extender ATEN CE-700 User Manual
Usb kvm extender (17 pages)
Extender ATEN CE-700 User Manual
Usb kvm extender (15 pages)
Extender ATEN CE790 User Manual
Digital kvm extender (44 pages)
Extender ATEN ProXime Application Manual
Digital kvm extension solution for control rooms (6 pages)
Extender ATEN CE790 User Manual
Digital kvm extender graphical user interface (gui) (9 pages)
Extender ATEN ProXime Application Manual
Analog kvm extender for serial applications (6 pages)
Extender ATEN CE750 User Manual
Usb kvm extender (34 pages)
ATEN CE750 - USB KVM Extender Quick Start Guide
(article)
Extender ATEN CE770 User Manual
Usb (40 pages)
Extender ATEN CE700A User Manual
Usb kvm extender (21 pages)
Extender ATEN CE700A User Manual
Usb (20 pages)
Extender ATEN CE700A Quick Start Manual
Usb kvm extender (2 pages)
Extender ATEN CE700A User Manual
Usb kvm extender (24 pages)
Extender ATEN CE775 User Manual
Usb dual view kvm extender (47 pages)
Extender Aten CE750A Quick Start Up Manual
Usb kvm extender (2 pages)
Extender ATEN CE750A User Manual
Usb kvm extender (36 pages)
This manual is also suitable for:
Ce775
Table of Contents
Print
Rename the bookmark
Delete bookmark?
Delete from my manuals?
Login
Sign In
OR
Sign in with Facebook
Sign in with Google
Upload manual
Upload from disk
Upload from URL


Need help?
Do you have a question about the CE774 and is the answer not in the manual?
Questions and answers