Plantronics Voyager PRO UC v2 User Manual
Bluetooth headset/bluetooth usb adapter
Hide thumbs
Also See for Voyager PRO UC v2:
- User manual (25 pages) ,
- User manual (24 pages) ,
- User manual (25 pages)
Table of Contents
Advertisement
Advertisement
Table of Contents
Troubleshooting

Related Manuals for Plantronics Voyager PRO UC v2


Summary of Contents for Plantronics Voyager PRO UC v2
- Page 1 Voyager PRO UC v2 ® Bluetooth Headset BT300 Bluetooth USB Adapter USER GUIDE...
-
Page 2: Table Of Contents
Listening to Audio via A2DP (Advanced Audio Distribution Profile for Bluetooth) Transmission Range Simultaneous Call Handling Behavior (PC & Mobile) Headset Controls, Indicators and Voice Prompts Optional Plantronics Software Plantronics Control Panel Plantronics Update Manager Troubleshooting Troubleshooting — Softphone Usage... -
Page 3: Welcome
Welcome Congratulations on purchasing your new Plantronics Voyager PRO UC. This user guide contains instructions for setting up and using your Voyager PRO UC Bluetooth headset and BT300 Bluetooth USB adapter. Voyager Pro UC next generation technology. Featured highlights and Smart Sensor technology: • Auto answers calls by placing headset on your ear... -
Page 4: What's In The Box
What’s in the box Voyager PRO UC Headset with pre-installed medium ear tip Bluetooth USB Adapter Soft gel ear tips (small & large) and optional foam tip covers (small & medium) Carry case AC charging cable USB charging cable... -
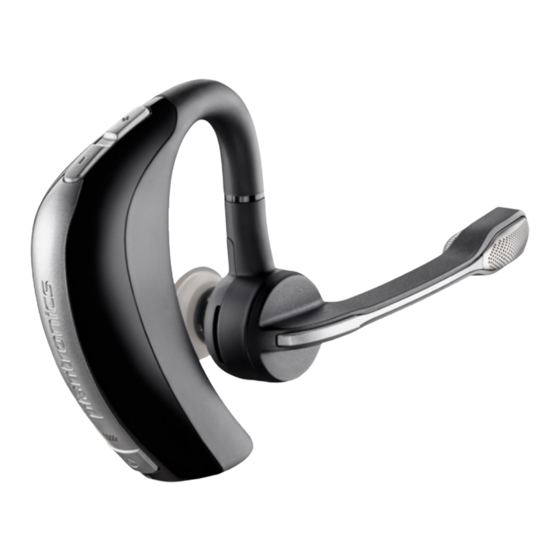
Page 5: Adapter And Headset Basics
Adapter and headset basics Bluetooth USB adapter LED indicator light Headset Volume/Mute button Call button Micro USB charging port Power button LED indicator light Stowing the headset... -
Page 6: Headset Controls
Headset controls 1 Volume/Mute button Increase/decrease volume Tap + or – button to adjust listen volume 1-second press of both + and – buttons Mute/unmute mic during a call 1-second press of both + and – buttons Pause/play audio Call button Answer or end a call (PC or mobile) 1 tap Redial... -
Page 7: Charge Your Headset
Charge your headset Charge your headset before using. Plug in your headset and charging time place on a flat non-metallic surface. The Smart Sensors in your 30 min ......headset fully calibrate while charging. When fully charged, the LED Minimum charge before first use goes off. -
Page 8: Fit Your Headset
Fit your headset Fitting the headset The headset comes configured for the right ear, with the medium ear tip installed, however you can replace it with the small or large ear tip provided or configure the headset to fit on the left ear. -
Page 9: Quick-Turn Adjustment For The Left Ear
Pivot the boom into an upright position. Rotate the boom and speaker to the other side of the headset and lower it before fitting your other ear. Accessories and replacement parts You can order additional accessories and replacement parts here: plantronics.com/accessories... -
Page 10: Pairing Your Bluetooth Usb Adapter
Pairing your Bluetooth USB adapter Initial pairing Your Bluetooth USB adapter comes pre-paired to your Voyager PRO UC headset. To re-pair your Bluetooth USB adapter In the event that your headset and Bluetooth USB adapter are not paired or become unpaired do the following: Start with the headset powered off. -
Page 11: Connect Pc And Call
Check your audio settings. Confirm the speaker and microphone settings for your PC softphone are set to Plantronics BT300. PC audio setup for Windows 7 (To reach this screen: Control Panel > Sound) Alternative setting: All PC sounds... -
Page 12: Bluetooth Usb Adapter Led Indicators
PC audio setup for Windows XP (To reach this screen: Start > Control Panel> Sound and Audio Devices) Default setting: All PC sounds and audio is played in the headset. Alternative setting: All PC sounds played through your PC speakers and communication audio is played in your headset. -
Page 13: Pair Mobile Phone And Call
Settings > Wireless > Bluetooth: On > Scan for devices. Other Consult phone manual NOTE For detailed paring instructions for popular mobile phones visit plantronics.com/easytopair PLT_VoyagerPRO Some phones may request that you enter a password for pairing. Enter 0000 password if your phone requests a password to pair with the headset. -
Page 14: Placing A Call With Your Headset And Bluetooth Mobile Phone
Placing a call with your headset and Bluetooth mobile phone To place a call Dial number on your mobile phone keypad. Redial last number* Double press call button. There will be a double low tone on each press. A final tone indicates the last number has been redialled. Activate voice dialling* Press and hold call button for two seconds. -
Page 15: Advanced Features
NOTE These features are enabled by default and can be disabled in the Plantronics Control Panel: Devices>Device Settings>Headset Tab. The Plantronics software must be downloaded to access the Control Panel. Changes to the settings requires that you are connected and within range of the USB adapter. -
Page 16: Listening To Audio Via A2Dp (Advanced Audio Distribution Profile For Bluetooth)
Listening to Audio via A2DP (Advanced Audio Distribution Profile for Bluetooth) Your Voyager PRO UC headset can play media files (music, podcasts, etc.) from any A2DP- enabled mobile device. Play/Pause You can pause/resume your music from the mobile phone by depressing and holding the headset’s volume + and –... -
Page 17: Headset Controls, Indicators And Voice Prompts
Headset controls, indicators and voice prompts Action Indicator light Tone Voice prompt Power on/off Press power on/ On: solid blue for On: ascending On: “Power on” off button 2 seconds tone followed by a voice 2 seconds prompt detailing Off: solid red for Off: descending battery status. -
Page 18: Optional Plantronics Software
Plantronics Control Panel If you have chosen to download and install the optional Plantronics software you may make changes that affect the performance of your headset by using the Plantronics Control Panel. To start this utility, click Start > Programs > Plantronics > Plantronics Control Panel. - Page 19 Applications tab Displays the status of Plantronics support for various applications such as softphones and media players Preferences tab Allows you to set preferences for the media player as well as other general settings...
-
Page 20: Plantronics Update Manager
You can choose to check for available software updates at any time by clicking on the Check For Updates Now button in Update Manager: From the Start menu, click Programs, then Plantronics, then open Plantronics Update Manager. Install checked updates Following an AUTOMATIC or MANUAL CHECK FOR UPDATES, this field will be populated with any applicable software updates and the INSTALL CHECKED UPDATES will begin installation. -
Page 21: Troubleshooting
Fine-tune the listening volume with the call button. Ensure that the headset is the default sound device. The Plantronics control panel will launch the sound devices control panel by going to Plantronics Control Panel > Preferences > General – Launch Audio Devices Control Panel. -
Page 22: Troubleshooting - Mobile Phone Usage
Troubleshooting — Mobile phone usage My headset does not Ensure that the headset is fully charged. work with my phone. Make sure the headset is paired with the Bluetooth phone you are trying to use. My phone did not locate Turn both your phone and headset off, then restart the mobile phone and the headset. -
Page 23: Need More Help
Plantronics, Inc. Microsoft, Windows and Vista are trademarks or registered trademarks of Microsoft Corporation. Skype is a trademark of Skype Limited or other related Skype companies. The Bluetooth word mark is owned by Bluetooth SIG, Inc. and any use of the mark by Plantronics is under licence.
Need help?
Do you have a question about the Voyager PRO UC v2 and is the answer not in the manual?
Questions and answers