Table of Contents
Advertisement
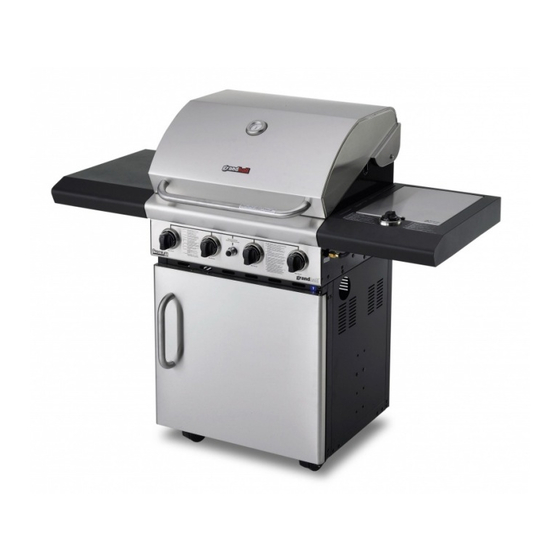
Portable Gas
Barbecues
Operating and assembly instructions
FOR YOUR SAFETY.
IF YOU SMELL GAS:
1. Shut off gas to the
appliance, if possible.
2. Extinguish any open flame.
3. Open hood.
4. If odour continues,
immediately call your gas
supplier or fire department.
FOR YOUR SAFETY.
1. Do not store or use
petrol or other flammable
vapours and liquids in the
vicinity of this or any other
appliance.
2. A gas cylinder not
connected for use must not
be stored in the vicinity of
this or any other appliance.
These instructions are a guide
to assembling and using
barbecue models
Premium 321S, Premium 323,
Premium 325, Premium 326,
Premium 326X, Premium 327,
Professional 529,
Professional 584.
Please read carefully, and
retain for future reference.
Only to be used outdoors. Illustration may
vary from barbecue contained in carton.
Advertisement
Table of Contents


Need help?
Do you have a question about the Premium 323 and is the answer not in the manual?
Questions and answers