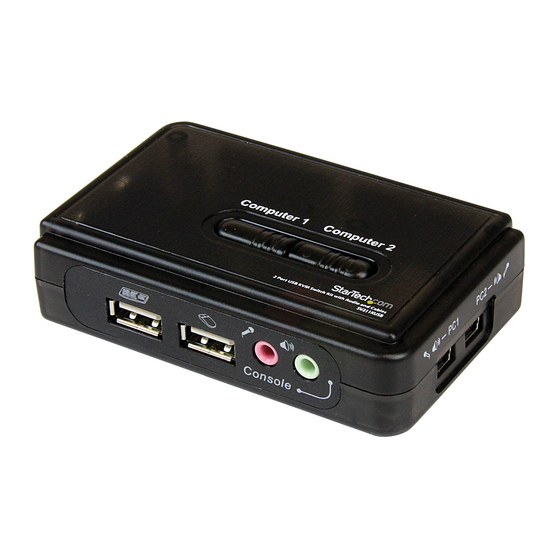
StarTech.com SV211KUSB Instruction Manual
2/4 port micro usb kvm kit with audio and cables
Hide thumbs
Also See for SV211KUSB:
- Instruction manual (9 pages) ,
- Brochure (2 pages) ,
- Quick installation manual (2 pages)
Summary of Contents for StarTech.com SV211KUSB
- Page 1 Micro USB KVM Switch 2 Port Micro USB KVM Kit with Audio and Cables 4 Port Micro USB KVM Kit with Audio and Cables SV211KUSB Instruction Manual SV411KUSB Actual product may vary from photo...
-
Page 2: Fcc Compliance Statement
StarTech.com. Where they occur these references are for illustrative purposes only and do not represent an endorsement of a product or service by StarTech.com, or an endorsement of the product(s) to which this manual applies by the third-party company in question. -
Page 3: Table Of Contents
Connecting console components to the KVM switch - SV211KUSB ..2 Connecting computers to the KVM switch - SV211KUSB ... . .2 Connecting console components to the KVM switch - SV411KUSB ..2 Connecting computers to the KVM switch - SV411KUSB . -
Page 4: Introduction
Instruction Manual Introduction Thank you for purchasing a StarTech.com Micro USB KVM Kit. This product allows you to access and control multiple USB-enabled computers and features an independant audio/mic switching function that offers uninterrupted audio, even while connected to another computer. For PCs running Windows systems, this KVM switch provides an... -
Page 5: Software
Windows desktop. Right-click on the icon to launch the operation menu, and double-click to evoke the configuration box. Connecting console components to the KVM Switch (SV211KUSB) 1. Place the KVM switch in close proximity to the keyboard, mouse and monitor you wish to use as the shared console controls. - Page 6 Instruction Manual Connecting Computers to the KVM Switch (SV211KUSB) PC 1 USB + Video Data Cable PC 2 Console Speakers Microphone USB to Audio cables Figure 1-2 SV211KUSB Shown This section describes how to connect the computers you wish to control, to the KVM switch.
-
Page 7: Connecting Computers To The Kvm Switch - Sv411Kusb
Instruction Manual Connecting console components to the KVM Switch (SV411KUSB) 1. Place the KVM switch in close proximity to the keyboard, mouse and monitor you wish to use as the shared console controls. 2. Connect the monitor to the VGA port (Blue) located on the front panel of the switch. 3. -
Page 8: Using The Kvm Switch
Instruction Manual the cable to one of the VGA/Data ports on the KVM Switch, (located on the side or rear panel of the switch) as shown in Figure 1-3. 3. Plug the USB portion of the USB + Video Data Cable into an available USB port on computer 1. - Page 9 Instruction Manual From within the KVM Switcher software, you also have the option to fix the audio/mic channel to the selected PC. Once this option is check, the audio/mic channel will be fixed and become non-switchable without re-configuration. Similarly, the Autoscan feature can also be customized, by selecting the desired Auto Scan Period from the drop down menu provided.
-
Page 10: Technical Support
Limitation of Liability In no event shall the liability of StarTech.com Ltd. and StarTech.com USA LLP (or their officers, directors, employees or agents) for any damages (whether direct or indirect,... - Page 11 Visit www.startech.com for complete information about all our products and to access exclusive interactive tools such as the Parts Finder and the KVM Reference Guide. StarTech.com makes it easy to complete almost any IT solution. Find out for yourself why our products lead the industry in performance, support, and value.


Need help?
Do you have a question about the SV211KUSB and is the answer not in the manual?
Questions and answers