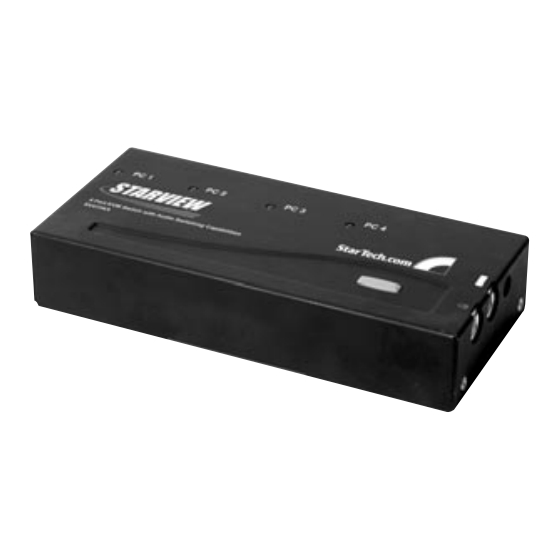
Summary of Contents for StarTech.com StarView SV211KA
- Page 1 K K V V M M S S W W I I T T C C H H StarView KVM with Audio SV211KA SV411KA Instruction Guide * SV411KA shown * Actual product may vary from photo The Professionals’ Source For Hard-to-Find Computer Parts...
- Page 2 FCC COMPLIANCE STATEMENT This equipment has been tested and found to comply with the limits for a Class B digital device, pursuant to part 15 of the FCC Rules. These limits are designed to provide reasonable protection against harmful interference in a residential installation. This equipment generates, uses and can radiate radio frequency energy and, if not installed and used in accordance with the instructions, may cause harmful interference to radio communications.
-
Page 3: Table Of Contents
Table of Contents Introduction ............2 Installation . -
Page 4: Introduction
• 1 x KVM switch • SV211KA: 2 x 6 ft (1.8m) 3-in-1 cable set, 4 x 6 ft (1.8m) custom audio cable set • SV411KA: 4 x 6 ft (1.8m) 3-in-1 cable set, 8 x 6 ft (1.8m) custom audio cable set... -
Page 5: Installation
Installation This section will guide you through the installation of your KVM switch. Please read through the instructions carefully and complete each step in the order listed. PC Monitor Monitor PC Speaker Cable PC Microphone Cable Speaker Microphone Cable Back Side Power Supply (Optional) -
Page 6: Using Your Kvm Switch
Connecting the computers 1. Connect the single end of the 3-in-1 cable into an open HDB-15 port on the back of the switch. 2. Plug the blue monitor, purple keyboard, and green mouse cables into the ports on the back of the computer. 3. -
Page 7: Troubleshooting
Troubleshooting If you encounter any problems, first make sure all cables are firmly seated at both ends and connected to their proper ports. Problem: Keyboard or mouse doesn't work. Cause: Improper power-up sequence. Keyboard or mouse has not initialized properly. Solution: Press and hold the push-button for 3 seconds. -
Page 8: Product Specifications
Product Specifications SV211KA SV411KA Console ports Computer ports Port selection button Hot plug-and-play Hot-key control 1920 x 1440, DDC2B 1920 x 1440, DDC2B Computer connector HDB-15 x 2, Stereo jack x 4 HDB-15 x 4, Stereo jack x 8 Console connector... -
Page 9: Technical Support
Limitation of Liability In no event shall the liability to StarTech.com Ltd. (or its officers, directors, employees or agents) for any damages (whether direct or indirect, special, punitive incidental, consequential, or otherwise), loss of profits, loss of business, or any pecuniary loss, arising out of related to the use of the product exceed the actual price paid for the product. - Page 10 Revised: June 9, 2003...


Need help?
Do you have a question about the StarView SV211KA and is the answer not in the manual?
Questions and answers