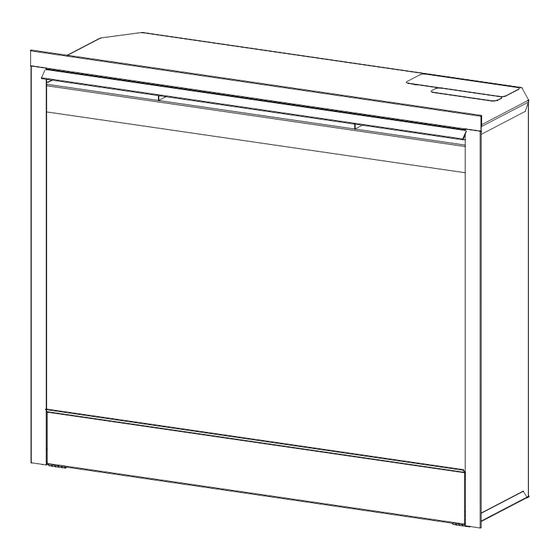
Dimplex DF2690 Service Manual
26” self trimming fireplace with 3 stage remote control
Hide thumbs
Also See for DF2690:
- Owner's manual (63 pages) ,
- Service manual (14 pages) ,
- Owner's manual (19 pages)
Table of Contents
Advertisement
Service Manual
26" Self Trimming Fireplace with 3 Stage Remote Control
Model Number:
DF2690
UL Number:
6904410400
Dimplex North America Limited
1367 Industrial Road
Cambridge ON Canada N1R 7G8
1-800-668-6663
www.dimplex.com
In keeping with our policy of continuous product development, we reserve the right to make changes without notice.
© 2012 Dimplex North America Limited
REV
PCN
Date
00
11047
14-Nov-08
01
6-Feb-12
7400010000R01
Advertisement
Table of Contents

Summary of Contents for Dimplex DF2690
- Page 1 6-Feb-12 Dimplex North America Limited 1367 Industrial Road Cambridge ON Canada N1R 7G8 1-800-668-6663 www.dimplex.com In keeping with our policy of continuous product development, we reserve the right to make changes without notice. © 2012 Dimplex North America Limited 7400010000R01...
-
Page 2: Table Of Contents
Wiring Diagram - DF2690 ........ -
Page 3: Operation
CAUTION: If you need to continuously reset the heater, until you hear a click. Leave thermostat in this position disconnect power and call Dimplex customer service at to maintain the room temperature at this setting. For 1-888-DIMPLEX (1-888-346-7539). - Page 4 Slide battery cover open on the remote control. Install one 12-volt (A23) battery in the battery holder. Close the battery cover. Battery must be recycled or disposed of properly. Check with your Local Authority or Retailer for recycling advice in your area. www.dimplex.com...
-
Page 5: Exploded Parts Diagram
ExpLODED pARTS DIAgRAM... -
Page 6: Replacement Parts List
..... 4100040200RP Trim Replacement Kit ... . . 9600260100RP Single Lamp holder (Center Lower) . . . 2500150300RP Double Lamp holder (Upper & Lower) . 2500400300RP WIRINg DIAgRAM - DF2690 www.dimplex.com... -
Page 7: Front Glass Replacement
FRONT gLASS REpLACEMENT Figure 6 Tools Required: Phillips head Screwdriver WARNINg: If unit was operating prior to servicing allow Loosen at least 10 minutes for light bulbs and heating element to cool off to avoid accidental burning of skin. WARNINg: Disconnect power before attempting any maintenance or cleaning to reduce the risk of electric Tighten shock or damage to persons. -
Page 8: Partially Reflective Glass Replacement
IMpORTANT: Only handle the log-set by the plastic ember-bed, not the logs themselves. NOTE: Log-set fits tightly into firebox. Some force Figure 7 Figure 9 ON/OFF Partially Switch Reflective Glass Retaining Clip Retainer Clips (one top, one bottom) www.dimplex.com... -
Page 9: 3-Position Switch Replacement
the control panel; and two (2) screws on the bottom of Figure 10 Manual Selection the fireplace (Figure 8). The bottom panel is now free Switch to be removed. Locate the On/Off Switch mounted on the control panel on the left side (Figure 9) and disconnect the two (2) wiring clips noting their original locations. -
Page 10: Flame Action Control Replacement
Remove the firebox from the mantel. Flame Action Lay unit on its back. Control Board Remove the 12 screws that fasten the bottom cover to the rest of the firebox. There are: two (2) screws on Mounting Studs (4) www.dimplex.com... -
Page 11: Thermostat Control Replacement
long with wire cutters. Figure 14 Mounting Using one of the supplied wire connectors from the Screw Replacement Part Kit, place one (1) yellow wire from the new Flicker Motor and the yellow wire cut in step 8 into each terminal. Rubber Bushing Secure the wire connector by crimping the 3M symbol... -
Page 12: Power Cord Replacement
Locate and disconnect the two (2) power cord wire Control connections: one from the bottom of the two (2) Receiver connectors on the On/Off Switch; the other on the Flame Speed Control board, noting their original Mounting locations. (Figure 17) Studs (4) www.dimplex.com... -
Page 13: Heater Assembly Replacement
glass. (Figure 14) push each LED out from the front of the control panel. Loosen but do not remove the two (2) Philips screws Clear any silicon that may be present and firmly grasp that clamp the partially reflective glass in place. (Figure the sheathed ends of the wires leading to each LED and remove the plastic pushing from each LED. - Page 14 (5) heater mounting screws, noting the center screw is of a larger diameter. (Figure 22) Separate the Heater Assembly from the top panel. Properly orient the new Heater Assembly and connect all of the wiring connections. Reassemble in the reverse order as above. www.dimplex.com...
-
Page 15: Troubleshooting Guide
Troubleshooting guide PROBLEM CAUSE SOLUTION general Circuit breaker trips or fuse Short in unit wiring. Trace wiring in unit. blows when unit is turned on Improper circuit current rating Additional appliances may exceed the current rating of the circuit breaker or fuse. Plug unit into another outlet or install unit on a dedicated 15 amp circuit. - Page 16 Ensure rod is straight and mounted properly in the the heater off internal components bracket, spinning freely away from other components. Replace if necessary. Defective Flicker Motor Replace Flicker Motor Buzzing noise from control panel Defective Flame Speed Controller Replace Flame Speed Controller www.dimplex.com...


Need help?
Do you have a question about the DF2690 and is the answer not in the manual?
Questions and answers