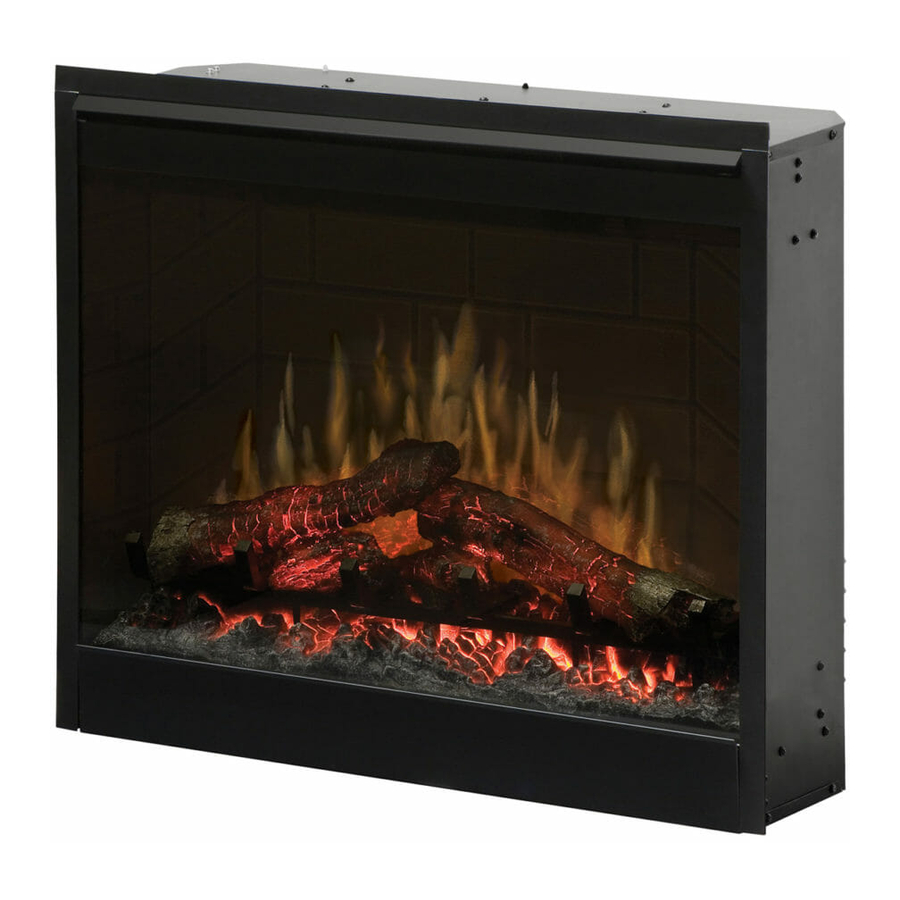
Dimplex DF2608 Owner's Manual
Hide thumbs
Also See for DF2608:
- Owner's manual (63 pages) ,
- Practical user's manual (20 pages) ,
- Service manual (18 pages)

Subscribe to Our Youtube Channel
Related Manuals for Dimplex DF2608


Summary of Contents for Dimplex DF2608
- Page 1 Owner’s Manual Model DF2608 NBDF2608 DF2622SS DF2622BLK IMPORTANT SAFETY INFORMATION: 7208680100R06...
- Page 2 Table of Contents Operation Warranty NOTE: CAUTION: in damage to the equipment WARNING:...
-
Page 3: Welcome & Congratulations
Welcome & Congratulations Please carefully read and save these instructions. CAUTION: Model Number Serial Number NO NEED TO RETURN TO THE STORE Questions with operation or assembly? Require Parts Information? Contact us at: www.dimplex.com/customer_support Toll-Free 1-888-DIMPLEX (1-888-346-7539) -
Page 4: Important Instructions
IMPORTANT INSTRUCTIONS Do not operate any unit with when any heater is used by or near may fall into a bathtub or other water supervised to ensure that they do not... - Page 5 IMPORTANT INSTRUCTIONS Do not insert or allow foreign Avoid the use of an extension Although this unit is of zero Do not burn wood or other required or where the unit will be exposed to When transporting or storing the SAVE THESE INSTRUCTIONS...
- Page 6 IMPORTANT INSTRUCTIONS NOTE: This equipment has been by turning the equipment off and...
-
Page 7: Fireplace Installation
Fireplace Installation Fireplace Assembly WARNING: The only assembly required is sharp edges and ensure that Do not attempt to wire your Remove the right hand side Trim by removing three (3) Figure 1 Figure 2 Log Set Foam Assembly Front Trim Ties... -
Page 8: Site Selection And Preparation
Fireplace Installation (Figure 2) and slide it along CAUTION: Do not install or similar surfaces which Site Selection and may restrict air circulation Preparation preparing the site to install the ! NOTE: The dimensions of Figure 3 (695 mm) (663 mm) (580 (596 mm) (222 mm) -
Page 9: New Wall Construction
Fireplace Installation Dimensions without trim are 26 New Wall Construction does not require any additional Fireplace Insert Installation into the mantel (refer to mantel Use studs to frame an ! NOTE 1: Option #1: required if after installation the be run from behind the Trim and along the wall to an outlet blows on a regular basis when Figure 4... -
Page 10: Existing Fireplace
Fireplace Installation Option #2: surfaces which may restrict installed inside the framing air circulation. If installing minimum of 1875 Watts For Bathroom Use If this unit is installed in a bath- Existing Fireplace Seal all drafts and vents material to prevent any not install into an existing watertight and must be installed as to prevent water from entering... -
Page 11: Operation
Operation Figure 5 Electric Fireplace Manual C. Light Dimmer Control Controls (Figure 5) brightness of the interior of the D. Heater On/Off Switch A. Three Position On/Off Switch supplies power to the heating positions marked with “ I “ I “... - Page 12 Operation Three Position On/Off to the remote control setting (“ II ”position). Resetting the Temperature Cutoff Switch This unit is equipped with a temperature of the room by Battery Replacement (Figure 6) (A23) battery in the battery Remote Initialization/ Reprogramming Follow these steps for remote CAUTION: If you need to model and serial number...
-
Page 13: Maintenance
Operation Figure 6 ! NOTE: You will have only 10 result in these steps needing Button Button Battery Maintenance WARNING: before attempting any bulbs above that illuminate the log Lower Light Bulb Requirements Light Bulb Replacement Do not exceed 60 Watts per bulb. - Page 14 Maintenance Figure 7 Figure 8 Trim Ledge Rear Front Log Set Assembly Front the number of times you need the log set assembly by the removing the Log set assembly ! NOTE: Set log set assembly in front Remove three (3) Phillips Slide glass to right side of Remove four (4) Phillips Pull the front edge of the...
- Page 15 Maintenance Upper Light Bulb Requirements Install the log set assembly by Do not exceed 25 Watts per bulb. To access the upper light bulb bed until the rear tab snaps area: ! NOTE: Assembly is installed tightly under the bottom edge of the mirror to Remove three (3) Phillips Slide glass to the right side Figure 9...
-
Page 16: Glass Cleaning
Maintenance Glass Cleaning the upper left and upper right be removed by dusting lightly with Remove the four (4) Phillips Fireplace Surface Clean-... -
Page 17: Warranty
Warranty Two Year Limited Warranty a period of 2 years from the date of the Products to which this limited warranty applies This limited warranty applies to your newly Territories or in any of the 50 States of Products excluded from this limited warranty warranty and are the sole responsibility of material and workmanship for a period of... - Page 18 Dimplex at 1-888- (1-888- model and serial numbers available when site is beyond 30 miles (48 km) from What Dimplex will do in the event of a defect by this limited warranty is proven to be For products (other than surrounds...
- Page 19 For surrounds (mantels) and trims for the period ending at midnight on Dimplex will in its sole trims How State and Provincial law apply provided under this warranty may be What Dimplex and its dealers and service agents are also not responsible for...
-
Page 20: Replacement Parts
Replacement Parts Log Set 0439560100RP 3000240200 2000330100RP Thermostat 2300150100RP 2800071100RP 2800070700RP 3000240500RP 3000250100RP 4100040200RP 2500150300RP 2500400300RP Mirror 5901210200RP 5901220100RP 8800000200RP Remote Transmitter 3000370500RP 3000380200RP 4000070100RP 5901250100RP 9600260100RP Dimplex North America Limited 1367 Industrial Road...
Need help?
Do you have a question about the DF2608 and is the answer not in the manual?
Questions and answers