Advertisement
4
INSTALL INSTRUCTIONS C-VS-1200-F250-1
2008 FORD F-250, 350, 450 and 550 Pickup and Cab Chassis Trucks
TOOLS REQUIRED:
Ratcheting wrench
Metric/Standard Socket Set
7/16" Wrench
INSTALLATION HARDWARE:
QTY DESCRIPTION
1 ¼" X 1" Hex Bolt
5 ¼" X ½" Carriage Bolt
6 ¼" Serrated Hex Flange Nut
1 ¼" Flat Washer
3 #8 x ¼" Flat Head Phillips Screw
1 Torx Screw Kit
All other hardware is pre assembled on console or OEM hardware is reused.
Read all instructions before installing any Havis-Shields Equipment Corp products.
Check for obstructions (Wire, brake lines, fuel tank, etc.) before drilling any holes!
Use only hardware provided with install kit.
For product support, visit the Install Instructions Section of our website at
http://havis.com/Installation/Installation.html, email
1-800-524-9900 and ask for technical support.
***Crew Cab trucks will require the removal of the air conditioning / heat duct
that runs on top of the transmission hump to rear seats. Installer will need to
block off remaining duct opening. Screws, foam and duct tape can be used to
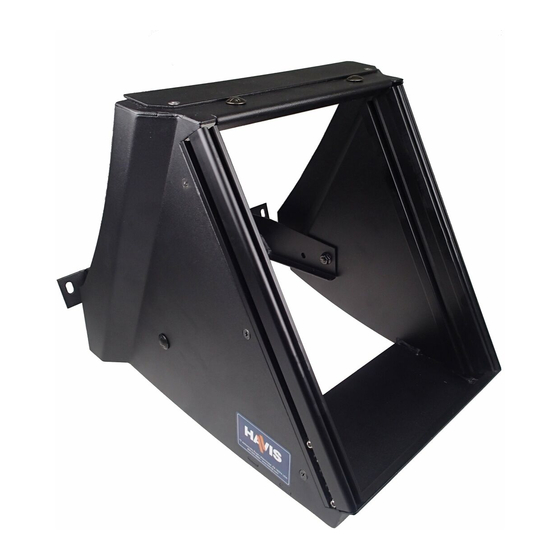
Vehicle Specific Console
Phillips Screwdriver
T-20 Torx Driver bit
7 mm Socket or Driver
Always
close off duct. (Not included)***
PART #
GSM33002B
GSM31999
GSM30023
GSM31005B
GSM33178
C-HK-1
!
technicalsupport@havis.com
or call
Advertisement
Table of Contents

Subscribe to Our Youtube Channel
Summary of Contents for Havis-Shields C-VS-1200-F250-1
- Page 1 1 Torx Screw Kit All other hardware is pre assembled on console or OEM hardware is reused. Read all instructions before installing any Havis-Shields Equipment Corp products. Check for obstructions (Wire, brake lines, fuel tank, etc.) before drilling any holes! Use only hardware provided with install kit.
- Page 2 OEM Dashboard Carefully remove the small dash Remove passenger side small panel that holds the lighter plug. panel. Use 7mm socket and remove dash Use 7mm socket and remove dash mount screw mount screw Unplug and remove complete Carefully detach upper dash panel Detach lower dash panel under upper dash panel.
- Page 3 Use 7mm socket and remove two center dash screws. Reuse these screws and attach lower console bracket. Assemble the two-piece dash adaptor panel with three (3) #8 x ¼” Flat Head sheet metal screws. Attach console assembly with two OEM screws. Only attach two center screws at this time Attach dash panel to console housing with three ¼”...
- Page 4 If truck has OEM center console, it will be a tight fit depending on control heads. This may require installation of lower faceplates into console prior to console housing mounting. Wire and mount all control heads. Note: Installation of lower faceplate screws may require a T-20 Torx bit in a ratchet wrench with a ¼”...


Need help?
Do you have a question about the C-VS-1200-F250-1 and is the answer not in the manual?
Questions and answers