Parrot ZIKMU SOLO User Manual
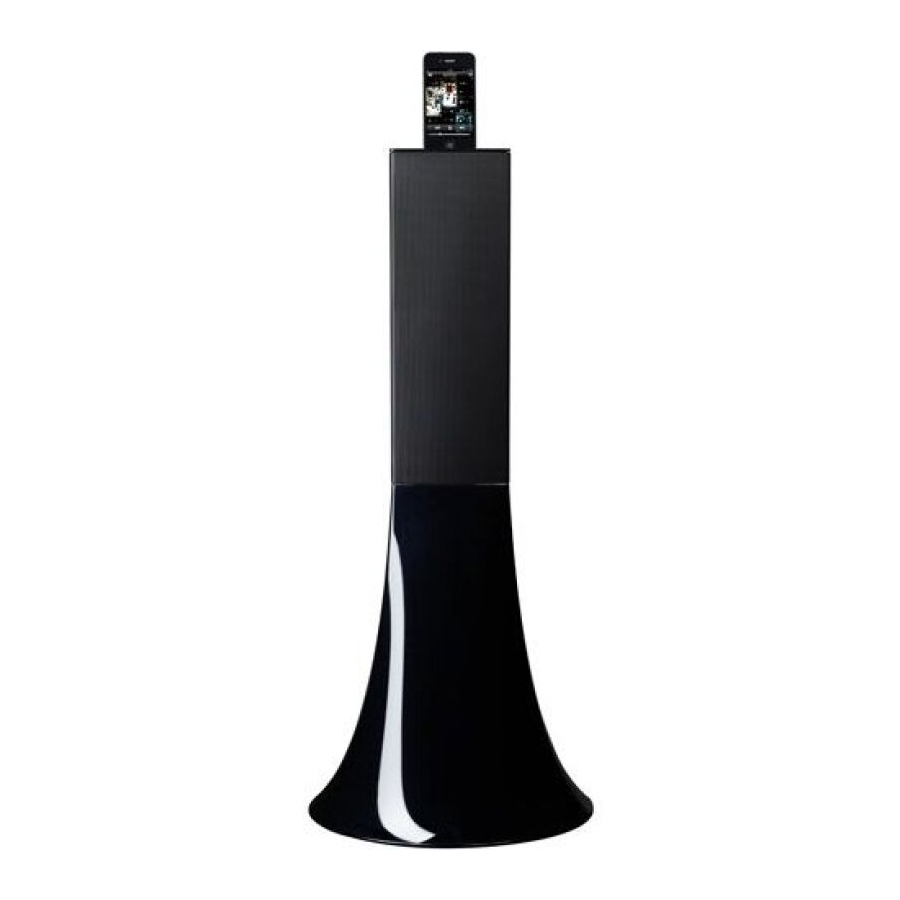
Parrot zikmu solo speaker
Hide thumbs
Also See for ZIKMU SOLO:
- Quick start manual (300 pages) ,
- Quick start manual (200 pages) ,
- Quick start manual (219 pages)
Table of Contents
Advertisement
Advertisement
Table of Contents

Related Manuals for Parrot ZIKMU SOLO


Summary of Contents for Parrot ZIKMU SOLO
- Page 1 User Guide...
-
Page 2: Table Of Contents
Getting started ............................5 Positioning the Zikmu Solo ....................................5 Connection to mains supply ....................................5 Remote control ....................................6 Turning the Parrot Zikmu Solo on / off ....................................6 Removing the front grid ....................................7 Lights ....................................8 Selecting an audio source ....................................8 Controlling the volume ....................................8... - Page 3 ...................................25 Updating ............................26 Check the Parrot Zikmu Solo software version ....................................26 Check the Parrot Zikmu Solo latest software version available ....................................26 Updating the Parrot Zikmu Solo via Wi-Fi or Ethernet ....................................26 Updating the Parrot Zikmu Solo using a shared folder ....................................26...
-
Page 5: Getting Started
Positioning near walls has the effect of increasing the level of the low frequencies. When your Parrot Zikmu Solo is installed and working, download the Parrot Audio Suite App in order to define the characteristics of the environment for the Parrot Zikmu Solo (dimensions of the room, distance away from walls). Refer... -
Page 6: Remote Control
Note: Use only a CR2032 battery. Note: Dispose of used batteries in compliance with current recycling legislation in the country of use. To pair the remote control to the Parrot Zikmu Solo : 1. Reboot the speaker. 2. Wait for the light to stop flashing. -
Page 7: Removing The Front Grid
Removing the front grid The Wi-Fi, B luetooth and Reset buttons are accessible by removing the magnetic Parrot Zikmu Solo front grid. Button Function Short press: Establish Wi-Fi connection with a modem / router supporting WPS technology (refer to the Wi-Fi > Connection with WPS section). -
Page 8: Lights
Increase the volume. Decrease the volume. Mute the speaker / Stop the source* * : This function marked with an asterisk is only available if you use the Parrot Zikmu Solo with controllable sources (iPod, Bluetooth, UPnP, Samba). Getting started... -
Page 9: Controlling The Music Playback
To remove dust or fingerprints from the speaker, use a slightly damp cloth. Avoid the use of chemical products to clean the speaker. The Parrot Zikmu Solo is a high technology product and should be handled with particular care. Getting started... -
Page 10: Ipod
Using the dock adapter Two dock adapters provided with the Parrot Zikmu Solo allow you to use the speaker with iPhone 3/3GS/4 & 4S. To use the Parrot Zikmu Solo with another iDevice, use the dock adaptor supplied with the iDevice. -
Page 11: Using The Application
Using the application ® Login to the App Store or Google Play and download the free Parrot Audio Suite application. This application will allow you to: control the playback of your audio files modify several audio settings check whether a new update is available connect the speaker to your Wi-Fi network easily. -
Page 12: Wi-Fi
Note : The performance of the Parrot Zikmu Solo depends highly on the performance of your modem / router. The sound quality of the Parrot Zikmu Solo may be affected if there is an obstacle or a wall between the speaker and your modem / router. Reposition your speakers if necessary. -
Page 13: Connection With An Rj45 Cable
> The green light remains steady when the connection is established. Connection with an RJ45 cable Note: The RJ45 cable, also known as a network cable or Ethernet cable, is not supplied with the Parrot Zikmu Solo. 1. Connect your computer to the Parrot Zikmu Solo using an RJ45 cable. -
Page 14: Connection With An Iphone
Parrot Zikmu Solo to your Wi-Fi network. Note : If the Parrot Zikmu Solo has already been connected to a Wi-Fi network, it will not create its own Wi-Fi network. To do so, you first need to reset the Parrot Zikmu Solo Wi-Fi parameters by holding down the button for 6 seconds. -
Page 15: Transferring Music Via A Upnp / Dlna Server
The Parrot Zikmu Solo can connect to UPnP / DLNA servers via Wi-Fi or via an Ethernet connection. You must be connected to the same local network as your Parrot Zikmu Solo. You can listen to music on your Parrot Zikmu Solo using Windows Media Player or by using the web interface. -
Page 16: Accessing Available Servers
3. Select a shared folder. > The shared folder appears in the Player menu. Note: If your computer is connected to a domain, or if you use password-protected sharing, click Configuration and enter the necessary information (domain, user, password). If an option is not required, leave the field empty. Accessing available servers If you connect an iPod to your speaker, the iPod appears in the list of available servers. -
Page 17: Bluetooth
Note: It not possible to transfer music from multiple devices simultaneously. If an audio player is transferring a track, other devices will not be able to play music through the Parrot Zikmu Solo at the same time. You will have to stop the current transfer. -
Page 18: Using The Parrot Zikmu Solo With A Computer
Using the Parrot Zikmu Solo with a computer You can stream music via B luetooth to the Parrot Zikmu Solo from any PC supporting B luetooth technology and MAC OS X 10 (and later versions). Note : If your PC is not Bluetooth enabled, use a Bluetooth dongle after having installed the necessary drivers. - Page 19 (Stereo). Note: To use your Parrot Zikmu Solo subsequently, your device just needs to be turned on and near your computer, and you must have selected it as external speaker for the computer as shown in step 9. All devices paired with the computer remain in memory and therefore do not require any additional action.
-
Page 20: Jack
................................. You can connect your analogue audio player (ex: CD player, TV) to the Parrot Zikmu Solo via a jack / jack cable to stream music. To do so, connect the cable to the jack connector located under the speaker and start playing a track. -
Page 21: Settings
The Random and Repeat options are available on the home page of the web interface for the Parrot Zikmu Solo. They work when you use the Parrot Zikmu Solo with a source such as an iPod, a UPnP peripheral, a B luetooth peripheral or a shared file. -
Page 22: Using The Equaliser
Using the volume ramp To avoid the risk of too high a volume when Parrot Zikmu Solo starts up, use the volume ramp. This option lets you define the speed at which you want the Parrot Zikmu Solo to reach the volume set on the control bar. -
Page 23: Changing The Internet Settings
Using the volume ramp To avoid the risk of too high a volume when Parrot Zikmu Solo starts up, use the volume ramp. This option lets you define the speed at which you want the Parrot Zikmu Solo to reach the volume set on the control bar. -
Page 24: Using The Equaliser
To restore the default Wi-Fi settings, click Default settings. Disable all sound effects For demonstration purposes, you can disable all the improvements made by the Parrot Zikmu Solo to the sound quality of your tracks. To do this, use the Audio Effects option. -
Page 25: Changing The Bluetooth Settings
2. Enter the new name then click Apply. Note: You can also change the name of your Parrot Zikmu Solo in Parrot Audio Suite in the System menu. The modification of the name of the speaker has an impact on the Bluetooth name, the name for UPnP, and the name for the web interface. -
Page 26: Updating
On the web interface, select the General Settings tab and click on Update. On the Parrot Audio Suite application, select Settings. To ask your speaker to look for a new update each time you turn on your Parrot Zikmu Solo, enable the Automatic update... - Page 27 3. Move the update file downloaded on step 1 to the shared folder created on step 2. 4. Connect the Parrot Zikmu Solo to your Wi-Fi network. Refer to the Parrot Zikmu Solo user guide for more information. 5. On your computer or Smartphone, launch your web browser and enter http://zikmu-solo.local...
-
Page 28: Troubleshooting
3. Reestablish the B luetooth connection between the Parrot Zikmu Solo and the audio player. If you are having an issue with your Parrot Zikmu Solo and need to reboot the speaker, remove the front grid and press the Reset button. -
Page 29: Compatibility
Compatibility If your phone does not seem to work with the Parrot Zikmu Solo, refer to the compatibility page on our website to check if your phone is compatible with the Parrot Zikmu Solo and to consult the corresponding pairing procedure : www.parrot.com/uk/ compatibility. - Page 30 After inspection of the product, Parrot will proceed, at its option, to the replacement or the issue a credit note to the exclusion of any other remedy.
- Page 31 Identification N. 394 149 496 R.C.S. PARIS Parrot S.A. Copyright © Parrot 2013. All rights reserved. This device complies with Part 15 of the FCC Rules. Operation is subject to the following two conditions: 1) this device may not cause harmful interference, and...
Need help?
Do you have a question about the ZIKMU SOLO and is the answer not in the manual?
Questions and answers