Table of Contents
Advertisement
Quick Links
See also:
User Manual
Advertisement
Table of Contents

Related Manuals for Elation CUEPIX BLINDER WW2


Summary of Contents for Elation CUEPIX BLINDER WW2
-
Page 1: User Manual
. e l a t i o n l i g h t i n g . c o m CUEPIX BLINDER WW2™ user manual 1.0 CUEPIX B LINDER W W2 1 U ser ... - Page 2 . e l a t i o n l i g h t i n g . c o m ©2013 by ELATION PROFESSIONAL. All Rights Reserved. Information, specifications, diagrams, images, and instructions herein are subject to change without notice. ELATION PROFESSIONAL logo and identifying product names and numbers herein are trademarks of ELATION PROFESSIONAL.
-
Page 3: Box Contents
Please read and understand the instructions in this manual carefully and thoroughly before attempting to operate this unit. These instructions contain important information regarding safety during use and maintenance. UNPACKING Thank you for purchasing the CUEPIX BLINDER WW2 ™ by Elation Professional®. Every CUEPIX BLINDER WW2 ™... -
Page 4: Customer Support
. e l a t i o n l i g h t i n g . c o m CUSTOMER SUPPORT Elation Professional® provides a customer support line, to provide set up help and to answer any question should you encounter problems during your set up or initial operation. You may also visit us on the web at www.elationlighting.com... - Page 5 B. For warranty service, send the product only to the Elation Professional® factory. All shipping charges must be pre-paid. If the requested repairs or service (including parts replacement) are within the terms of this warranty, Elation Professional®...
- Page 6 . e l a t i o n l i g h t i n g . c o m S A F E T Y I N S T R U C T I O N S The CUEPIX BLINDER WW2 ™...
- Page 7 w w w . e l a t i o n l i g h t i n g . c o m S A F E T Y I N S T R U C T I O N S - C O N T I N U E D Always disconnect from main power source before performing any type of service and/or cleaning •...
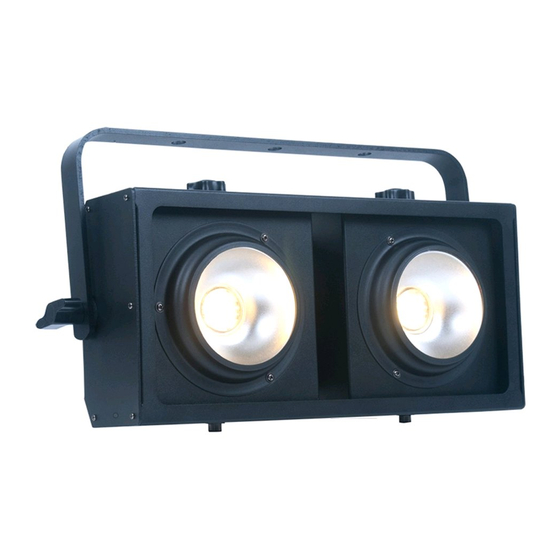
- Page 8 w w w . e l a t i o n l i g h t i n g . c o m F I X T U R E O V E R V I E W 1.
-
Page 9: Mounting Points
w w w . e l a t i o n l i g h t i n g . c o m I N S T A L L A T I O N T he el ec tri c c onnec ti on m ust onl y b e c arri ed out b y a qu al if i ed el ec tri c i an. CAUTIONS The recommended temperature for this fixture is 14°F to 113°F (-10°C to 45°C). -
Page 10: Dmx Mode
w w w . e l a t i o n l i g h t i n g . c o m F I X T U R E M E N U OPERATING INSTRUCTIONS 1) MANUAL DIMMING / FLASH 2) SETTING PIXEL FLIP 3) SETTING DIMMER CURVES 4) MASTER / SLAVE MODES... -
Page 11: Slave Mode
w w w . e l a t i o n l i g h t i n g . c o m PIXEL FLIP SETTING: Select the desired starting COB module and chase direction from one of the following modes below via UP/DOWN buttons and then press ENTER to confirm. - Page 12 w w w . e l a t i o n l i g h t i n g . c o m 3 Channel Mode: (Both COB Module Sections) Channel: Value: Function: 000-255 Master Dimmer (0-100%) 000-255 Flash From Slow To Fast Dim Curves: 0-41...
Need help?
Do you have a question about the CUEPIX BLINDER WW2 and is the answer not in the manual?
Questions and answers