Advertisement
Advertisement
Table of Contents

Related Manuals for Lathem 1221


Summary of Contents for Lathem 1221
-
Page 1: User Manual
888 534-5994 1221 USER MANUAL... -
Page 2: Table Of Contents
Here’s all the information you need for setting and operating your new Lathem time recorder. Service information is also included in this manual, in case any problems ever arise. Thank you for choosing a Lathem time recorder. Should you ever need assistance, please let us know. Ordering Accessories ..........2 Setting the Time ............ -
Page 3: Ordering Accessories
1200 Series User’s Manual Ordering Accessories For maximum results, only use Lathem accessories specifically designed to fit your time recorder. Description Part Number Extra Pair of Keys JB976 Replacement Ribbon, 2-Colors 7-2CN Replacement Timing Motor, 110V/60Hz K342... -
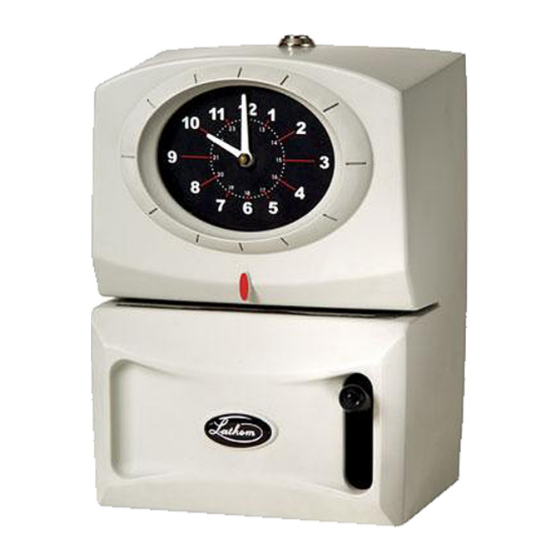
Page 4: Setting The Time
1200 Series User’s Manual Setting the Time Figure 1 Raise the Type Section 1. Unlock the case cover and pull it forward to remove it. 2. Wait until you hear the clock “click”. 3. Press either side of the Type Section Headlock – 1.2 and pull upward on the lower part of the Clock Face until the Type Section locks in the up position as shown in Figure 1. - Page 5 1200 Series User’s Manual Set the Time on the Type Wheels Figure 2 1. Locate the Center Line where all the wheels line up as shown in Figure 2. 2. Rotate the wheels using a pointed object. Rotate each wheel until the correct date and time are aligned at the Center Position, as shown in Figure 2.
- Page 6 1200 Series User’s Manual the Type Section down and press it firmly into the Type Section Headlock. 8. Make a sample registration and verify the time and date or day is correct. 9. Replace and lock the case cover. Set the Time on the Clock Face Figure 3 1.
-
Page 7: Changing The Ribbon
3. Lift ribbon hold-down guide 4.2 – use pencil to support in up position. 4. Remove ribbon and replace with new Lathem ribbon. Make sure the ribbon feeds from bottom of spools and runs BETWEEN reversing fingers 4.3, the red side aligned with date wheel(s). -
Page 8: Replacing The Type Section
1200 Series User’s Manual Replacing the Type Section If your type section needs servicing, you can easily remove and replace it with a spare, without sending the entire machine for service. Figure 5 1. Remove the top cover. 2. Remove Type Section Retaining Ring – 5.1. 3. -
Page 9: Changing The Motor
1200 Series User’s Manual Changing the Motor Figure 6 1. Unplug cord from wall outlet. 2. Remove type section from main frame (see “Replacing the Type Section”). 3. Figure 6 shows a close-up of cam block terminal. 4. Disconnect Motor Wire Leads – 6.1 by turning each Screw –... -
Page 10: Warranty
In no event will Lathem be liable for any direct, special, or consequential damages arising out of or in connection with the delivery, use or inability to use, or performance of this product.
Need help?
Do you have a question about the 1221 and is the answer not in the manual?
Questions and answers