Table of Contents
Advertisement
Quick Links
Advertisement
Table of Contents

Related Manuals for Audionet Amp I V2


Summary of Contents for Audionet Amp I V2
- Page 1 Stereo - Amplifier User’s Manual...
-
Page 3: Table Of Contents
Installation and power supply............8 Placement ..................8 Mains connection ................8 Inputs and outputs ..............10 Inputs...................10 Speaker terminals ................10 Bi-Wiring ..................11 Bridged operation................11 Audionet Link ................12 Operating ...................13 Powering up ................13 Switching on/off................13 Using Audionet Link..............13 Protection system ..............14 Technical information...............15 Construction ................15 Power supply................15... -
Page 4: Preface
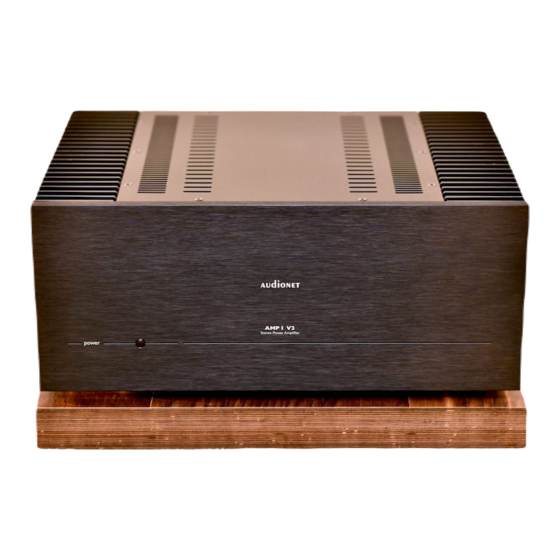
Preface The Audionet AMP1 V2 is a stereo audio power amplifier of highest performance and finish quality, and long-life stability. This system is designed for absolute natural music reproduction. The following will give you all information about how to operate your AMP1 V2. -
Page 5: Included
1.1 Included Included you will find the following items: · the stereo power amplifier AMP1 V2 · the user's manual (that you are currently reading) · one standard mains cord 1.2 Transport Important · Please transport the AMP1 V2 only in the included package. ·... -
Page 6: Overview Control Elements
Overview control elements 2.1 Front panel... -
Page 7: Overview Connections
Overview connections 3.1 Back panel... -
Page 8: Installation And Power Supply
Please mind the following security notes: Important · Please find a place for your Audionet AMP1 V2 that is sufficiently ventilated to allow the heat to dissipate. · Do not expose the unit to direct sunlight or in close range to heat sources like radiators or fan heaters. - Page 9 AMP1 V2 form the mains. To disconnect the unit completely from mains pull both mains plugs. Note · Using high-quality mains cords as the Audionet P10, may improve the sound quality. Please consult your local Audionet dealer.
-
Page 10: Inputs And Outputs
5.1 Inputs The AMP1 V2 has two RCA inputs 1 and 8 for the connection of a pre amplifier, e.g. Audionet PRE G2. Due to the dual mono construction, left and right inputs are separated at the rear. Please connect the right 1 and left input 8 of the AMP1 V2 to the cor- responding outputs of your pre amplifier. -
Page 11: Bi-Wiring
Connect the normal signal of the left pre amplifier output to the left input 1 and the inverted signal to the right input 8 of the AMP I V2 supply- ing the left loudspeaker. Please make a solid connection (wire cross sec- tion of 4.0 mm²) between both (–) loudspeaker outputs. -
Page 12: Audionet Link
For your convenience, the AMP1 V2 can be controlled remotely by one of Audionet's multi channel pre amplifiers (e.g. MAP or MAP 1) as well as one of Audionet's stereo pre amplifiers (e.g. PRE G2, PRE 1 G3) using the Audionet Link interface. -
Page 13: Operating
(mains unplugged). 6.3 Using Audionet Link If your AMP1 V2 is connected to an Audionet pre amplifier via Audionet Link, use the remote control of the pre amplifier to automatically switch on/off the AMP1 V2 (and all other Audionet units also connected via Audionet Link). -
Page 14: Protection System
Protection system Your AMP1 V2 has a powerful protection circuit to prevent damage of the amplifier itself or the loudspeakers connected. In case of trouble the AMP1 V2 is switched to stand-by state. The source of the problem is indicated by a flash code of the LED next to the power key on the front panel: Error Code Possible Cause... -
Page 15: Technical Information
Technical information 8.1 Construction The AMP1 V2 is constructed as a dual-mono amplifier. SMD techniques are used to optimise high-frequency characteristics. All signal paths are reduced to minimum length. No elements malicious to sound quality (i.e. coupling capacitors, coils, relays) are located in the signal path. The con- struction is magnetically and capacitively optimised. -
Page 16: Security Advice
Security advice · Avoid packaging material, especially plastic bags, to come into chil- dren’s hands. · Store and operate the unit in a dry room at a reasonable room tem- perature. · Avoid moisture or any liquid to get into the unit. ·... -
Page 17: Technical Data
Inputs 1 Audionet Link, optical Input impedance 37 kOhm, 220 pF 2 pair WBT-NextGen jacks, gold-plated Outputs 1 Audionet Link, optical (TosLink) Mains 120 V or 230 V, 50..60 Hz Power consumption Stand-by < 1W, max. 1.500 W Width: 430 mm... - Page 18 HF, DC, temperature rise and overload remote activation via Audionet Link (fibre optics cable) Errors and omissions excepted. Specifications and design are subject to changes without prior notice. audionet is a trademark of Idektron GmbH &...
Need help?
Do you have a question about the Amp I V2 and is the answer not in the manual?
Questions and answers