Olympus BX51 Operating Manual
Hide thumbs
Also See for BX51:
- Instructions manual (40 pages) ,
- Operating manual (11 pages) ,
- Instructions manual (34 pages)
Advertisement
Table of Contents
- 1 Table of Contents
- 2 Brightfield
- 3 Fluorescence
- 4 Phase Contrast
- 5 Nomarski Differential Interference Contrast (DIC)
- 6 Simultaneous Fluorescence and Phase Contrast
- 7 Simultaneous Fluorescence and DIC
- 8 Polarized Light
- 9 Appendix 1
- 10 Outline Olympus BX51 Microscope
- Download this manual
See also:
Instruction Manual
Olympus BX51 Operating Manual
http://www.manuallib.com/file/2605418
From ManualLib.com
ManualLib.com collects and classifies the global product
instrunction manuals to help users access anytime and
anywhere, helping users make better use of products.
Home: http://www.manuallib.com/ Chinese: http://www.shuomingshuku.com/
This Manual: http://www.manuallib.com/file/2605418
Advertisement
Table of Contents

Subscribe to Our Youtube Channel
Related Manuals for Olympus BX51


Summary of Contents for Olympus BX51
- Page 1 Olympus BX51 Operating Manual http://www.manuallib.com/file/2605418 From ManualLib.com ManualLib.com collects and classifies the global product instrunction manuals to help users access anytime and anywhere, helping users make better use of products. Home: http://www.manuallib.com/ Chinese: http://www.shuomingshuku.com/ This Manual: http://www.manuallib.com/file/2605418...
-
Page 2: Table Of Contents
Operating Manual for the Olympus BX51 Brightfield………………………………………………………..… Fluorescence……………………………………………………….. Phase Contrast……………………………………………………… Nomarski Differential Interference Contrast (DIC)………………… Simultaneous Fluorescence and Phase Contrast…………...……….. Simultaneous Fluorescence and DIC……………………………….. Polarized Light……………………………………………………… APPENDIX 1: Outline Olympus BX51 Microscope……………………….. This Manual: http://www.manuallib.com/file/2605418... -
Page 3: Brightfield
Operating Manual for the Olympus BX51 BRIGHTFIELD 1. Remove the microscope cover. 2. Turn on the halogen light switch (1) for transmitted light to “I” (ON). 3. Check the light path. The light path selector knob (2) should be pushed in all the way. - Page 4 13. Examine specimen and document image if necessary: If using 35mm film, use checklist for ‘Olympus 35mm Camera’. To obtain still digitized images, use checklist for ‘Polaroid Digital Microscope Camera (DMC). To obtain still digitized images and digitized movies, use checklist for ‘Sony, color Video camera’.
-
Page 5: Fluorescence
(22), the aperture iris diaphragm will get smaller. 9. Examine specimen and document image if necessary: If using 35mm film, use checklist for ‘Olympus 35mm Camera’. To obtain still digitized images, use checklist for ‘Polaroid Digital Microscope Camera (DMC). - Page 6 q Examples of fluorochromes to be used with selected filter cube. Filter cube Fluorochromes WU - #1 Autofluorescence observation DAPI: DNA staining Hoechst 33258, 33342: Chromosome WB - #2 FITC: Fluorescent antibody Acridine orange: DNA, RNA Auramine: Tubercle bacillus EGFP, S65T, RSGFP WG - #3 Rhodamine, TRITC: Fluorescent antibody Propidium iodide: DNA...
-
Page 7: Phase Contrast
26. Replace the ocular. 27. Examine specimen and document image if necessary: If using 35mm film, use checklist for ‘Olympus 35mm Camera’. To obtain still digitized images, use checklist for ‘Polaroid Digital Microscope Camera (DMC). - Page 8 28. When finished: Rotate the condenser turret (23) until the BF (brightfield) mark is visible. Lower the stage by turning the focus knob (10) towards you and remove the slide with your specimen from the stage (7). Turn the nosepiece (12) back until the 10x objective for brightfield imaging is into place.
-
Page 9: Nomarski Differential Interference Contrast (Dic)
NOMARSKI DIFFERENTIAL INTERFERENCE CONTRAST (DIC) 1. Remove the microscope cover. 2. Turn on the halogen light switch (1) for transmitted light to “I” (ON). 3. Check the light path. The light path selector knob (2) should be pushed in all the way. 4. - Page 10 21. Examine specimen and document image if necessary: If using 35mm film, use checklist for ‘Olympus 35mm Camera’. To obtain still digitized images, use checklist for ‘Polaroid Digital Microscope Camera (DMC). To obtain still digitized images and digitized movies, use checklist for ‘Sony, color Video camera’.
-
Page 11: Simultaneous Fluorescence And Phase Contrast
(22), the aperture iris diaphragm will get smaller. 9. Examine specimen and document image if necessary: If using 35mm film, use checklist for ‘Olympus 35mm Camera’. To obtain still digitized images, use checklist for ‘Polaroid Digital Microscope Camera (DMC). - Page 12 Turn off the halogen light switch (1) to “0” (OFF). Cover the microscope when the mercury bulb is cooled down (15 minutes after it was turned off). Leave the room CLEAN and TIDY! This Manual: http://www.manuallib.com/file/2605418...
-
Page 13: Simultaneous Fluorescence And Dic
(22), the aperture iris diaphragm will get smaller. 9. Examine specimen and document image if necessary: If using 35mm film, use checklist for ‘Olympus 35mm Camera’. To obtain still digitized images, use checklist for ‘Polaroid Digital Microscope Camera (DMC). - Page 14 Rotate the condenser turret (23) until the BF (brightfield) mark is visible. Loosen the clamping knob from the DIC prism slider and disengage the transmitted light DIC prism slider (26) from the light path. Pull the polarizer (25) out of the light path. Pull the reflected light analyser (U-AN) (24) out of the light path.
-
Page 15: Polarized Light
(smaller knob on polarizer) lightly. 17. Examine specimen and document image if necessary: If using 35mm film, use checklist for ‘Olympus 35mm Camera’. To obtain still digitized images, use checklist for ‘Polaroid Digital Microscope Camera (DMC). - Page 16 18. When finished: Lower the stage by turning the focus knob (10) towards you and remove the slide with your specimen from the stage (7). Turn the nosepiece (12) back until the 10x objective is into place. If the100x objective was used, clean the lens carefully with lens paper ONLY (do not use Kimwhipes).
-
Page 17: Appendix 1
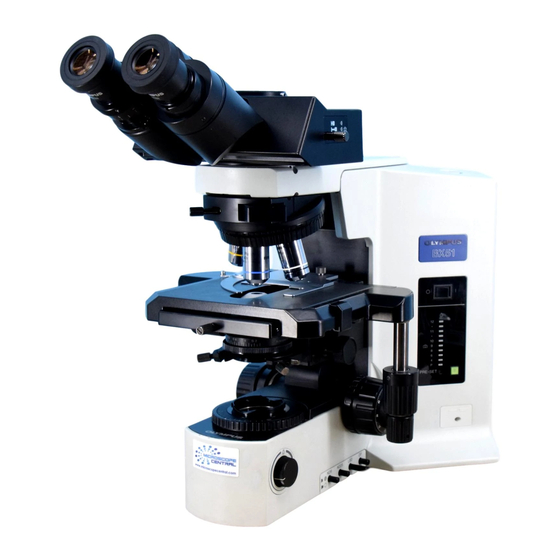
APPENDIX 1: Outline Olympus BX51 Microscope This Manual: http://www.manuallib.com/file/2605418...
Need help?
Do you have a question about the BX51 and is the answer not in the manual?
Questions and answers