
Related Manuals for Roberts PISA Four CR9936


Summary of Contents for Roberts PISA Four CR9936
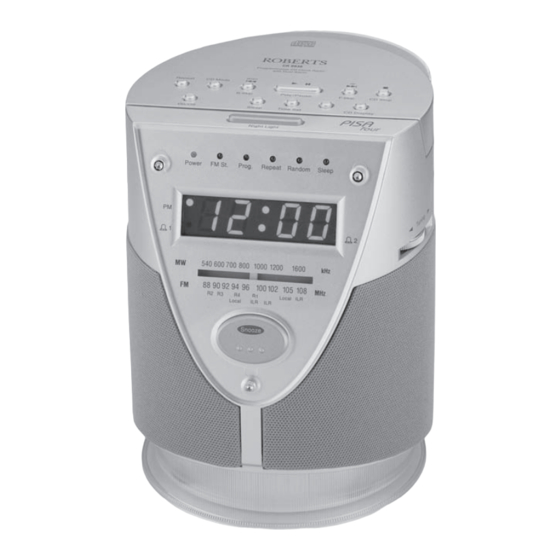
- Page 1 CR9936 Dual Alarm CD Clock Radio With Night Light Please read this manual before use...
-
Page 2: Table Of Contents
Contents Contents ................1 Setting alarms to wake to CD ........16 Controls ................2-3 Setting alarms to wake to CD programme ..... 17 Switching on and setting the time ........4 Snooze control ..............18 Listening to the radio ............5 Sleep function .............. -
Page 3: Controls
Controls 16 17 18 19 20 21 1. Night Light button 6. B.Skip/down button 11. CD display button 16. On indicator 21. Sleep indicator 2. On/Off button 7. Play/Pause button 12. Time set button 17. FM stereo indicator 22. Alarm 2 indicator 3. -
Page 4: Controls
Controls 25. Buzz/Music switch 30. Tuning control 26. Alarm 2 function switch 31. Volume control 32. Function switch 27. Alarm 1 function switch 33. Battery compartment (on underside) 28. Headphone socket 29. Night Light... -
Page 5: Switching On And Setting The Time
Switching on and setting the time Before using your CD clock radio you must first set the correct time. 1. Place the unit on a flat surface. Plug the mains lead into a wall socket and switch on the wall socket. 2. -
Page 6: Listening To The Radio
Listening to the Radio 1. Switch on your CD clock radio by pressing the On/Off button. The On indicator LED will light. 2. Slide the Function switch to the required waveband. 3. Tune in to the desired station by rotating the Tuning control. The station frequency is indicated in the dial scale. -
Page 7: Compact Discs
Compact discs Use only Digital Audio CDs which have the symbol. Never write on a CD or attach any sticker to the CD. Always hold the CD at the edge and store it in its box after use with the label facing up. To remove dust and dirt, breathe on the CD and wipe it with a soft, lint- free cloth in a straight line from the centre towards the edge. -
Page 8: Inserting A Cd
Inserting a CD 1. Press the On/Off button to switch on your CD clock radio. The On indicator will light. 2. Set the Function switch to CD. 3. To open the CD compartment, lift the CD door on the rear edge as shown. -
Page 9: Playing A Cd
Playing a CD 1. Press the Play/Pause button to start playback. The display will show the track number. After a short time the display will revert to showing time. 2. Set the Volume control to the required setting. 3. To display the CD track number press the CD display button. 4. -
Page 10: Selecting A Track
Selecting a track 1. Whilst the CD is playing, press either the F.skip or B.skip buttons to change to the desired track. You can also skip tracks when the player is in stop mode. Skip to the desired track using the F.skip or B.skip buttons. -
Page 11: Cd Repeat Mode
CD repeat mode 1. Whilst the CD is playing press the Repeat button once to repeat the current track. The Repeat indicator will flash. 2. Press the Repeat button again to repeat all tracks on the CD. The Repeat indicator will light up. 3. -
Page 12: Programmed Play
Programmed play By programming the player you can play up to 20 tracks in any desired order. 1. Whilst the CD is in STOP mode, press the Memory button. The display will show ‘ P 01’. Note: the display will revert to showing time after 10 seconds of inactivity. -
Page 13: Setting Alarm Times
Setting alarm times The alarms can be set to wake you by a buzzer, CD or the radio. Your CD clock radio has 2 separate alarms which can be set to activate at different times. Setting alarm 1 1. Slide the Alarm 1 function switch to the 'Adj' position. Alarm 1 time will flash in the display. -
Page 14: Checking Alarm Times
Checking the Alarm Times 1. To check alarm 1 time, set the Alarm 1 function switch to the 'Adj' position. Alarm 1 time will flash in the display. 2. Return the Alarm 1 function switch to the 'Off' position. The display will revert to showing time. -
Page 15: Setting Alarms To Wake To Buzzer
Setting the alarms to wake to buzzer 1. Set the alarm time as previously described. Set the Alarm mode switch to the 'Buzz' position. 2. Set the Alarm 1 or Alarm 2 function switch to the 'On' position. The corresponding Alarm indicator will light. 3. -
Page 16: Setting Alarms To Wake To Radio
Setting the alarms to wake to radio 1. Set the alarm time as previously described. Set the Alarm function switch to the 'Music' position. 2. Set the Alarm 1 or Alarm 2 selector switch to the 'On' position. The corresponding Alarm indicator will light. 3. -
Page 17: Setting Alarms To Wake To Cd
Setting the alarms to wake to CD 1. Set the alarm time as previously described. Set the Alarm function switch to the 'Music' position. 2. Set the Alarm 1 or Alarm 2 selector switch to the 'On' position. The corresponding Alarm indicator will light. 3. -
Page 18: Setting Alarms To Wake To Cd Programme
Setting the alarm to wake to CD programme 1. Set the alarm to wake to CD as previously described. 2. Programme your favourite tracks as described earlier. 3. Press the Play button followed by the CD Stop button. 4. Press the On/Off button to switch off your CD clock radio, the On indicator will switch off. -
Page 19: Snooze Control
Snooze control 1. The buzzer, CD or radio alarm can be silenced for 6 minutes by pressing the Snooze button. This sequence can be repeated during the 90 minute alarm period. Sleep timer 1. CD or radio playback can be set to switch off automatically after a preset time has elapsed. -
Page 20: Auto Dimmer
Auto Dimmer 1. The Auto Dimmer located on the right side of the tuning dial will automatically adjust the intensity of the clock display to suit room brightness. Night light 1. Press the Night Light button to adjust level of night light, press once for dim light press once again for bright light and once again to switch off. -
Page 21: Specifications
Specifications Circuit Features Power Requirements Loudspeakers 2 x 8 ohms Mains AC 230 volts, 50Hz only Output power 2 x 1.5 Watts Back-up Battery IEC size 6LR61 (6F22, PP3) Aerial System Wire Aerial Frequency Coverage 87.5 - 108MHz Built-in Ferrite aerial 520 - 1610kHz Warning CLASS 1 LASER PRODUCT means that the laser's construction makes it inherently safe so that the legally prescribed maximum permissible radiation... -
Page 22: General
Mains supply Slide the battery cover catch in the direction of the arrow. Open the The CR9936 will operate from a supply of AC 230volts, 50Hz only. battery cover. Fit a 9 volt IEC size 6LR61 (6F22, PP3) or equivalent battery For your convenience this product is supplied with a plug which is fitted into the compartment. -
Page 23: Guarantee
In the event that it is not possible to return the instrument to the Roberts' dealer from whom it was purchased, please contact Roberts Radio Technical Services department at the address shown the rear of this manual before taking further action. - Page 24 ROBERTS RADIO TECHNICAL SERVICES 97-99 Worton Road Isleworth Middlesex TW7 6EG Technical Helpline:- 020 8758 0338 (Mon-Fri) Issue 1...
Need help?
Do you have a question about the PISA Four CR9936 and is the answer not in the manual?
Questions and answers