Table of Contents
Advertisement
Quick Links
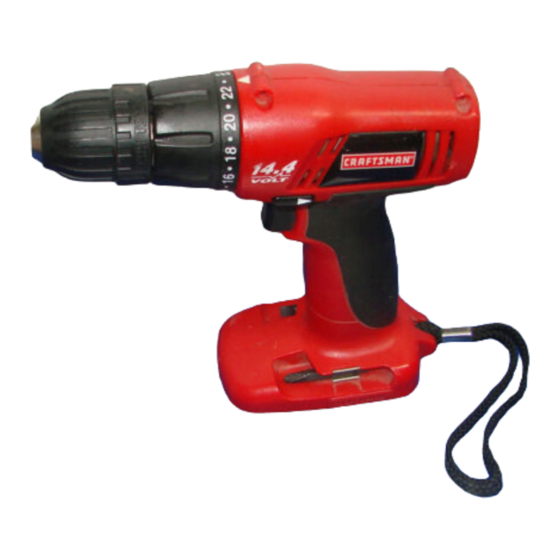
Operator's Manual
318 in., 14.4 VOLT CORDLESS DRILL-DRIVER
Variable Speed / Reversible
Model No.
315.114600
Save this manual
for
future reference
"_
CAUTION:
Read and follow all
Safety Rules and Operating Instructions
before first use of this product.
Customer
Help Line: 1-800-932-3188
Sears,
Roebuck
and Co., 3333
Beverly
Rd., Hoffman
Estates,
IL 60179
USA
Visit the Craftsman
web page: www.sears.com/craftsman
983000-340
6-03
• Safety
• Features
• Operation
• Maintenance
• Parts List
Advertisement
Table of Contents

Related Manuals for Craftsman 315.114600


Summary of Contents for Craftsman 315.114600
- Page 1 • Operation Safety Rules and Operating Instructions • Maintenance before first use of this product. • Parts List Customer Help Line: 1-800-932-3188 Sears, Roebuck and Co., 3333 Beverly Rd., Hoffman Estates, IL 60179 Visit the Craftsman web page: www.sears.com/craftsman 983000-340 6-03...
-
Page 2: Full One Year Warranty
Parts Ordering / Service .............................. FULL ONE YEAR WARRANTY ON CRAFTSMAN 318 in. CORDLESS DRILL-DRWER ff this [:RRFTSMRH3/8 in. Cordless Drill-Driver falls to give complete satisfaction within one year from the date of pur- chase, RETURN IT TO THE NEAREST SEARS STORE OR SEARS SERVICE CENTER IN THE UNITED STATES, and Sears will repair it, free of charge. - Page 3 Yourdrill-driver hasmanyfeatures formaking yourdrilling CAUTION: Carefully read through this entire operations m orepleasant a ndenjoyable. Safety, operator's manual before using your new drill-driver. performance anddependability havebeen giventop Pay close attention to the General Safety Rules, priority inthedesign ofthisdrill-driver making it easyto Specific Safety Rules / Symbols, Warnings and maintain andoperate.
- Page 4 Tool Use and Care • Use clamps or other practical way to secure and • Maintain tools with care. Keep cutting tools sharp support the workpiece to a stable platform. Holding and clean. Properly maintained tools, with sharp the work by hand or against your body is unstable and cutting edges are less likely to bind and are easier to control.
- Page 5 • Do not operate charger with a damaged cord or _llb WARNING: Never use a battery that has been plug. If damaged, have replaced immediately by a dropped or received a sharp blow. A damaged battery qualified serviceman. Following this rule wilt reduce the is subject to explosion.
-
Page 6: Alert Symbol
Important: Some of the following symbols may be used on your tool. Please study them and learn their meaning. Proper interpretation of these symbols wilt allow you to operate the tool better and safer. SYMBOL NAME DESIGNATION/EXPLANATION Volts Voltage Amperes Current Hertz Frequency (cycles per second) - Page 7 DRILL-DRIVER 973.114600 Maximum Torque 100 lb.- in. Chuck 3/8 in. Keyless CHARGING ASSEMBLY Item No. 9 11006 Motor DC Motor 14.4 Volt (1426006) Switch Variable Speed Rating 120 V, 60 Hz, AC only Charging Voltage 14.4 Volt No Load Speed 0-600 RPM Charge Rate 3-6 Hours...
- Page 8 LEVEL TORQUE KEYLESS ADJUSTMENT CHUCK RING REARVIEW BATTERYPACKSHOWN IN CHARGING STAND CHARGER DIRECTIONOF ROTATIONSELECTOR (FORWARD/REVERSE) SWITCH TRIGGER STORAGE SCREWDRIVER BITS RED LIGHT (LED) BATTERYPACK SHOWNINTOOL WRISTSTRAP CHARGERSTAND Fig. 1...
-
Page 9: Charging Battery Pack
light indicates the charger is operating properly. It will WARNING: Always wear safety goggles or safety glasses with side shields when operating tools. remain on until battery pack is removed from charging Failure to do so could result in objects being thrown stand or charger is disconnected from power supply. - Page 10 SWITCH TO INSTALL BATTERY PACK See Figure 2. • Lock switch trigger on your drill by placing the direction To turn your drill ON, depress the switch trigger. To turn it of rotation selector in center position. See Figure 4. OFF, release the switch trigger.
- Page 11 SWITCH LOCK KEYLESS CHUCK See Figure See Figure The switch trigger can be locked in the OFF position. This Your drill has a keyless chuck. As the name implies, you can feature can be used to prevent the possibility of accidental hand tighten or release drill bits in the chuck jaws.
- Page 12 INSTALLINGBITS REMOVING BITS See Figure See Figure • Lock the switch trigger by placing the direction of • Lock the switch trigger by placing the direction of rotation selector in center position. See Figure 4. rotation selector in center position. See Figure 4. •...
- Page 13 BIT STORAGE DRILLING See Figure 9. See Figurelf. When not in use, bits provided with your drill can be placed in the storage area located on the bottom of your drill as shown in Figure 9. SCREWDRIVER BITS STORAGEAREA Fig. 9 WARNING: Always wear safety goggles or safety glasses with side shields when operating tools.
-
Page 14: Chuck Removal
CHUCK REMOVAL • Insert hex key in chuck and tighten chuck jaws se- curely. Tap sharply with a mallet in a counterclockwise See Figures 12, 13, and 14. direction. This will loosen chuck on the spindle. It can The chuck must be removed in order to use some now be unscrewed by hand. - Page 15 Do not abuse power tools. Abusive practices can WARNING: When servicing, use only identical Craftsman replacement parts. Use of any other damage tool as well as workpiece. part may create a hazard or cause product damage. Only the parts shown on parts list, page 17, are intended to be repaired or replaced by the customer.
-
Page 17: Parts List
CRAFTSMAN 3/8 in., 14.4 VOLT CORDLESS DRILL-DRIVER MODEL NO. 973.114600 on a plate housing. Always The model number will be found attached to the motor mention the model number in. CORDLESS DRILL-DRIVER or when ordering repair parts. SEE BACK PAGE FOR PARTS... - Page 18 Your Home For repair-in your home-of all major brand appliances, lawn and garden equipment, or heating and cooling systems, no matter who made it, no matter who sold it! For the replacement parts, accessories owner's manuals that you need to do-it-yourself. For Sears professional installation of home appliances and items like garage door openers and water heaters.
Need help?
Do you have a question about the 315.114600 and is the answer not in the manual?
Questions and answers