Dacor REMP16 Installation Instructions Manual
Installation instructions
Hide thumbs
Also See for REMP16:
- Planning manual (3 pages) ,
- Installation instructions manual (12 pages) ,
- Instructions manual (8 pages)
Table of Contents
Advertisement
Quick Links
Installation Instructions
Remote Blowers
Models: REMP3, REMP16
Suitable for use in a household cooking area.
Suitable for use with solid state controls.
To complete this blower, a Dacor
®
hood assembly or Dacor raised vent must
be purchased separately. See the hood or raised vent installation instructions
to determine suitability.
Part No. 65265 Rev. G
Advertisement
Table of Contents

Related Manuals for Dacor REMP16


Summary of Contents for Dacor REMP16
- Page 1 Suitable for use with solid state controls. To complete this blower, a Dacor ® hood assembly or Dacor raised vent must be purchased separately. See the hood or raised vent installation instructions to determine suitability. Part No. 65265 Rev. G...
-
Page 2: Table Of Contents
Dacor Distinctive Service (for repairs under warranty only) Phone: (877) 337-3226 Monday — Friday 6:00 . to 4:00 . Pacific Time All specifications subject to change without notice. Dacor assumes no liability for changes to specifications. © 2008 Dacor, all rights reserved. -
Page 3: Important Safety Instructions
WARNING ating this or any other appliance. • Always contact the Dacor Customer Service Team Hazards or unsafe practices that COULD result in severe about problems and conditions that you don’t under- personal injury or death. -
Page 4: General Safety Precautions
Do not allow foreign objects, such as cigarettes or • Install or locate this appliance only in accordance napkins, to be sucked into the vent holes. with these installation instructions and the Dacor • Tape all duct joints securely to prevent combus- hood or downdraft vent installation instructions. -
Page 5: Product Specifications
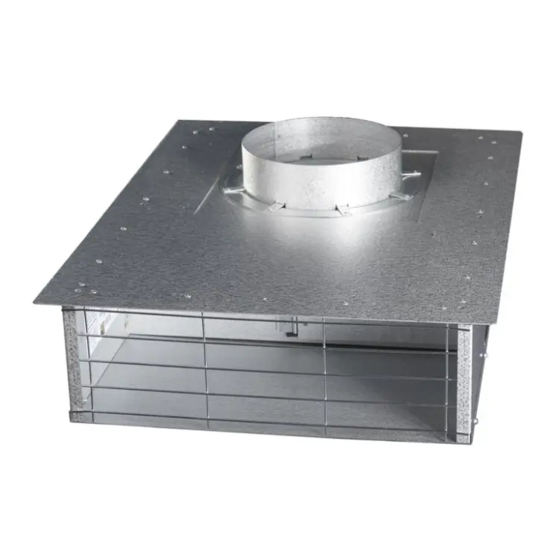
9 9/16" 13 1/8" (243mm) (333mm) 9 1/2" (241mm) 3 5/8" C L C L (92mm) Power Supply 12 1/4" 10" Nom. Conduit (311mm) (254mm) Location 32 1/4" (819mm) Intake Collar Intake Collar 33 1/2" Mounting (851mm) Flange Discharge Discharge REMP16... -
Page 6: Installation Planning And Preparation
Installation Planning • The power for this blower is supplied via 1/2” 3-wire System Layout wiring/conduit (not included) by an approved Dacor hood or raised vent. The wiring/conduit is installed WARNING between the hood or raised vent and the blower and shall be terminated on each end by a 1/2”... -
Page 7: Installation Preparation
Roof Curb Model Number Approximate Shipping Weight Prevailing Wind REMP3 35 lbs. REMP16 55 lbs. Weight Table Blower Discharge Figure 2: Installation with Roof Curb (for flat roofs) Installation Preparation Prepare the mounting surface and reinforce it if neces- sary according to the Blower Location and Mounting specifications starting on page 4. -
Page 8: Installation Instructions
Installation Instructions Remove the blower’s top cover by removing the screws WARNING around the edge that hold it in place. • If the electrical service provided does not meet the power requirements for the hood/raised vent and the blower combined, do not continue with the instal- lation. -
Page 9: Electrical Installation
Dacor Distinctive Service at (877) 337- minal (see Figure 9). Tighten the terminal screw firmly 3226. Do not attempt to repair the unit yourself. Dacor is into place. IMPORTANT: The L2 (hot) terminal on the not responsible for the costs required to correct problems blower has the BLUE wire from the blower wiring har- caused by a faulty installation. -
Page 10: Technical Data
REMP Series Blower Ratings Model Nominal Actual Number Rating* Rating* REMP3 600 CFM 620.5 CFM REMP16 1000 CFM 994.8 CFM * At 0” static pressure REMP3 Blower Performance REMP16 Blower Performance 1000 Airflow CFM (Cubic feet/minute) Airflow CFM (Cubic feet/minute) - Page 12 Dacor ● 1440 Bridge Gate Drive, Diamond Bar, CA 91765 ● Tel: (800) 793-0093 ● FAX: (626) 403-3130 ● www.Dacor.com...
Need help?
Do you have a question about the REMP16 and is the answer not in the manual?
Questions and answers