Advertisement
Table of Contents
Contents
Ricoh SP 3510SF Manual
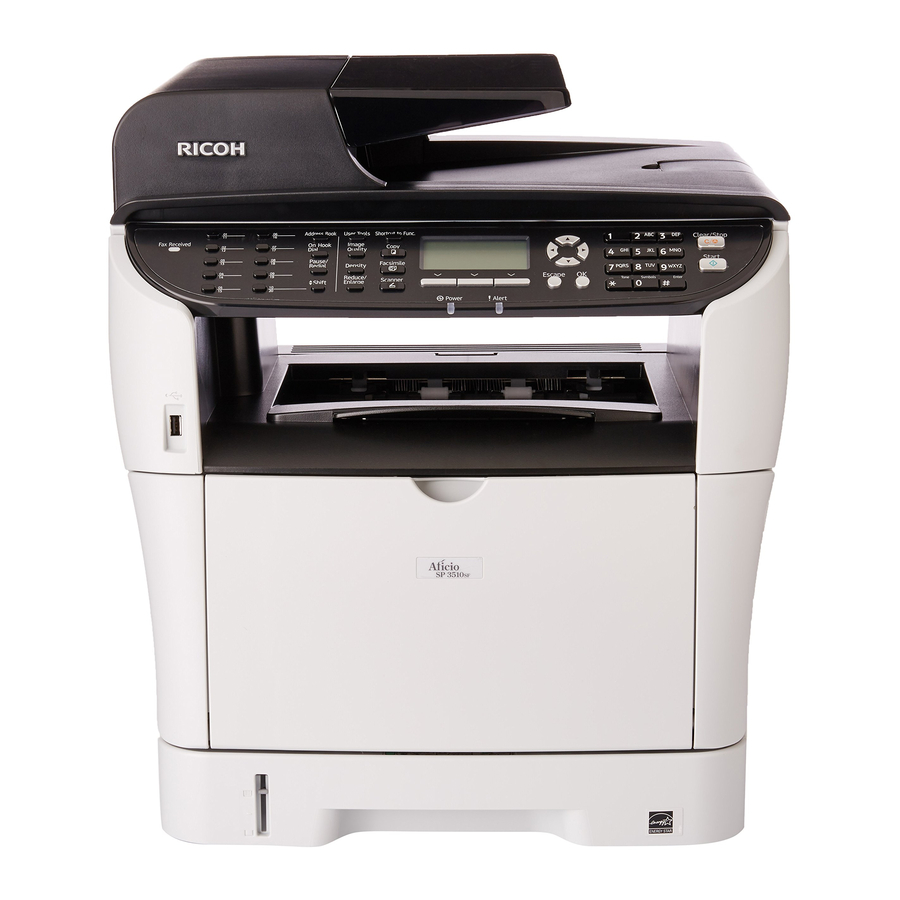
CONTROL PANEL

- Fax Received indicator
Lights up when received faxes that have not been printed out exist in the machine's memory. Flashes when the machine is unable to print out the faxes due to machine errors such as an empty paper tray or a paper jam. - [Pause/Redial] key
- Pause
Press to insert a pause in a fax number. The pause is indicated by "P". - Redial
Press to display the last used scan or fax destination.
- [On Hook Dial] key
Press to use on-hook dialing to check the destination's status when sending a fax. - [Address Book] key
Press to select a scan or fax destination from the Address Book. - [Image Quality] key
Press to select scan quality for the current job.
- Copier mode: select Text, Photo, or Mixed.
- Scanner mode: select the resolution.
- Fax mode: select Standard, Detail, or Photo.
- [User Tools] key
Press to display the menu for configuring the machine's system settings. - [Copy] key
Press to switch to copier mode. The key stays lit while the machine is in copier mode. - [Shortcut to Func.] key
Press to use the function pre-assigned for this key. - Screen
Displays current status and messages. - Scroll keys
Press to move the cursor in the directions indicated by each scroll key. Pressing the < > keys while the machine is in standby mode will display the menu for configuring the settings of the machine's current operation mode (copier, scanner, or fax). - Number keys
Use to enter numerical values when specifying settings such as fax numbers and copy quantities, or enter letters when specifying names. - [Clear/Stop] key
- While the machine is processing a job: cancel the current job.
- While configuring the machine: cancel the current setting and return to standby mode.
- While in standby mode: cancel temporary settings such as image density or resolution.
- [Start] key
Press to scan, copy, or send a fax. - [OK] key
Press to confirm settings or enter the next level of the menu tree. - [Escape] key
Press to cancel the last operation or exit to the previous level of the menu tree. - Alert indicator
Flashes yellow when the machine will require maintenance soon (such as replacing a print cartridge), or lights up red when a machine error occurs. Check the messages on the screen and follow the instructions as provided in "Error and Status Messages on the Screen". - Selection keys
Press the key that corresponds to an item shown on the bottom line of the screen to select it. - Power indicator
Remains lit while the power is on. It is unlit when the power is off. - [Facsimile] key
Press to switch to fax mode. The key stays lit while the machine is in fax mode. - [Scanner] key
Press to switch to scanner mode. The key stays lit while the machine is in scanner mode. - [Density] key
Press to adjust image density for the current job. - [Reduce/Enlarge] key
- Copier mode: press to specify the reduction or enlargement ratio for the current job.
- Scanner mode: press to specify the scanning size according to the current original.
- [Shift] key
Press to use the Quick Dial numbers 11 to 20 when specifying a scan or fax destination using the One Touch buttons. - One Touch buttons
Press to select a scan or fax Quick Dial destination.
COPIER FUNCTION
- Press the [Copier] function button.

- Adjust the paper feeder guides to the correct size (A4).

- Insert your document face-up into the ARDF (document feeder).

- Choose your quantity and then press the [Start] button.


FACSIMILIE FUNCTION
- Press the [Facsimilie] function button.

- Adjust the paper feeder guides to the correct size (A4).
![]()
- Insert your document face-up into the ARDF (document feeder).

- Dial the fax number using the number keys and then press the [Start] button.


SCANNER FUNCTION
- Adjust the paper feeder guides to the correct size (A4).

- Insert your document in to the ARDF (document feeder).

- Press the [Scanner] function button.

- Press the [Address Book] button.


- Use the [Up] and [Down] arrows to choose the scan destination.

- Press [OK] to select.

- Press the [Start] button.


REPLACING TONER
- Do not touch the print cartridge's photo conductor unit.
![]()
- Do NOT touch the ID chip on the side of the cartridge.
![]()
- Push the side button to release the front cover, and then lower it gently.

- Carefully pull out the print cartridge horizontally.

- Take the new cartridge out of the box, and then remove it from the plastic bag.

- Place the print car tridge on a flat surface, and then remove the protection sheet.

- Hold the print cartridge and shake it from side to side five or six times.

- Slide the cartridge in horizontally. Raise it slightly and push it fully in. Then push down until it clicks into place.


PAPER JAMS - STANDARD TRAY
- Pull tray 1 out completely using both hands, and place to one side.
![]()
- Push the lever. This will lower the duplex transport unit.

- Remove any jammed paper.
![]()
- With the duplex transport unit still lowered, carefully slide tray 1 back in until it stops.


PAPER JAMS - INTERNAL
- Push the side button to release the front cover, and then lower it gently.
![]()
- Carefully pull out the print cartridge horizontally.

- Lifting the guide plate, remove the jammed paper carefully.

- Slide the cartridge in horizontally. Raise it slightly and push it fully in. Then push down until it clicks into place.


PAPER JAMS - DUPLEX UNIT
- Open the rear cover.
![]()
- Carefully remove any jammed paper.
![]()
- Close the rear cover.


PAPER JAMS - ARDF (document feeder)
- Open the ARDF cover.
![]()
- Gently pull the jammed original to remove it. If you cannot remove it...
![]()
- ...unlock the paper feed roller. Move the blue lever backwards and then raise it.

- Lift the paper feeder slightly and pull it gently toward you.


- You can also raise the input tray to help clear jammed paper from the output area.
![]()
- Put the paper feed roller back, with the roller part facing downwards.

- Lower the lever to lock the paper feed roller back into place.

- Close the ARDF cover.
![]()


Documents / ResourcesDownload manual
Here you can download full pdf version of manual, it may contain additional safety instructions, warranty information, FCC rules, etc.
Advertisement


Need help?
Do you have a question about the SP 3510SF and is the answer not in the manual?
Questions and answers