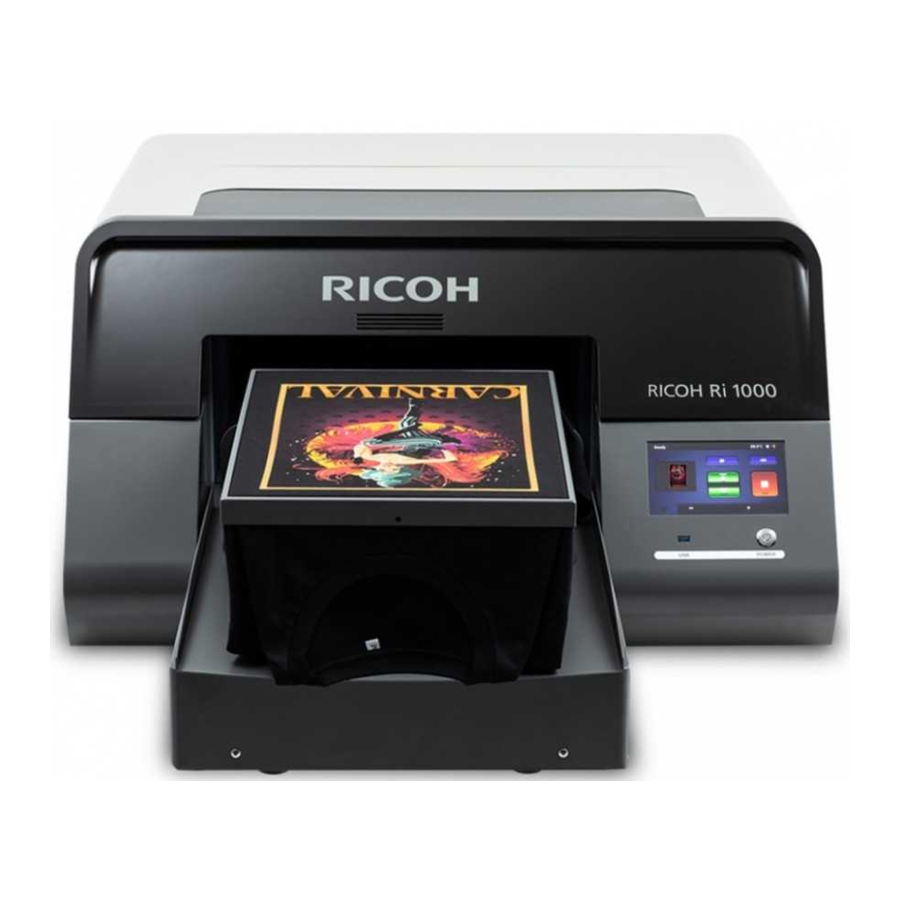
Ricoh Ri 1000, Ri 1000X Manual
- Parts replacement (265 pages) ,
- Operator training (197 pages) ,
- User manual (141 pages)
Advertisement
Introduction
This manual aims to describe the use of new function, "Nozzle Strong Maintenance" with RICOH Ri 1000 & RICOH Ri 1000X printers. Those are the new information added to their User Manuals.
Please follow these procedures in order to recover the nozzle clogging.
The manual is meant for the customers who purchased the following printers.
- RICOH Ri 1000
- RICOH Ri 1000X
Please note that the contents of the instruction manuals are subject to change, so please always use the latest version.
Check and update firmware
Check and update firmware.
If your firmware version is older than the following, please update it.
The firmware version of each printer that supports Nozzle Strong Maintenance is as follows.
[RICOH Ri 1000]
- Panel (GIB):Ver1.41
- Sub Control (SCB):GX231103
- Engine (CTL):1.17_617:R
[RICOH Ri 1000X]
- Panel (GIB):Ver1.11
- Sub Control (SCB):1.10
- Engine (CTL):1.67_617:R
Please refer to "How to update" for details on how to update the firmware.
Nozzle Strong Maintenance

- Always wear commercially available protective eyewear and gloves when working.
Perform this maintenance when the ejection failure is not improved even after performing "STRONG" head cleaning multiple times (3 to 5 times).
Attach the head protection cover filled with cleaning solution to the print head and perform this maintenance to improve nozzle clogging.
Clean multiple heads in a single operation.
When 30 minutes or more have passed after the carriage moves, the machine will cancel this maintenance. As nozzle dryness may cause a nozzle defect, perform this maintenance promptly.
Things to prepare
| Purpose | Items |
| To wear | Polyethylene gloves |
| Protective glasses or goggles | |
| For use | Cleaning solution |
| Dropper | |
| Head protection cover |
Maintenance times
About 20 minutes
- Press the Option tab.

- Press [OPTION].

- Press [NOZZLE STRONG MAINT.] of [OPTION].

- Press the head number to clean.
You can select multiple heads.

- Press [NEXT].
The carriage is moved. - Open the front cover.
- Press [NEXT].
[NEXT] can only be pressed with the front cover open.

- Install the head protection cover filled with cleaning solution.
See also "Attaching the head protection cover" on page 6 for RICOH Ri 1000 Procedure for long-term storage for RICOH Ri 1000X User Manual.
However, do not turn off the printer.


If you are not used to installing the head protection cover, such as when installing it for the first time, first practice installing/removing the head protection cover without adding cleaning solution.
After that, please practice installing/removing the head protection cover with cleaning solution and check if it is installed correctly with the cleaning solution in place.
Please be careful not to touch the encoder sheet or guide rod. If you touch the encoder sheet and get dirt on it, wipe off the dirt (for details, see "Cleaning the Encoder Sheet" on User Manual).
Guide to the head protection cover

- Left side (single frame on the top front)
- Caps
- Right side (two frames on the top)
- Put a tray or paper under the head.
The tray or paper prevents solid ink, lint, and cleaning solution from entering the machine.

- If the carriage is in a position where it is difficult to operate, move the carriage slowly by hand.
- Use a dropper to pour the cleaning solution into the cap and around the edges of the cap.
Make sure that the inside of the cap is filled with cleaning solution.

Pour the cleaning solution into the cap until the liquid level is raised slightly above the rim of the cap, as shown in the illustration below, when viewed from the side.
If bubbles are generated, please use a dropper to suck out the bubbles, as they may not clean the head properly.
This should be done for all caps.

- Take the filled cleaning solution the head protection cover under the carriage to prevent spillage.
![]()
If the amount of cleaning solution to be added to the head protection cover is not sufficient, or if cleaning solution spills out during installation, the head will not be cleaned correctly. If you are not familiar with this operation, please practice installing/removing the head protection cover with cleaning solution in it to see if the head is cleaned correctly.
There is no problem if you spill a little. If it gets on the machine, wipe it off.

If it is difficult to check the position of the head, use a mirror to check the position.
We recommend that the head protection cover be moved under the carriage by standing on the right side of the printer, in front of the maintenance unit, and passing it through the guide rods from above.

To do so, hold the right side of the head protection cover (the side with the two claws at the top) as shown below to make it easier to attach the cover to the carriage. Note the orientation of the head protection cover.

If the carriage is in a position where it is difficult to pass through the head protection cover when working, move the carriage slowly by hand to ensure a gap for the head protection cover to pass through.

After passing through the guide rod, move the head protection cover to the bottom of the carriage, keeping it parallel to the guide rod and carriage so that the cap is horizontal. At this time, please keep the cap surface of the head protection cover facing toward the upper carriage.

When the head protection cover is tilted, the angle at which the cleaning solution the cap spills out is "left to right: approx. 30 degrees" and "front to back: approx. 10 degrees" when the head protection cover is filled with cleaning solution to the target state.
Therefore, when installing the head protection cover, move it carefully so that it tilts to the left or right to some extent, but not to the front or rear.

- Adjust the left and right corners of the head protection cover to the corners of the carriage.

- Push the head protection cover up until it clicks.

- Press [NEXT].
※When canceling the maintenance after this procedure, remove the head protection cover and press "CANCEL".
When [CANCEL] is pressed, the print head will be capped, and the maintenance will be completed.
However, please note that an error will occur if "CANCEL" is pressed while the head protection cover is still attached.

- Check that the head protection cover is securely attached to the carriage, and press [NEXT].

If the head protection cover is not attached correctly, the inside of the machine may be stained with ink
After attaching the head protection cover, observe it from the front and check if the head protection cover is not tilted. If it is tilted, a gap may be visible between the carriage and the cap inside the head protection cover, as shown in the NG image below. In this case, perform the installation again.

- Close the front cover.
- Press [NEXT].
[NEXT] can only be pressed with the front cover close.

- Press [START]. Maintenance begins.

When maintenance is started, the following message will be displayed.
The progress will be displayed in the upper left corner of the control panel.
You can force the maintenance to end by pressing "CANCEL" during the maintenance.
After pressing "CANCEL", remove the head protection cover.

- After maintenance is completed, open the front cover, and remove the head protection cover.
When maintenance is completed, the following message appears.

- Check the carriage position.
If the carriage is in a position that makes it difficult to remove the head protection cover, move the carriage slowly by hand.

- Open the two pawls on the right side of the head protection cover outward and remove the pawls from the carriage.
Make sure that the inside of the cap is filled with cleaning solution.

- Remove the head protection covers from the carriage by pushing it downwards
The claw on the left side of the head protection cover can be removed at the same time when the head protection cover is pushed down.

- Remove the head protection covers from between the guide rods.
When removing the head protection cover from between the guide rods, it is recommended to hold the flat cable with the hand opposite to the hand holding the head protection cover while removing the head protection cover, since the head protection cover tends to get caught on the flat cable.
If it is difficult to check the position of the head, use a mirror to check the position.

- Press [NEXT].
The carriage moves to the right end, and the Head is capped.
※Please note that an error will occur if "CANCEL" is pressed while the head protection cover is still attached. - Close the Front Cover.
- Press [NEXT].
[NEXT] can only be pressed with the front cover close.
Press [NEXT] to start auto cleaning.
Auto cleaning takes up to 10 minutes.

- Perform a nozzle check after auto cleaning is completed.
After auto cleaning is complete, print a nozzle check to see if ink ejection has improved. - If the problem persists, perform this maintenance and nozzle check for multiple times (3 to 5 times).
If the nozzle clogging is not improved after performing the above steps, follow the steps "Several nozzles out – does not improve not at all or just a little with head normal and strong head cleans in Troubleshooting Guide and Special Notes.


Documents / ResourcesDownload manual
Here you can download full pdf version of manual, it may contain additional safety instructions, warranty information, FCC rules, etc.
Advertisement


Need help?
Do you have a question about the Ri 1000 and is the answer not in the manual?
Questions and answers