Advertisement
Quick Links
Advertisement

Summarization of Contents
So, hello!
Safety Symbols and Compliance
Explains symbols for electric risk, attention, and lists relevant standards.
Important Safety Instructions
Installation Precautions
Covers installation location, object damage, access, surface strength, intended use, modifications, repairs, qualified personnel, annual checks, faulty items, and spare parts.
Before Installation
Electrical Wiring Considerations
Discusses electrical protections, power supply line dimensioning, and maximum output current.
What's Included
Included Components
Lists the items provided with the Charge Point, such as the unit, manual, RFID card, key, and foundation kit.
Overview
Product Components Identification
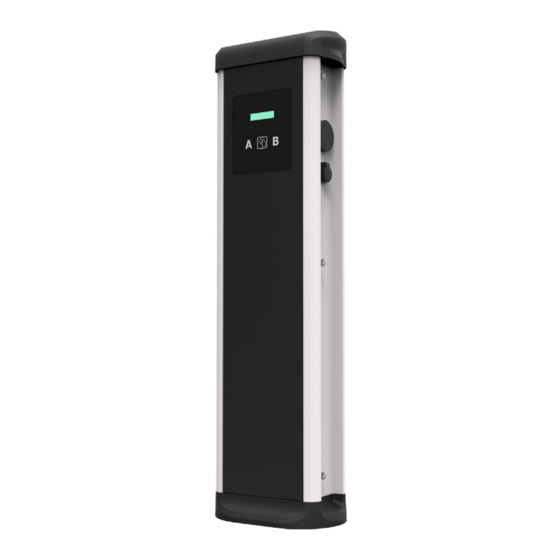
Identifies key components of the Master, Smart, and Slave models, including hat, beacons, LCD, RFID reader, touch screen, plugs, key lock, and base.
Dimensions
Physical Dimensions
Provides detailed measurements of the Charge Point unit in millimeters, including width, height, and depth.
Minimum Installation Distances
Safety and Maintenance Spacing
Specifies minimum clearance requirements around the unit for safety, maintenance access, and to prevent fluid penetration or unstable terrain.
Foundation Kit
Foundation Kit Components
Details the parts included in the foundation kit, such as nuts, washers, templates, and foundation bolts.
Foundation Installation
Foundation Bolt Assembly and Placement
Explains how to assemble foundation bolts using nuts and a wrench, and how to place the assembled kit in the ground according to specified measures.
Opening the Unit
Accessing the Unit Interior
Describes how to use the provided key and tamper switch to open the Charge Point for access or maintenance.
Installation: Positioning
Positioning and Securing the Unit
Details how to place the Charge Point onto the foundation bolts, ensuring alignment with cable glands for installation.
Installation: Fixing and Plate Assembly
Securing the Unit with Nuts
Instructions on how to firmly tighten the four foundation nuts using a 24mm open-end wrench.
Metal Plate and Cable Glands
Guidance on assembling the metal plate using screws and installing cable glands in pre-hole positions.
Wiring
Electrical Connections
Details single-phase (230VAC) and three-phase (400VAC) wiring, including cable glands, terminal block specifications, and grounding.
Verification and Operation
Post-Installation Checks
Outlines steps for verifying power input, maintenance mode, wiring, plugs, electrical protections, beacon indicators, and basic operation.
Preventive Maintenance Schedule
Recommends performing preventive maintenance once per year to ensure continued proper operation.
Technical Data
General Specifications
Details mechanical, electrical, environmental conditions, and protection specifications for the unit.
Model-Specific Data
Provides technical specifications categorized by Master, Smart, and Slave models, including connectors and output power.
Need Help?
Contact Information
Provides contact details for the Post-Sales Department via email, website, and phone for any queries or further information.


Need help?
Do you have a question about the Smart T and is the answer not in the manual?
Questions and answers