
Related Manuals for Modena ES 10 CS1


Summary of Contents for Modena ES 10 CS1
- Page 1 User Manual Book Electric Storage Water Heater Sano Series ES 10 CS1, ES 15 CS1, ES 30 CS1...
-
Page 2: Table Of Contents
Part 6: Troubleshooting Part 7: Disposal of Used Product Part 8: Specification Appendix: Wiring Diagram This manual book explains everything you need to know about your new product. Please contact our Customer Care should you need further assistance through www.modena.com. English 2... -
Page 3: Part 1: Important Safety Information
If the flexible power cord is damaged, a special power cord that is provided by manufacturer must be selected, and replaced by professional maintenance personnel. Contact MODENA Customer Care for help. • For the correct operation of the appliance, it is necessary to pay attention that the maximum inlet water pressure is 0.75 MPa, and the minimum inlet... - Page 4 The pressure relief hole shall not be blocked under any circumstances; otherwise, the water heater may get damaged or even resulting on accidents. If there is a large amount of water leak, please contact MODENA Customer Care for repair. •...
-
Page 5: Part 2: Product Introduction
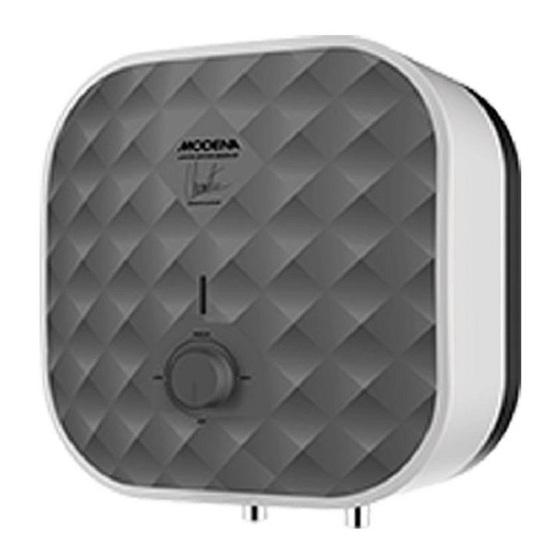
PART 2: PRODUCT INTRODUCTION Knob Indicator Light Hot Water Cold Water Outlet Inlet ES 10 CS ES 15 CS ES 30 CS 324 mm 368 mm 440 mm 324 mm 368 mm 440 mm 315 mm 340 mm 388 mm 66 mm 66 mm 66 mm... - Page 6 concrete cement completely, and use anchor fastener bolt (expansion bolt) in case of the hebel wall. • After selecting a proper location, determine the position of two holes that are used for the installation of the expansion bolts with hook. Make two holes on the wall by using a chopping bit with the depth matching to the size of the expansion bolts that attached with the water heater.
-
Page 7: Plumbing Connection
Plumbing Connection • The dimension of inlet and outlet water pipe is G1/2. • Connect the pressure relief valve with the inlet water of the water heater. • To avoid the leakage when connecting the pipelines, the provided rubber seal must be installed by the end of the threads to ensure the connections are leak proof. - Page 8 • If the user wants to make a multi-ways supply system, refer to the method shown in figure below for connection of the plumbing. Power Cord Pressure Relief Valve Water Inlet Valve Triple Joint Cold Water Hot Water Shower Head Joint Inlet Outlet...
-
Page 9: Part 4: How To Use
PART 4: HOW TO USE • First, open the outlet valve, and then open the inlet valve. The water heater gets filled with the water. When the water flows out of the outlet pipe, it implies that the water heater has been filled fully with water. Then, closes the outlet valve. -
Page 10: Part 5: Maintenance
Tank cleaning frequency depends on the hardness of the water in each location where this water heater is applied. Cleaning must be performed by MODENA or special maintenance services. Contact MODENA Customer Care if necessary. -
Page 11: Part 6: Troubleshooting
Manual Reset Button Manual Reset Button WARNING! Non-professionals are not allowed to disassemble the thermal switch to do reset. Please contact professionals of MODENA to maintain this water heater. Otherwise, MODENA will not take responsibility of any accidents. PART 6: TROUBLESHOOTING Problem... -
Page 12: Part 7: Disposal Of Used Product
PART 7: DISPOSAL OF USED PRODUCT This symbol on the product, or in its packaging, indicates that this product may not be treated as household waste. Instead, it should be taken to the appropriate waste collection point for the recycling of electrical and electronic equipment. -
Page 13: Appendix: Wiring Diagram
APPENDIX: WIRING DIAGRAM Thermal Thermostat Switch Brown Blue Power Indicator Yellow / Green Lamp English 13... - Page 14 03/21...
Need help?
Do you have a question about the ES 10 CS1 and is the answer not in the manual?
Questions and answers