Advertisement
How to upgrade your FLIR E40 to E60 (Resolution hack)
Step-by-Step Guide:
1
Download Flir Tools or drivers from
2
Install FLIR Tools on to your computer (If this applies)
3
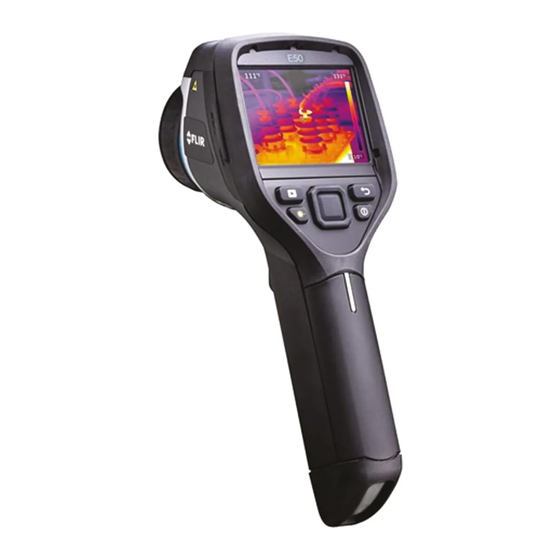
Turn on your Flir E30, E40 or E50 Camera
4
Connect your Flir camera to your computer using the USB-Cable, and let windows install the
needed drivers.
5
After windows has completed installing all drivers, disconnect your camera from the USB-Cable
6
Press navigation pad/button (2) with a push in the center "The menu system bar will appear"
7
From the menu system bar select push left on the navigation pad to toggle to Settings/Options
(11)
8
Press navigation pad/button (2) with a push down to enter " Settings"
9
Press navigation pad/button (2) with a push down to scroll down to " Device settings"
10 Press navigation pad/button (2) with a push right to enter " Device settings menu"
11 Press navigation pad/button (2) with a push down to scroll down to " Camera Information"
12 Press navigation pad/button (2) with a push right to enter " Camera Information menu"
www.flir.com
Advertisement
Table of Contents

Related Manuals for FLIR E40


Summarization of Contents
FLIR E40 to E60 Resolution Upgrade Guide
Initial Setup and Camera Connection
Download FLIR Tools, install software, connect camera via USB, and allow Windows to install drivers.
Navigating Camera Settings Menu
Access the camera's menu system to reach Settings, Device settings, and Camera Information menus.
Accessing Advanced Camera Modes
Enter the Hidden menu, select USB Mode, and lock the RNDIS setting.
Need help?
Do you have a question about the E40 and is the answer not in the manual?
Questions and answers