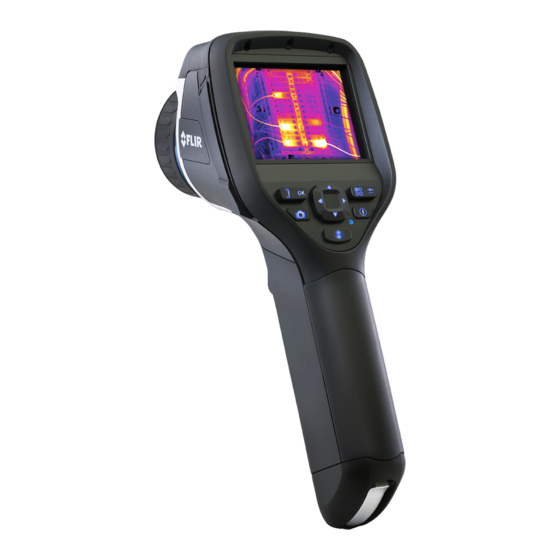
Summary of Contents for FLIR E60
- Page 1 Operating Procedure - FLIR E60 camera National Centre for Photovoltaic Research and Education (NCPRE) Indian Institute of Technology- Bombay Powai, Mumbai-400076 INDIA...
- Page 2 Thermal MSX, Thermal, and Picture-in-picture work. It also affects the temperature measurement. 7. Push the Save button (the trigger) to save an image. 8. Install FLIR Tools (software) on your computer. 9. Import the images into FLIR Tools (software). B. Description of Camera Parts 1.
- Page 3 • Charging the battery using a USB cable connected to a computer. Note Charging the camera using a USB cable connected to a computer takes considerably longer than using the FLIR power supply or the FLIR stand-alone battery charger. • Moving images from the camera to a computer for further analysis in FLIR Tools.
- Page 4 Description of Screen elements 1. Main menu toolbar. 2. Submenu toolbar. 3. Spot meter. 4. Temperature of the spot. 5. Status icons for battery. 6. Temperature scale. Changing the camera settings □ Measuring the hottest/coldest temperature within an area This displays a moving spot meter that indicates the hottest temperature.
- Page 5 3. Picture-in-picture: The camera displays a digital camera image with a superimposed infrared image frame. 4. Thermal blending: The camera displays a blended image that uses a mix of infrared pixels and digital photo pixels. The mixing level can be adjusted. ...
- Page 6 Changing the temperature scale mode The camera can operate in different temperature scale modes (depending on the camera model): Auto mode: In this mode, the camera is continuously auto-adjusted for the best image brightness and contrast. Manual mode: This mode allows manual adjustments of the temperature span and the temperature level.
- Page 7 Procedure: 1. Push the centre of the navigation pad. 2. On the toolbar, select Settings 3. In the dialog box, select Measurement parameters. 4. In the dialog box, select Reflected apparent temperature and then set a value. Changing the distance between the object and the camera ...
- Page 8 Procedure to clean the lens: 1. Soak the cotton wool in the liquid. 2. Twist the cotton wool to remove excess liquid. 3. Clean the lens one time only and discard the cotton wool. WARNING: Make sure that you read all applicable MSDS (Material Safety Data Sheets) and warning labels on containers before using a liquid: the liquids can be dangerous.


Need help?
Do you have a question about the E60 and is the answer not in the manual?
Questions and answers