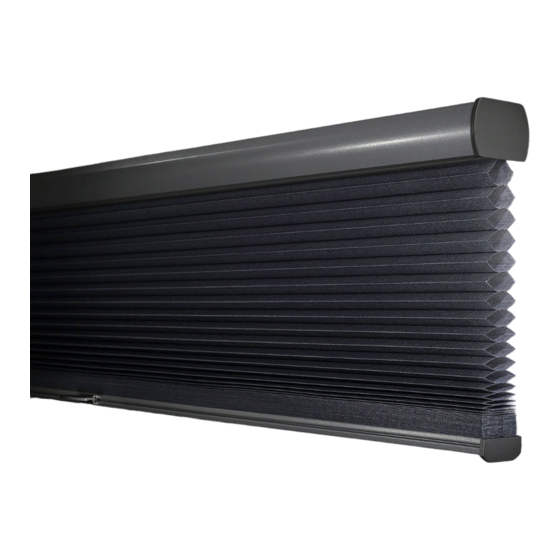
Summary of Contents for HunterDouglas Applause LiteRise
- Page 1 Owner’s Guide ® ® Duette and Applause Honeycomb Shades ", 1 ", and Double ® Honeycomb LiteRise Standard Shades...
-
Page 3: Table Of Contents
Installation has been designed to be as simple as possible. Please review the instructions to acquaint yourself with all of the procedures. For assistance, call the Hunter Douglas Customer Information Center at 1-888-501-8364 Visit our Web site at hunterdouglas.com... -
Page 4: Getting Started
GETTING STARTED ■ Remove the shade from the package. Keep the packaging until the shade operates to your satisfaction. ■ Check the diagram (next page) to make sure you have the necessary parts. Tools And Fasteners Needed ■ Flat blade and Phillips screwdrivers ■... -
Page 5: Exploded View
EXPLODED VIEW Extension Bracket (Optional) Spacer Block (Optional) Installation Bracket Hold-Down Bracket (Optional) Handle... -
Page 6: Mount The Installation Brackets
MOUNT THE INSTALLATION BRACKETS Bracket Requirements Brackets Required For Headrail Width Bracket Type " " " Up to 31" to 79" to 96" to 120" " & Double Honeycomb Installation Bracket " Installation Bracket Optional Extension Bracket (36" Max) Optional End Mount Bracket* 1-3 per bracket Optional Spacer Block Optional Hold-Down Bracket... - Page 7 ■ Space additional brackets evenly between the end brackets. ■ Adjust the bracket placement to accommodate obstructions to the bottom rail, such as window cranks or handles. Inside Mount Applications The depth required for a fully recessed inside mount depends on the type of installation bracket and sill dimensions.
- Page 8 Spacer Blocks (Optional) " Bracket Shown Each spacer block projects the installation bracket Spacer " away from the mounting surface. Blocks ■ Mount with solid sides facing mounting surface. ■ Mounting screws should be long enough for a secure installation. ■...
-
Page 9: Install The Shade
INSTALL THE SHADE ■ Unwind the cord from around the shade assembly. ■ Position the shade so that the front (colored fabric) faces toward you. ■ Slip the headrail into the installation brackets so the front of the bracket slides under the front groove on the top of the headrail. -
Page 10: Remove The Shade
REMOVE THE SHADE ■ Lower the shade approximately 4". Back Of Shade ■ While holding the front of the headrail for support, use a standard After releasing the fl at blade screwdriver and insert it bottom tab, the between the bottom of the bracket headrail will drop. -
Page 11: Adjusting The Shade
ADJUSTING THE SHADE Verify Shade Height ■ Raise and lower the shade several times. ■ If the height is incorrect or the bottom rail is not level, use the following steps to correct. Shade Height Adjustment Shade height and adjustments to level the bottom rail can be made by adjusting the cord on the underside of the bottom rail. -
Page 12: Care And Cleaning
■ To shorten the cord, hold the cord under the ferrule taut. Then slide the ferrule up toward the pocket. To Shorten ■ To lengthen the cord, hold the cord tight between the pocket and the ferrule. Then slide the ferrule down. Slide the ferrule up ■... - Page 13 Deep Cleaning ■ Immerse the shade in a basin or bathtub fi lled with a mild detergent. Never immerse the headrail in the solution. ■ Rinse with clean water. ■ Fully raise the shade and tilt to eliminate excess water. ■...
-
Page 14: Troubleshooting
TROUBLESHOOTING Problem Solution The shade does • Check the installation brackets. Make sure the not raise and shade fabric is not caught between the bracket and lower evenly. the headrail. • Check inside the headrail. Make sure no obstructions keep the mechanism from turning. •... - Page 16 Questions? Call the Hunter Douglas Customer Information Center at 1-888-501-8364 Visit our Web site at hunterdouglas.com © 2007 Hunter Douglas Inc. ® Registered trademark of Hunter Douglas Inc. ™ Trademark of Hunter Douglas Inc. Patented in the U.S. and foreign countries. Other U.S. and foreign patents pending.


Need help?
Do you have a question about the Applause LiteRise and is the answer not in the manual?
Questions and answers