
Related Manuals for Dormakaba 79E Series


Summarization of Contents
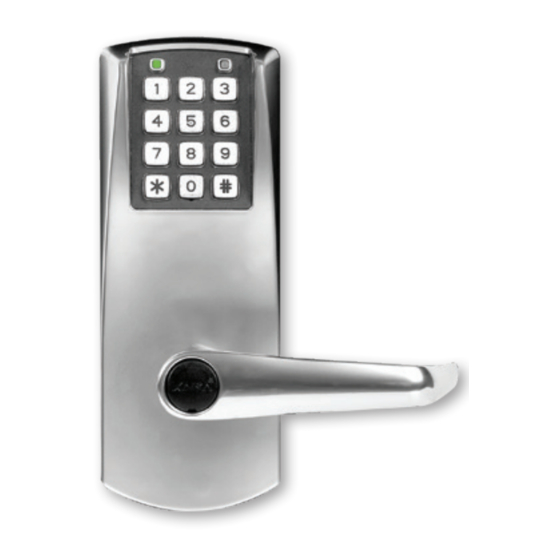
Install the lock and the exit device
1 Install the Mortise (if applicable)
Instructions for installing the mortise for exit devices.
2 Install the Outside Lever
Guide for attaching the outside lever to the housing.
3 Install the Batteries
Steps for inserting batteries into the battery holder.
4 Install Lock & Exit Device on the door
Details on mounting the lock and exit device onto the door.
5 Install Lock & Exit Device with Messenger/Bluetooth or E7900 on the door
Instructions for installing advanced models with Messenger/Bluetooth.
Test the operation of the E-730/750/79E lock
A Test the Lock Before Programming
Procedure to test lock functionality before programming.
B Lock Programming
Steps for programming the lock using a Grand Master keycard.
C Emergency Keycard Access
How to use an Emergency keycard for access.
Program the E-730/750/79E/E7900 lock
FDU
Programming using the FDU and communication cable.
ATLAS
Programming using the M-Unit (Maintenance Unit) for ATLAS.
Multihousing
Programming for Multihousing using M-unit or EAMU FDU.
Aurora
Programming using M-unit or command cards for Aurora.
Enterprise
Programming using PC M-unit or command cards for Enterprise.
Operating the emergency override
Electronic override using the FDU:
Steps to activate electronic override using the FDU.
Test the operation of the 630 lock
1 Panic Bar
Test the panic bar function of the lock.
2 Outside Lever
Test the operation of the outside lever.
A Programming
Steps to program the lock with user codes.
B Code entry and access
Verify lock operation and access with user codes.
Installation of the mechanical override
Parts and Tools List
List of required parts and tools for mechanical override installation.
Diagram of lock:
Illustrated diagram of the mechanical override lock components.
1 Upon unpacking, the lock housing with mechanical override should look like the diagram below with:
Visual inspection of the lock housing upon unpacking.
2 Preparing the outside housing for the installation of the lever handle
Steps to prepare the outside housing for lever handle installation.
3 Preparing the Lever Handle and Cylinder for Installation
Steps to prepare the lever handle and cylinder for installation.
4 Steps to attach the lever handle to the lock housing
Instructions for attaching the lever handle to the lock housing.
5 Attaching the Lever Handle to the Lock
Detailed steps for fitting the lever handle onto the drive tube.
6 Verify the Attachment of the Lever Handle
Procedure to confirm the lever handle is correctly attached.
6a Adjust the Lever feel
How to adjust the lever feel by tightening a set screw.
7 Test the Movement of the Lever Handle
Testing the free movement and return of the lever handle.
8 Test the Mechanical Override Function
Testing the mechanical override functionality.
8 Test the Mechanical Override Function (Continued)
Verifying the mechanical override functionality after installation.
9 Cover the Key Hole & Cylinder with the Cap
Instructions for covering the keyhole and cylinder with a cap.
10 How to Change Lock Cylinders
Steps for replacing the lock cylinder.
10 How to Change Lock Cylinders (continued)
Continuation of lock cylinder replacement instructions.
Preparing the lever handle for Best Removable Core
Steps for preparing the lever handle for a Best Removable Core.
Need help?
Do you have a question about the 79E Series and is the answer not in the manual?
Questions and answers