
Related Manuals for Elcometer 206


Summarization of Contents
1 ABOUT YOUR GAUGE
1.1 STANDARDS
Lists the international standards the gauges comply with.
1.2 WHAT THIS BOX CONTAINS
Details the items included in the gauge packaging.
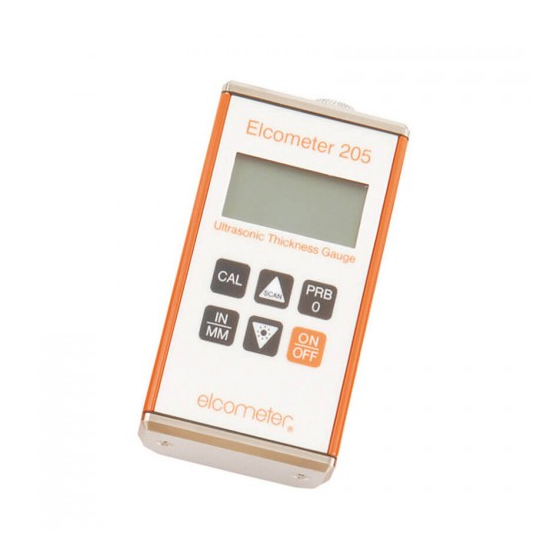
1.3 FEATURES OF THE GAUGE
Describes the key features and models of the ultrasonic thickness gauges.
3 GETTING STARTED
3.1 FITTING BATTERIES
Details the procedure for inserting and replacing batteries in the gauge.
3.2 THE TRANSDUCER
Explains the function and importance of the transducer for measurements.
3.3 THE KEYPAD
Describes the functions of the buttons on the Elcometer 205 and 206 keypad.
4 TAKING A READING
4.1 Before you start
Lists essential preliminary steps before taking a measurement, like zeroing and calibration.
6 CALIBRATION
6.1 ONE-POINT CALIBRATION
Describes the one-point calibration procedure using a known thickness sample.
6.2 TWO-POINT CALIBRATION
Explains the two-point calibration process for improved accuracy over specific ranges.
6.3 KNOWN VELOCITY CALIBRATION
Outlines how to calibrate by directly entering the material's sound velocity.
7 SET-UP OPTIONS
7.1 SCAN MODE
Explains the Scan Mode for finding the thinnest point over a large area.
7.2 DIFFERENTIAL MODE
Describes the Differential Mode for measuring thickness difference from a nominal value.
7.3 ALARM
Details how to set up audible and visual alarms for measurements.
7.4 BACKLIGHT
Explains how to adjust the display backlight modes (on/off/auto).
8 TRANSFERRING READINGS TO A COMPUTER
8.1 CONNECTING THE DATA TRANSFER CABLE
Instructions for connecting the gauge to a computer using a data transfer cable.
8.2 TRANSFERRING DATA
Details the process for transferring measurement data from the gauge.
9 USING THE DATA LOGGER
9.1 SETTING-UP THE DATA LOGGER
Guides on how to configure and set up the data logger function.
9.2 STORING A MEASUREMENT
Explains how to store measurements within the data logger.
9.3 DELETING CONTENTS OF A MEMORY LOCATION
Procedure for clearing individual memory locations in the data logger.
9.4 DELETING CONTENTS OF AN ENTIRE BATCH
Steps to clear all measurements within a specific data batch.
9.5 DELETING CONTENTS OF ALL BATCHES
Instructions for clearing all data from all batches in the data logger.
9.6 TRANSFERRING DATA TO A COMPUTER
Details on how to transfer logged data from the gauge to a computer.
15 WARRANTY
15.1 Exclusions
Specifies conditions under which the warranty does not apply.
15.2 Obtaining service during warranty period
Explains how to obtain warranty service for the product.
15.3 After the warranty period
Provides information on available services after the warranty period expires.
APPENDIX A. TRANSDUCERS
A.1 Initial signal strength
Discusses how initial signal strength affects measurement accuracy.
A.2 Absorption and scattering
Explains how material absorption and scattering affect ultrasound waves.
A.3 Geometry of the transducer
Covers how transducer size and shape suit different measurement environments.
A.4 Temperature of the material
Addresses the impact of material temperature on measurements and transducer choice.
A.5 Selecting the correct transducer
Provides guidance on choosing the appropriate transducer for specific applications.
APPENDIX C. APPLICATION NOTES
C.1 Measuring tubing
Provides specific instructions for measuring the thickness of pipes.
C.2 Measuring hot surfaces
Discusses techniques for measuring hot surfaces and temperature effects.
Need help?
Do you have a question about the 206 and is the answer not in the manual?
Questions and answers