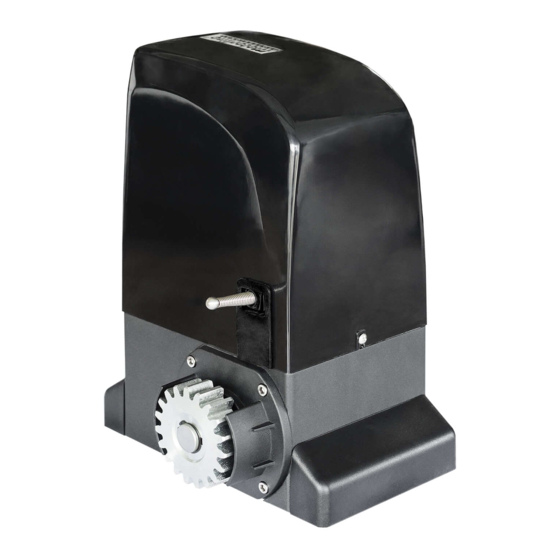
Summarization of Contents
General Safety Regulations
General Precautions
Read instructions, handle materials safely, store for reference, use as intended, avoid hazardous atmospheres.
Technical Safety Standards
Adhere to EN standards for mechanics and installation, ensure proper earthing, use safety devices and warning signs.
User and Maintenance Guidelines
Use original parts, do not modify components, understand manual operation, contact professionals for repairs.
Product Description
System Structure Components
Details the main parts and components of the automated gate system with numbered references and a diagram.
Product Dimensions
Provides detailed physical dimensions of the automated operator unit in millimeters with diagrams.
Installation
Preliminary Checks
Ensure gate structure is strong, rigid, and moves correctly; check soil stability; remove existing locks.
Foundation Plate Preparation
Fit nuts into foundation plate holes and position plate correctly for rack and pinion alignment.
Operator Positioning
Lay electric cables, allow sufficient projection, and position the operator on the plate using supplied screws.
Operator Adjustment and Fixing
Adjusting Operator Distance
Adjust the distance of the operator from the gate as indicated by the specific measurement.
Securing the Operator
Fix the operator by slightly tightening screws and removing the exhaust screw if applicable.
Operator Release and Rack Installation
Releasing the Operator
Prepare for manual operation by inserting key, turning it, and opening the manual release.
Installing the Rack
Prepare rack with spacers, position first part on pinion, level, and secure, then add subsequent parts.
Rack Installation Details and Notes
Rack Alignment and Fixing
Move gate to ensure smooth movement, synchronize rack teeth, use level, and secure elements with screws.
Rack Installation Best Practices
Ensure rack mesh, use screws/washers for fixing, and avoid grease/lubricants between rack and pinion.
Limit Switch Plate Installation
Positioning Limit Switches
Place limit switch plate on rack in closed position to trigger motor switch and secure with screws.
Maintenance and Repairs
Routine Maintenance Checks
Perform checks on the release system and safety devices/accessories at least every six months.
Repair Procedures
For any necessary repairs, contact authorized repair centers.


Need help?
Do you have a question about the OL2000 and is the answer not in the manual?
Questions and answers