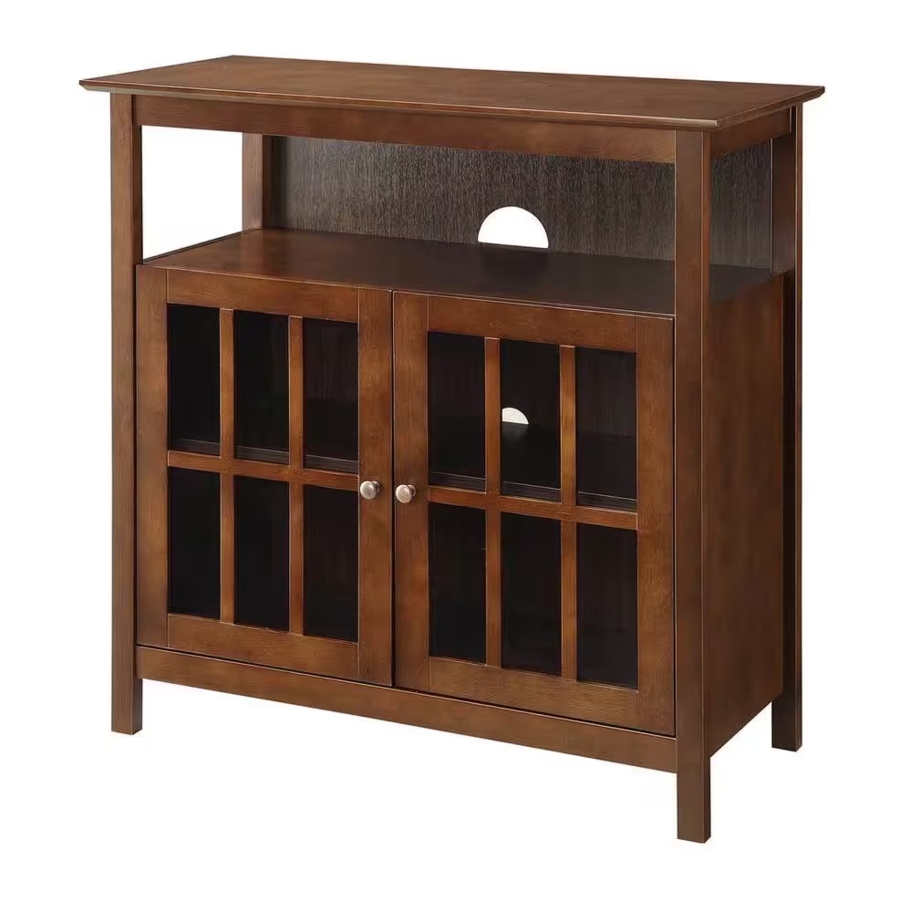
convenience concepts BIG SUR HIGH BOY 8066070 Manual
- Assembly instructions manual (6 pages)
Advertisement
HARDWARE LIST
| CODE | NAME | FIGURE | Q'TY |
| A | WOOD DOWEL (Φ8X30mmL) |  | 14PCS |
| B | CAM LOCK (Φ15*9mmL) |  | 14PCS |
| C | CAM BOLT (Φ6.5*35mmL) |  | 14PCS |
| D | SMALL SCREW (Φ7*14mmL) |  | 24PCS |
| E | MEDIUM SCREW (Φ7*16mmL) |  | 16PCS |
| F | DOOR HINGE |  | 4PCS |
| G | KNOB |  | 2PCS |
| H | KNOB SCREW (Φ4*20mmL) |  | 2PCS |
| I | SHELF SUPPORT |  | 4PCS |
| J | WIRE CAP |  | 1PC |
| K | COLOR STICK |  | 1PC |
| L | WOOD GLUE |  | 1PC |
| M | ALEN WRENCH |  | 1PC |
PARTS LIST
| CODE | NAME | FIGURE | Q'TY |
| 1 | TOP PANEL |  | 1PC |
| 2 | LEFT SIDE PANEL |  | 1PC |
| 3 | RIGHT SIDE PANEL |  | 1PC |
| 4 | FRONT CROSSBAR |  | 1PC |
| 5 | MIDDLE PANEL |  | 1PC |
| 6 | BOTTOM PANEL |  | 1PC |
| 7 | DOOR |  | 2PCS |
| 8 | ADJUSTABLE SHELF |  | 1PC |
| 9 | BACK PANEL |  | 1PC |
Setting Up

HARDWARE NEEDED
A x 5
B x 5
C x 5
- Assemble unit laying on its side, on a soft surface.
- Attach Bottom Panel ( 6 ) and Middle Panel ( 5 ) to Right Side Panel ( 3 ) using Wood Dowels ( A ), Cam Bolts ( C ), and Cam Locks ( B ) as shown.
** Refer to Camlock Assembly Below** - Attach Front Cross Bar ( 4 ) to Right Side Panel ( 3 ) using care not to bend.

HARDWARE NEEDED
A x 5
B x 5
C x 5
- Attach Left Side Panel ( 2 ) to Assembly using Wood Dowels ( A ), Cam Bolts ( C ), and Cam Locks ( B ) as shown.
**** Assembling the unit with cam and wood dowels.

Gently screw cam dowel into the threaded anchor.

Lightly glue one end of the wood dowel and tap halfway into hole. Add 2nd drop of glue to top of dowel.

Connect to second panel by inserting dowels into holes.

Insert cam lock with arrow pointing down. Screw the cam firmly into locked position.

HARDWARE NEEDED
A x 4
B x 4
C x 4
- Place unit upright and attach Top Panel ( 1 ) using Wood Dowels ( A ), Cam Bolts ( C ), and Cam Locks ( B ) as shown.

HARDWARE NEEDED
E x 8
F x 4
- Attach Door Hinges ( F ) to Doors ( 7 ) using Medium Screws ( E ). Use care not to over tighten.

HARDWARE NEEDED
E x 8
G x 2
H x 2
- Attach Doors ( 7 ) to unit using Medium Screws ( E ).
- Attach Knobs ( G ) to Doors using Knob Screws ( H ).
**After Final Assembly, Adjust Hinge Screws for Better Alignment **

HARDWARE NEEDED
J x 1
- Carefully pull apart Wire Cap ( J ) into Two pieces if needed.
- Align each half of the Wire Cap with pre-cut openings in both sides of Back Panel ( 9 ). Firmly push together until snapped into place.

HARDWARE NEEDED
D x 24
- Attach Back Panel ( 9 ) to unit by using Small Screws ( D ).

HARDWARE NEEDED
I x 4
- Insert Shelf Supports ( I ) into desired position holes in side panels.
- On a slight angle, carefully slide Adjustable Shelf ( 8 ) into unit and on top of Shelf Supports ( I ).

Enjoy your new piece of Quality Furniture!
Documents / ResourcesDownload manual
Here you can download full pdf version of manual, it may contain additional safety instructions, warranty information, FCC rules, etc.
Download convenience concepts BIG SUR HIGH BOY 8066070 Manual
Advertisement


Need help?
Do you have a question about the BIG SUR HIGH BOY and is the answer not in the manual?
Questions and answers