Advertisement
Technical Support and E-Warranty Certificate www.vevor.com/support
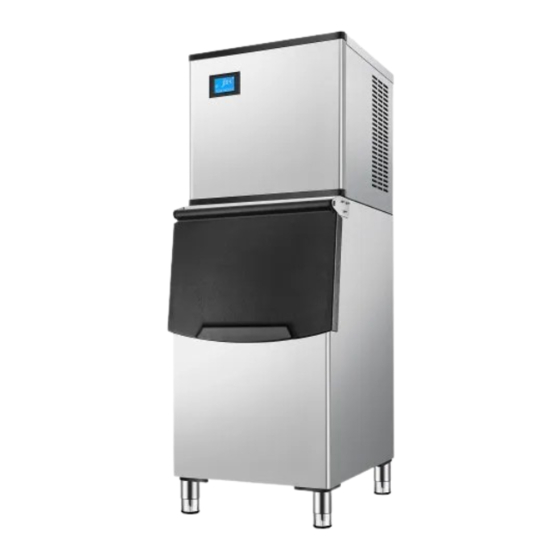
ICE MACHINE
MODEL:SKF300BLS/SKF-500BLS
We continue to be committed to provide you tools with competitive price.
"Save Half", "Half Price" or any other similar expressions used by us only
represents an estimate of savings you might benefit from buying certain tools
with us compared to the major top brands and does not necessarily mean to cover
all categories of tools offered by us. You are kindly reminded to verify carefully
when you are placing an order with us if you are actually Saving
Half in comparison with the top major brands.
Advertisement
Table of Contents

Related Manuals for VEVOR SKF300BLS


Summary of Contents for VEVOR SKF300BLS
- Page 1 Technical Support and E-Warranty Certificate www.vevor.com/support ICE MACHINE MODEL:SKF300BLS/SKF-500BLS We continue to be committed to provide you tools with competitive price. "Save Half", "Half Price" or any other similar expressions used by us only represents an estimate of savings you might benefit from buying certain tools with us compared to the major top brands and does not necessarily mean to cover all categories of tools offered by us.
-
Page 3: Ice Machine
This is the original instruction, please read all manual instructions carefully before operating. VEVOR reserves a clear interpretation of our user manual. The appearance of the product shall be subject to the product you received. Please forgive us that we won't inform you again if there are any technology or software updates on our product. -
Page 4: Safety Precaution
Warning-To reduce the risk of injury, user must read instructions manual carefully. This product is subject to the provision of European Directive 2012/19/EC. The symbol showing a wheelie bin crossed through indicates that the product requires separate refuse collection in the European Union. This applies to the product and all accessories marked with this symbol. - Page 5 Before proceeding with cleaning and maintenance operations, make sure the power line of the unit is disconnected. Do not connect or disconnect the electric plug when your hands are wet. Unplug the appliance or disconnect power before cleaning or servicing. ...
- Page 6 to avoid electric shock; This appliance can be used by children aged from 8 years and above and persons with reduced physical, sensory or mental capabilities or lack of experience and knowledge if they have been given supervision or instruction concerning use of the appliance in a safe way and understand the hazards involved.
- Page 7 minutes. Notify Customer Service for necessary action and advice. The ice-making machine quantity contained in this appliance is listed above in grams; it is also noted on the Rating Plate of the appliance. WARNING: During using, service and disposal the ...
- Page 8 1.The surface of the machine is covered with a metal protective film, which needs to be removed before use 2.In order to extend the service life of the ice maker, it must be placed upright for at least 6 hours before being powered on . 3.The host of this product should be placed directly above the ice storage bin, and the left, right, and back of the ice maker host should be aligned with the ice storage 4.Pay attention to personal safety when placing the main unit of the ice maker, and...
-
Page 9: Basic Structure
1. Ice thickness setting function: Press "reservation/addition" twice in the startup state to enter the ice thickness gear state. At this time, you can adjust the ice thickness according to the actual ice thickness by pressing "reservation/addition" and "lighting/reduction". It is recommended that the ice thickness gear is not less than 0 2. - Page 10 ICE MACHINE ACCESSORIES Name Water inlet pipe Sealing ring PTFE tape Water drainage pipe Instructions - 8 -...
-
Page 11: Installation
ICE STORAGE BUCKET ACCESSORIES Name Adjustable feet Filter connection pipe mounting plate Ice storage bucket drain pipe Water filter Ice shovel wrench accessories package thread seal tape ※This batch of attachments need to buy ice storage buckets INSTALLATION Open the case, move the machine to a appropriate location. Check the packing list and the contents, if they are different, please inquire your dealer. - Page 12 2. Operating environment A. Environment temperature:SN、N、ST:10℃~38℃ Environment humidity: relative humidity ≤90% 1. Take out the feet of the ice storage bucket and install them at the bottom of the ice storage bucket. 2. Two people carry the ice machine host and place it on the ice storage bucket, and it is flush with the ice storage bucket.
- Page 13 The distance between the air outlets and the wall should be over 30 cm. Besides, keep good ventilation and ensure the machine is dry and clean. The position to place the ice maker must be far away from the heat source, such as a bake oven、 electric cooker, etc.
-
Page 14: Power Supply
POWER SUPPLY a、Select the proper power supply according to the voltage and power on the nameplate. b、Connect the power wire and supply, ensuring the yellow and green wires were connected with the ground wire firmly. Caution: a.For safety, ensure the ground connection is in good condition. b.All the exterior wires and other appliances must confirm with national standard. - Page 15 For the SKF-300BLS、SKF-500BLS,you must remove the decorative panel so as to turn on the power. 4. Connect the water supply pipe Take out the water supply pipe from accessory bag, connect pipe’s double ends to the water supply valve and water faucet. First, sleeve the connector 1 to the water faucet, then join one end of water supply pipe which has steel balls to the connector 1(hang on this water supply pipe’s end, loose it after being connected to the connector 1), and connect the other end which is attached with a screw to the...
- Page 16 SERVICE INSTRUCTION 1.Operation process First, turn on the water faucet, power, and water supply valve, then fill the sink with water, and turn off the faucet when the sink is filled with appropriate water. 2. Ice-make process After several minutes, the water pump starts work, and the water will be pumped and flowed through the ice model evenly.
- Page 17 B、The fan motor for condenser is controlled by temperature, when condenser’s surface temperature is lower, the fan motor will stop, so as to save power; when surface temperature rises up, the fan motor will work again, so fan motor work intermittently during the ice-make process.
- Page 18 press 3 seconds to turn off the machine under turn on status press on/off button to turn on the machine under turn off status press the on/off button to exit setting under ice thickness setting and filling water adjust status Mode button: Switch the ice making program Clean / Set Button:...
-
Page 19: Daily Cleaning And Maintenance
DAILY CLEANING AND MAINTENANCE - 17 -... - Page 20 - 18 -...
- Page 21 - 19 -...
-
Page 22: Troubleshooting
TROUBLE SHOOTING TECHNICAL PARAMETER AND WIRING DIAGRAM A、Technology parameters are on the nameplate. B、The electrical schematic diagram is on the inner side of the board . - 20 -... - Page 24 Technical Support and E-Warranty Certificate www.vevor.com/support...
Need help?
Do you have a question about the SKF300BLS and is the answer not in the manual?
Questions and answers