Advertisement
Quick Links
Advertisement

Related Manuals for HunterLab ColorFlex L2


Summary of Contents for HunterLab ColorFlex L2
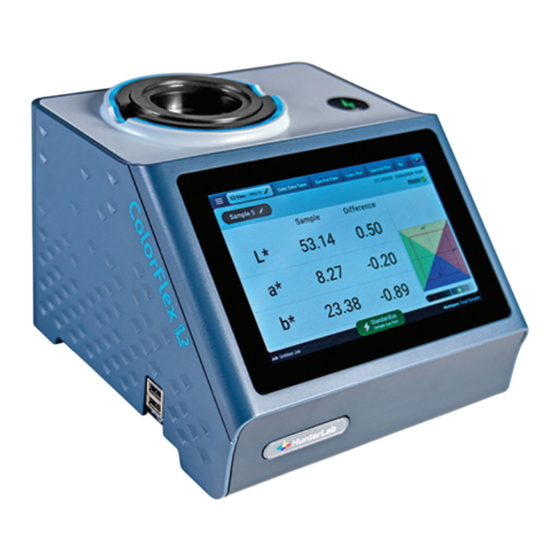
- Page 1 ColorFlex L2 Quick Start Guide ® A60-1021-396 ver. 1.0...
-
Page 2: Setting Up The Instrument
SETTING UP THE INSTRUMENT 1. Connect the plug on the AC adapter to the port on the back of the ColorFlex L2. AC ADAPTER PORT SWITCH 2. Plug the power cord on the AC Adapter into a wall outlet. 3. Turn on the ColorFlex L2 using the switch on the back of the instrument. -
Page 3: Reading Samples
6. If the test fails, clean the Instrument Standard, Diagnostic Check Tile, and/or Reflectance Black Glass and run the test again. If needed, contact HunterLab’s service department. If the test passes, continue to read samples. - Page 4 EDITING THE EZ VIEW TO SHOW SIMPLE DIFFERENCES 1. From the EZ View screen, select the edit icon in the EZ View tab. Then select DISPLAY OPTIONS. Select the radio button next to SHOW STANDARD and SHOW DIFFERENCES and this will display simple differences. EDITING THE COLOR SCALE IN THE EZ VIEW 1.
- Page 5 5. Standardization displays the status of diagnostics and enables users to run standardization. For more detailed instructions on using the instrument, please refer to the ColorFlex L2 User’s Manual. ® Visit support.hunterlab.com for more information on maintenance, operation and repair of your instrumentation. A60-1021-396 ver. 1.0...
Need help?
Do you have a question about the ColorFlex L2 and is the answer not in the manual?
Questions and answers