Medela Hands-free Collection Cups - Pump Accessory Manual
- Instructions for use manual (64 pages)
Advertisement
- 1 Important safety information
- 2 Intended use
- 3 Product description
- 4 Disassembling your Hands-free Collection Cups
- 5 Cleaning
- 6 Assembling your Hands-free Collection Cups
- 7 Handling of breast milk
- 8 Troubleshooting
- 9 Ordering information
- 10 Meaning of symbols
- 11 Technical specifications
- 12 Documents / Resources
Important safety information
 Before using this product for pumping, please read your Medela compatible personal use pump Instructions for Use for additional important safety information.
Warnings identify all Instructions for Use that are important for safety. Failure to observe these Instructions for Use can lead to personal injury or damage to the product. The following symbols and signal words show the significance of the warnings:

Can lead to serious injury or death.

Can lead to minor injury.
NOTICE
Can lead to material damage (not related to personal injury).

Useful or important information that is not related to safety.
To avoid health risks and reduce the risk of severe injury:
- The Hands-free Collection Cups are a single-user product. Use by more than one person may present a health risk and voids the warranty.
- Wash all parts that come into contact with your breast and breast milk after every use.
- The tubing poses a risk of strangulation when played with and small parts may be swallowed by toddlers. Close supervision is necessary when the Hands-free Collection Cups are used in the vicinity of children.
To avoid fire or burns:
- The Hands-free Collection Cups and accessories are not heat-resistant. Keep away from heated surfaces or open flames.
- Do not use near flammable materials. To avoid health risks and reduce the risk of injury:
- Before each use visually inspect the individual components for cracks, chips, tears, discoloration or deterioration. In the event that damage to the device is observed, please discontinue use until the parts have been replaced.
- This product cannot be serviced or repaired. Do not repair yourself. Do not modify the device.
- Never use a damaged device. Replace defective or worn parts.
- Use the Hands-free Collection Cups only for their intended use as described in these Instructions for Use.
- If tubing becomes moldy, discontinue use and replace tubing.
- Do not microwave or boil breast milk. Microwaving can cause severe burns to a baby's mouth from hot spots that develop in the milk during microwaving. Microwaving or boiling can also change the composition of breast milk.
- Clean and sanitize all parts that come into contact with your breast and breast milk prior to first use.
- Use only with Medela compatible personal use pumps.
- If pumping is uncomfortable or causes pain, turn the pump unit off, break the seal between the breast and the breast shield with your finger and remove the breast shield from your breast.
- Choose the correct breast shield size for pumping. Using an unsuitable breast shield size may cause pain, discomfort and reduction in milk flow.
Visit www.medela.com/fittingguide or see a lactation consultant/breastfeeding specialist who can assist with fit or if you can express only minimal or no milk or if expression is painful. See "Selecting the correct breast shield size" chapter for more information.
Intended use
Indications for use
The Hands-free Collection Cups reusable set is intended to be used by lactating women for expressing breast milk with the Medela double electric personal use breast pumps (Freestyle™, Pump in Style®, Swing Maxi™ / Duo). The pump set is a single-user product.
Contraindications
There are no known contraindications for the Hands-free Collection Cups.
Product description
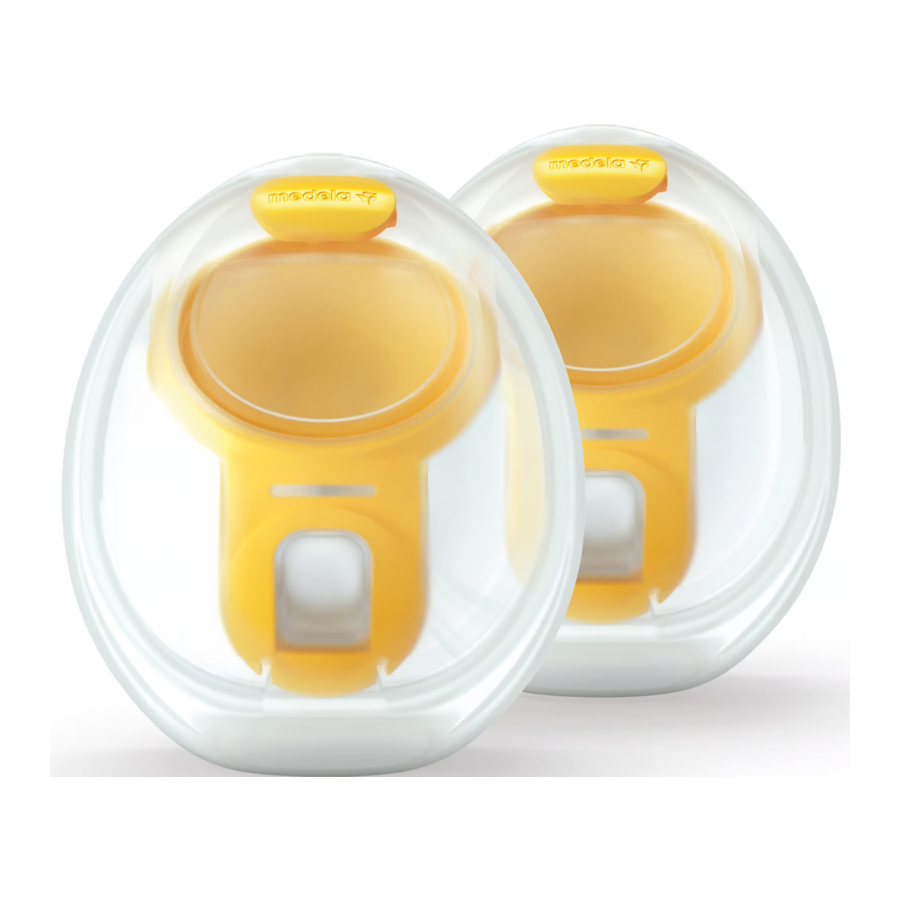
Refer to figure 1:

1-01 Hands-free Collection Cups
- 1-01-1 Breast shield 21 mm (2pcs) (Applied part)
- 1-01-1 Breast shield 24 mm (2pcs) (Applied part)
- 1-01-2 Nipple tunnel
- 1-01-3 O-ring (2pcs)
- 1-01-4 Yellow membrane (2pcs)
- 1-01-5 Alignment tab
- 1-01-6 Valve
- 1-01-7 Outer shell (2pcs)
- 1-01-8 Pouring spout
- 1-01-9 Tubing connection port
1-02 Tubing (2 pcs)
- 1-02-1 The flat ends of tubing (connect to collection cups)
- 1-02-2 The round ends of tubing (connect to your personal use pump's tubing)
For ordering information about accessories see "Ordering information" chapter.
All pictures shown in these Instructions for Use are for illustration purpose only. The actual product may vary due to local differences or product enhancement. Medela reserves the right to substitute any component or accessory with a replacement of equivalent performance.
Disassembling your Hands-free Collection Cups
Refer to figure 2:
- 2-01 Open the collection cup using the tab at the bottom.
![]()
- 2-02 Remove the yellow membrane from the breast shield.


Cleaning
It is important you do the following before using your Hands-free Collection Cups for the first time: Disassemble all parts & clean following cleaning instructions. For additional cleaning guidelines see the Center for Disease Control website:
https://www.cdc.gov/healthywater/hygiene/healthychildcare/infantfeeding/breastpump.html
(U.S).
Supplies needed:
- Dish washing liquid
- Clean soft brush
- Clean wash basin or dishwasher
- Drinking-quality water
- Clean pot for boiling water
Parts to wash and sanitize:
- Breast shields (with O-ring)
- Outer shells
- Yellow membranes
Separate and wash all parts that are exposed to breast milk immediately after use. This will help to remove breast milk residue and prevent growth of bacteria.
- Wash hands thoroughly with soap and water.
- Only use drinking-quality tap water or bottled water for cleaning.
- Do not place the Hands-free Collection Cups' parts directly in a sink to rinse or wash. Use a clean wash basin used only for infant items.
- Do not use a dish towel to rub or pat items dry.
- Do not use disinfectants for cleaning.
NOTICE
Medela personal use breast pump has a closed system so milk cannot get into the tubing when the pump is used as instructed.
Do not clean or rinse the tubing under any circumstance.

- Inspect the tubing before use. If you find condensation, breast milk or mold in the tubing, discontinue use and replace tubing. Refer to "Ordering information" chapter for ordering information.
- Do not run your breast pump with wet tubing; doing so will cause damage to your breast pump.
NOTICE
Pay attention to the following:
- Take care not to damage parts of the Hands-free Collection Cups during cleaning.
- Store the dry Hands-free Collection Cups in a clean bag/container until next use.
- Do not store wet or damp parts as mold may develop.
- If you notice a white residue on your parts after boiling, your water may have a high mineral content. Remove residue by wiping parts with a clean towel and allow to air dry.
- Distilled water is recommended when boiling parts to prevent substantial mineral build-up over time, which may compromise your parts.
Cleaning overview
Washing and sanitizing are two different activities. They must be done separately to protect you and your baby, and to maintain the performance of your breast pump.
Wash – To clean the surfaces of the parts by physically removing milk residues and other possible contaminants.
Sanitize – To efficiently lower the number of germs that may be present on the surfaces of the washed parts.
Do not clean or rinse the tubing under any circumstance.

Tubing
| When to clean | Breast shield | Outer shell | Yellow membrane | O-ring | |
| Before first use | Disassemble the parts according to "Disassembling your Hands-free Collection Cups" chapter. Wash the parts according to "Washing" chapter. Sanitize the parts according to "Sanitizing" chapter. | During regular washing and sanitizing, you do not need to remove the O-ring from the breast shield. | |||
| After each use | Disassemble the parts according to "Disassembling your Hands-free Collection Cups" chapter. Wash the parts according to "Washing" chapter. | ||||
| Once per day after use | Disassemble the parts according to "Disassembling your Hands-free Collection Cups" chapter. Wash the parts according to "Washing" chapter. Sanitize the parts according to "Sanitizing" chapter. | ||||
Washing
Refer to figure 3:

| Rinse and wash by hand (before first use and after each use) | or | Wash in dishwasher (maximum once per day) |
Do not place the parts directly in a kitchen sink for rinsing and washing. Use a dedicated wash basin for infant items.
|
If using a dishwasher, parts may become discolored. This will not impact the functioning of the parts. |
Drying
- Allow to air-dry on a clean, unused dish towel or single-use paper towel.
Sanitizing
Refer to figure 4:

| Sanitize on stovetop (before first use and once per day after use) | or | Sanitize in microwave (once per day after use) |
|
|
Drying
- Allow to air-dry on a clean, unused dish towel or single-use paper towel.
- Put the clean and dry parts in a clean storage bag or a clean environment. Do not store parts in an airtight container/bag if moist. It is important that all residual moisture dries.
Assembling your Hands-free Collection Cups
Only use clean and dry parts for assembly. Refer to "Cleaning" chapter for cleaning instructions.
Selecting the correct breast shield size
Make sure to use the correct breast shield size. The breast shield is an essential component for effective pumping, helping to optimize milk flow.
Refer to figure 5:

- 5-01 Select the breast shield size by measuring the diameter of your nipple.
- 5-02 Select the breast shield size that is slightly larger than your nipple. 21mm (without the O-ring) and 24mm (already applied with the O-ring) size breast shields are included in the pack. 27mm size breast shield is available for purchase. See "Ordering information" chapter for ordering information.
Assembling the Hands-free Collection Cups
Only use clean and dry parts for assembly. Refer to "Cleaning" chapter for cleaning.
Parts needed:
- Tubing
- Breast shield (with the O-ring)
- Yellow membrane
- Outer shell
To prevent contamination of your milk:
- Wash hands thoroughly with soap and water before touching your breast pump, parts of the Hands-free Collection Cups and breasts.
- Dry your hands with a fresh towel or a single-use paper towel.
- Avoid touching the inside of the Hands-free Collection Cups components. To ensure proper and safe function of your breast pump:
- Check the Hands-free Collection Cups' components for wear or damage before use. Replace if necessary.
- Always inspect all parts prior to use for cleanliness. If dirty, clean according to "Cleaning" chapter.
- Only use genuine Medela parts. See "Ordering information" chapter for details.
To prevent damage to the breast pump, all components must be completely dry before use.
Refer to figure 6:
- 6-01 Wash hands thoroughly with soap and water before touching your breast pump, parts of the Hands-free Collection Cups and breasts. Dry your hands with a clean towel.
![]()
- 6-02 Confirm that the O-ring is applied to the breast shield.
![]()
- 6-03 Assemble the valve of the yellow membrane on the front of the breast shield.

- 6-04 Align the disc of the yellow membrane on the designated circular slot using the alignment tab at the top to ensure that it is at the right place. Press around the edges to make sure it is fully assembled.
![]()
- 6-05 Insert the pouring spout into the opening on the shield.
![]()
- 6-06 Push the outer shell and breast shield together tightly, ensuring it is fully sealed all the way around until you hear a snapping sound.
![]()
- 6-07 Connect the flat ends of tubing to your Hands-free Collection Cups.
![]()


O-ring fits all breast shield sizes. To disassemble and assemble the O-ring to a different size of breast shield follow the guidance below.
If you would like to use a different size of breast shield, disassemble the already applied O-ring from the 24 mm breast shield starting by pulling out the bottom tab (as shown in the left imagine below) from the breast shield. To reassemble the O-ring to a different size of breast shield, start from the top (as shown on the right imagine below) of the breast shield, stretch it over the outer edge of the breast shield. Ensure it goes on with the ridges facing outwards. Press along the groove, checking that it is in place all the way around.
To disassemble:

To assemble:

Preparing for pumping
Refer to figure 7:
- Assemble the Hands-free Collection Cups as described in "Assembling the Hands-free Collection Cups" chapter.
7-01 Connect the round ends of the tubing to your compatible Medela personal use pump's tubing. For Instructions for Use on how to single or double pump, refer to your Medela compatible personal use pumps instruction for use.


Placing the Hands-free Collection Cups within your bra
Refer to figure 8:
- 8-01 Ensure that the nipple is centered in the tunnel of the breast shield.

- 8-02 The Hands-free Collection Cups can be worn under your regular nursing bra. Your bra will hold the Hands-free Collection Cups in place. If you find it uncomfortable or painful during use, try switching to a looser, more stretchy nursing bra.
![]()
- 8-03 The tubing can be connected facing inwards (towards the breasts) or outwards (towards the arms) based on personal preference. Ensure that the tubing is not pinched or bent during use.

- 8-04 The Hands-free Collection Cups can be used in a vertical or slightly tilted position for better visibility of the nipple and milk ejection. The scale on the Hands-free Collection Cups give you an approximate indication of the volume during pumping.
![]()


Handling of breast milk
Removing the Hands-free Collection Cups from your bra
To avoid milk spilling out of the tunnel, when finished, keep the pump running and slightly lean forward to ensure all the milk inside the breast shield tunnel empties into the collection cups.
Refer to figure 9:
- 9-01 While the pump is still running, slightly lean forward and ensure all milk from the nipple tunnel enters the collection container. Next, turn off pump.
![]()
- 9-02 Detach the tubing from the Hands-free Collection Cups.
![]()
- 9-03 Carefully remove the Hands-free Collection Cups from your bra.
![]()


Pouring milk from Hands-free Collection Cups
Refer to figure 9.
- 9-04 Place the Hands-free Collection Cups in an upright position on a surface where they will not be easily knocked over.

- 9-05 With the rounded outer shell facing down, pour breast milk through the pouring spout into a bottle or container for storage. Do not use the Hands-free Collection Cups to store milk. Do not store assembled collection cups in the refrigerator.
![]()
- Fully disassemble and clean after each use and sanitize once per day as described in "Disassembling your Hands-free Collection Cups" chapter and "Cleaning" chapter.


General storage guidelines
For information on storing and thawing your breast milk, visit
www.breastmilkguidelines.com (U.S.) or
https://www.medela.us/mbus/tips-and-solutions/11/breastmilk-collection-and-storage (U.S.) https://www.womenshealth.gov/breastfeeding/pumping-and-storing-breastmilk (U.S) or
https://www.medela.ca/breastfeeding/moms-journey/storing-and-thawing-breast-milk (Canada) or https://www.medela.com/breastfeeding/mums-journey/storing-and-thawing-breast-milk.
Long-term storage
Before long-term storage, disassemble and sanitize all parts (except for the tubing). Do not store the Hands-free Collection Cups in assembled state over an extended period of time.
Troubleshooting
| Problem | Solution |
| There is low or no suction |
|
Ordering information
Accessories
| Article number | Product |
| Depending on your region, check local website/ shops for availability. | 21mm Breast shields compatible with Medela Hands-free Collection Cups* 24mm Breast shields compatible with Medela Hands-free Collection Cups* 27mm Breast shields compatible with Medela Hands-free Collection Cups* |
| Membrane compatible with Medela Hands-free Collection Cups | |
| O-ring compatible with Medela Hands-free Collection Cups | |
| Tubing compatible with Medela Hands-free Collection Cups and Pump In Style® | |
| Tubing compatible with Medela Hands-free Collection Cups and Freestyle™ and Swing Maxi™ / Duo |
* If the result of expression is unsatisfactory or expression is painful, contact your lactation consultant or breast feeding specialist. A different size of breast shield may help make expression more comfortable and effective.
If you have not resolved the problem or in case of difficulties in finding your desired accessory or replacement of lost or defective parts, or any other further questions, please contact Medela customer service.
For contact data, visit www.medela.com, select your country.
For any other Medela products information, visit www.medela.com.
Meaning of symbols
The following tables explain the meaning of the symbols found on the product packaging/labeling.

Technical specifications
Materials touching skin or coming in contact with milk
- Breast shield: Polypropylene
- Outer shell: Polypropylene, Thermoplastic Elastomer
- Membrane: Silicone
- O-ring: Silicone
- Tubing: Silicone, Polycarbonate
Not intentionally made of BPA (Bisphenol A).
Documents / Resources
References
![www.medela.com]() Choosing your Medela breast shield size | Medela
Choosing your Medela breast shield size | Medela![medela.com]() Choosing your Medela breast shield size | Medela
Choosing your Medela breast shield size | Medela![www.breastmilkguidelines.com]() Breastfeeding & Pumping
Breastfeeding & Pumping![www.medela.us]() How to store, freeze and thaw breast milk | Medela
How to store, freeze and thaw breast milk | Medela![www.womenshealth.gov]() Pumping and storing breastmilk | Office on Women's Health
Pumping and storing breastmilk | Office on Women's Health![www.medela.ca]() How to store, freeze and thaw breast milk | Medela
How to store, freeze and thaw breast milk | Medela![www.medela.com]() How to store, freeze and thaw breast milk | Medela
How to store, freeze and thaw breast milk | Medela![www.medela.com]() Breastfeeding & Pumping
Breastfeeding & Pumping
Download manual
Here you can download full pdf version of manual, it may contain additional safety instructions, warranty information, FCC rules, etc.
Download Medela Hands-free Collection Cups - Pump Accessory Manual
Advertisement


Need help?
Do you have a question about the Hands-free Collection Cups and is the answer not in the manual?
Questions and answers