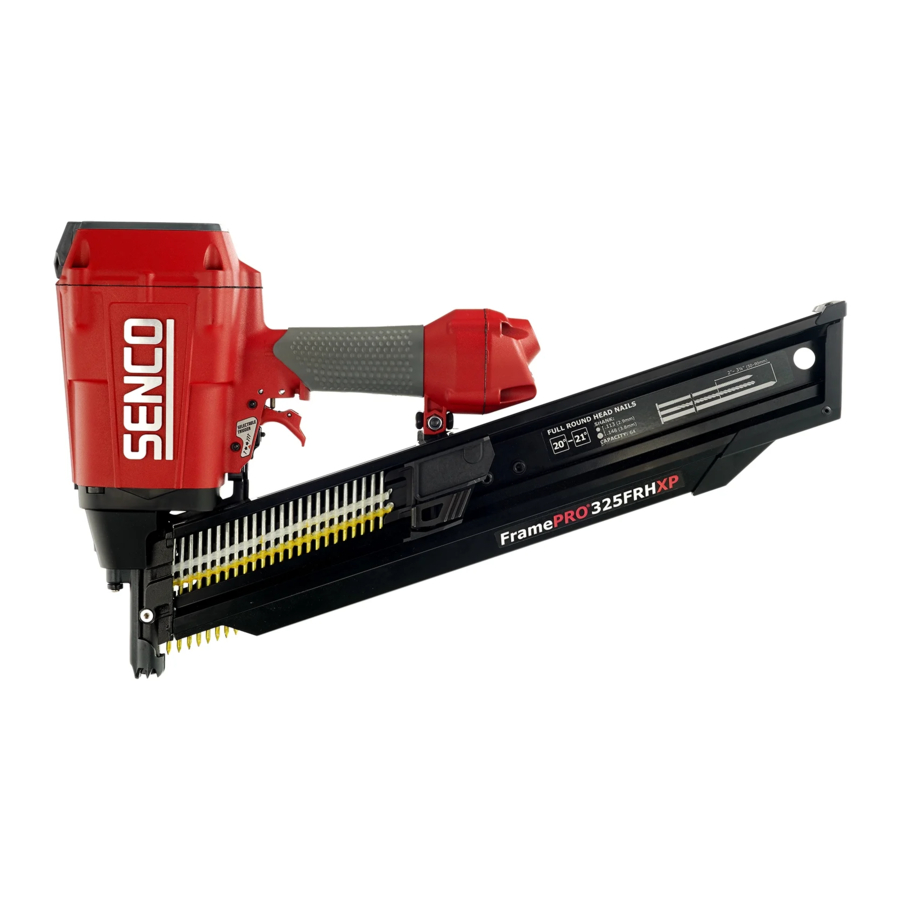
Senco FramePro325 FRHXP, FramePro350 FRHXP - Framers Manual
- Operating instructions manual (11 pages)
Advertisement
EMPLOYER'S RESPONSIBILITIES
Employer must enforce compliance with the safety warnings and all other instructions which accompany this tool as shipped from the manufacturer.
Keep this manual available for use by all people assigned to the use of this tool.
For personal safety and proper operation of this tool, read and understand all of these instructions carefully.
TOOL USE
- Read and understand "SAFETY INSTRUCTIONS" manual shipped with this tool before using tool.
![]()
- To prevent eye injuries, always wear OSHA- required "Z87.1" safety glasses with permanently attached, rigid, hard plastic side shields. These safety glasses must have "Z87.1" printed or stamped on them. Be sure everyone in your work area is wearing the same type of safety glasses.
![]()
- Keep tool pointed away from yourself and others and connect air to tool.
![]()


- Never use a tool that leaks air or needs repair.
![]()

To Load:
- Insert strip of nails into rear of magazine. For optimum performance use genuine SENCO fasteners. Do not load with workpiece contact (safety element) or trigger depressed.
![]()
- Pull feeder shoe back.
![]()
- This tool is equipped with a firing mode selection switch. To adjust the firing mode selection switch, first remove finger from trigger and disconnect the air supply.
![]()
- The down position is the Sequential (restrictive) firing mode, to change to the Contact-Actuation (Dual-Action) mode press the button in the center of the switch and slide upward and release.
![]()
- With a Contact Actuation (Dual-Action) trigger mode, nails can be driven two ways:
![]()


- Position workpiece contact (safety element) against work surface and pull trigger..."Trigger Fire."
- Pull trigger and push workpiece contact against work surface. Each time the workpiece contact is pushed against the work surface a nail will be driven. This "bottomfire" mode of operation is preferred when high production, rapid fastener placement is desired.
- With a Single Sequential (Restrictive) trigger mode, nails can only be driven one way. First depress workpiece contact (safety element) against work surface then pull trigger. This feature is helpful when precise fastener placement is required.
![]()
- Read the "Customer Satisfaction and Safety Reminder" (CSSR) in the tool and fastener boxes for safety information regarding the Contact- Actuation and Sequential trigger modes. Under certain conditions, the Sequential trigger mode may reduce the possibility of injury to you or to others working with you.
- To adjust the depth the fastener is driven, first disconnect the air supply. Using your thumb or index finger, rotate wheel to adjust the Depth Control safety element to achieve desired depth.
![]()
- Should a nail jam occur, disconnect air supply.
![]()
- Release the feeder shoe and slide it forward. Remove fasteners from the tool.
![]()


- Remove the screw at the back of the tool and remove the magazine.
![]()
- FramePro®350 FRHXP: Also remove screw from bottom of magazine as shown.
- Clear jammed fastener from guide body.
![]()
- Reattach the magazine and fasten magazine mounting screw.
- Connect air supply and replace fasteners. Pull feeder shoe back.
![]()


MAINTENANCE
- Read and understand "SAFETY INSTRUCTIONS" manual shipped with this tool before using tool.
![]()
- All screws should be kept tight. Loose screws result in unsafe operation and parts breakage.
![]()
- With tool disconnected, make daily inspection to assure free movement of the workpiece contact (safety element) and trigger. Do not use tool if safety element or trigger sticks or binds.
![]()
- Squirt Senco pneumatic oil into the air inlet twice daily (5 to 10 drops, depending on frequency of tool use). Other oils may damage O-rings and other tool parts.
![]()
- Wipe tool clean daily and inspect for wear. Use non-flammable cleaning solutions only if necessary– DO NOT SOAK.
![]()
Such solutions may damage O-rings and other tool parts.
![]()


TROUBLESHOOTING

Repairs other than those described here should be performed only by trained, qualified personnel. Contact SENCO for information at 1-800-543-4596.
- Read and understand "SAFETY INSTRUCTIONS" manual shipped with this tool before using tool.

| FramePro®325 FRHXP | FramePro®350 FRHXP | |
| A | YK0444 | YK0444 |
| B | YK0445 | YK0768 |
Air leaks near top of tool / Sluggish operation
Verify air supply / tighten screws or install Repair Kit YK0444.
Air leaks near bottom of tool / Poor return
Clean tool / tighten screws or install Repair Kit
YK0445 - FramePro®325 FRHXP
YK0768 - FramePro®350 FRHXP
Other problems
Contact SENCO.
SPECIFICATIONS

TECHNICAL SPECIFICATIONS
| FramePro®325 FRHXP | FramePro®350 FRHXP | |||
| Minimum to maximum operating pressure | 70–120 psi | 4.8–8.3 bar | 70–120 psi | 4,8–8,3 bar |
| Air Consumption (60 cycles per minute) | 5.2 scfm | 147,2 liter/min. | 7.9 scfm | 223,7 liter/min. |
| Air Inlet | 3 / 8 in. NPT | 3 / 8 in. NPT | 3 / 8 in. NPT | 3 / 8 in. NPT |
| Weight | 7.4 lbs. | 3,35 kg | 8.5 lbs. | 3,86 kg |
| Fastener Capacity | 62 - 69 | 62 - 69 | 56 - 62 | 56 - 62 |
| Tool size: Height | 11.64 in. | 295.7 mm | 13.57 in. | 344,87 mm |
| Tool size: Length | 20.30 in. | 515.6 mm | 20.33 in. | 516,84 mm |
| Tool size: Width: Main Body | 4.50 in. | 114,3 mm | 4.76 in. | 120,9 mm |
ACCESSORIES
SENCO offers a full line of accessories for your SENCO tools, including:
- Air Compressors
- Hose
- Couplers
- Fittings
- Safety Glasses
- Pressure Gauges
- Lubricants
- Regulators
- Filters
For more information or a complete illustrated catalogue of SENCO accessories, ask your representative for #MK336.
 Warnings for the safe use of this tool are included in this manual.
www.senco.com
Documents / Resources
References
Download manual
Here you can download full pdf version of manual, it may contain additional safety instructions, warranty information, FCC rules, etc.
Download Senco FramePro325 FRHXP, FramePro350 FRHXP - Framers Manual
Advertisement


Need help?
Do you have a question about the FramePro325 FRHXP and is the answer not in the manual?
Questions and answers