Table of Contents
Advertisement
Quick Links
Technical Support and E-Warranty Certificate www.vevor.com/support
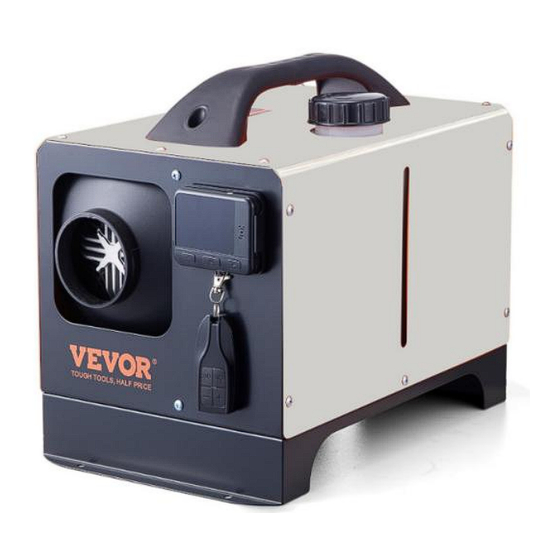
DIESEL HEATER
We continue to be committed to provide you tools with competitive price.
"Save Half", "Half Price" or any other similar expressions used by us only represents an
estimate of savings you might benefit from buying certain tools with us compared to the
major top brands and does not necessarily mean to cover all categories of tools offered by
us. You are kindly reminded to verify carefully when you are placing an order with us if you
are actually saving half in comparison with the top major brands.
Advertisement
Table of Contents


Need help?
Do you have a question about the XMZ-L-D4 and is the answer not in the manual?
Questions and answers
WHAT STYLE BATTERY IS NEEDED FOR XMZ-L-D1
The VEVOR XMZ-L-D4 requires a battery with a rating of DC12-24V.
This answer is automatically generated