Table of Contents
Advertisement
Quick Links
Item #1011142250
Model VT20CE
Basic Model # AI-VT20CE-Rev1-04012024
USE AND CARE GUIDE
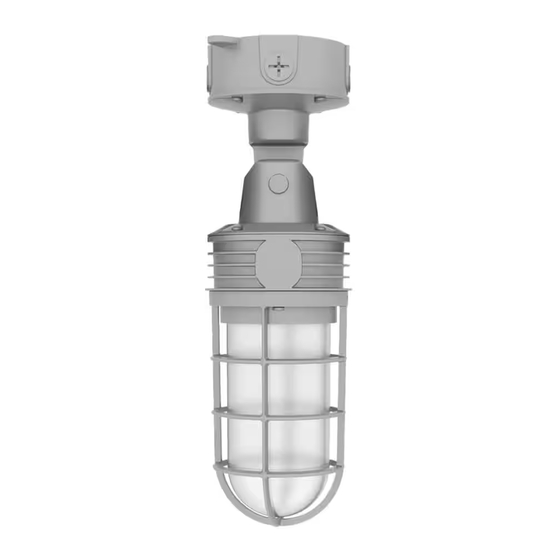
VAPOR TIGHT AREA LIGHT
Questions, problems, missing parts?
Before returning to the store, call Commercial Electric Customer Service
8 a.m. - 7 p.m., EST, Monday - Friday, 9 a.m. - 6 p.m., EST, Saturday
1-877-527-0313
HOMEDEPOT.COM
THANK YOU
We appreciate the trust and confidence you have placed in Commercial Electric through the purchase of this Vapor tight Area light. We strive
to continually create quality products designed to enhance your home. Visit us online to see our full line of products available for your home
improvement needs. Thank you for choosing Commercial Electric!
Advertisement
Table of Contents

Related Manuals for Commercial Electric VT20CE


Summary of Contents for Commercial Electric VT20CE
- Page 1 THANK YOU We appreciate the trust and confidence you have placed in Commercial Electric through the purchase of this Vapor tight Area light. We strive to continually create quality products designed to enhance your home. Visit us online to see our full line of products available for your home...
-
Page 2: Table Of Contents
Table of Contents Safety Information ........2 Installation . -
Page 3: Warranty
Warranty 5-YEAR LIMITED WARRANTY This is a limited warranty offered by the manufacturer for a period of five years from the date of purchase to its customers. The manufacturer warrants to customers that the products will be free from defects in material and workmanship. The obligation of the manufacturer under this warranty is limited to the provision of replacement of products and is extended to the original purchaser of the product on presenting valid purchase receipt or other proof of date of original purchase acceptable to the manufacturer. -
Page 4: Pre-Installation
Pre-Installation PLANNING INSTALLATION Before installing the light fixture, ensure that all parts are present. Compare parts with the hardware Included and Package contents sections. If any part is missing or damaged, do not attempt to assemble, install or operate this light fixture. Estimated installation time: 20 minutes REVIEW THIS INFORMATION TO ENSURE A SUCCESSFUL INSTALLATION:... -
Page 5: Hardware Included
Pre-Installation (continued) HARDWARE INCLUDED NOTE: Hardware not shown to actual size. Part Description Quantity M6 stainless lag screw L2 allen key P3 wire nut PACKAGE CONTENTS Part Description Quantity Light guard Lumen select / cct select access plug Fixture junction box ½... -
Page 6: Installation
Installation Turning off the electricity □ Verify the wall switch is in the OFF position. □ Turn OFF power at the circuit breaker that supplies power to the outlet box you are working on. □ For screw-in type fuses unscrew the fuse that supplies power to the outlet box you are working on WARNING: Risk of electric shock. - Page 7 Installation (continued) Pendant Mount with 1/2” Conduit □ To gain access to the fixture junction box (C) remove the 4 fixture junction box screws (F) from the fixture junction box (C). (Fig.3) □ Pass supply wires thru appropriate fixture junction box knock out. □...
- Page 8 Installation (continued) Wiring the fixture ON/OFF Wiring (Non Dimming) Method □ Connect the fixture black wire to the supply black wire [(+) line] and fixture white wire to the supply white wire [(-)common] by twisting the exposed wires together and using the wire nuts (CC).
-
Page 9: Adjusting The Fixture Angle
Installation (continued) Adjusting the fixture angle □ Loosen the screw (E) and adjust the lamp body to the desired angle. Changing the lens □ Turn off power at main fuse or circuit breaker before installing or servicing. □ Loosen the symmetrical fastened two light guard screws using M4 allen wrench (BB). -
Page 10: Operation
Operation Loosen the plug (B) marked with a screwdriver. Set the desired wattage and CCT as well as select the desired operation by switching the photocell button ON or OFF Fix the plug (B) back to it’s original place. Wattage and CCT Selection This product is capable of providing 3 wattages and 5 color temperatures.: □... -
Page 11: Care And Cleaning
Care and Cleaning □ Shut off the main power supply before cleaning the product. To prolong the original appearance, clean the light fixture with clean water and a soft, damp cloth only. □ Do not use abrasive cleaners or cleaners that contain alcohol. Do not apply paints, solvents or any other chemicals on this light fixture. - Page 12 Questions, problems, missing parts? Before returning to the store, call Commercial Electric Customer Service 8 a.m. - 7 p.m., EST, Monday - Friday, 9 a.m. - 6 p.m., EST, Saturday 1-877-527-0313 HOMEDEPOT.COM Retain this manual for future use. Document #: VT20CE...
Need help?
Do you have a question about the VT20CE and is the answer not in the manual?
Questions and answers