Advertisement
Available languages
Available languages
Quick Links
Item #1009410795
Model # 19000000
USE AND CARE GUIDE
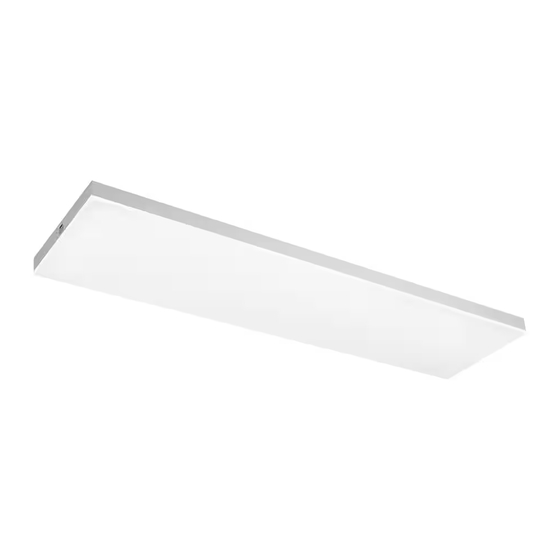
1X4 LED FLAT PANEL FIXTURE
WITH SELECTABLE COLOR TEMPERATURES
Questions, problems, missing parts?
Before returning to the store,
call Commercial Electric Customer Service
8 a.m. - 7 p.m., EST, Monday - Friday, 9 a.m. - 6 p.m., EST, Saturday
1-877-527-0313
HOMEDEPOT.COM
THANK YOU
We appreciate the trust and confidence you have placed in Commercial Electric through the purchase of this LED fixture. We strive to
continually create quality products designed to enhance your home. Visit us online to see our full line of products available for your home
improvement needs. Thank you for choosing Commercial Electric!
Advertisement

Related Manuals for Commercial Electric 1009410795


Summary of Contents for Commercial Electric 1009410795
- Page 1 THANK YOU We appreciate the trust and confidence you have placed in Commercial Electric through the purchase of this LED fixture. We strive to continually create quality products designed to enhance your home. Visit us online to see our full line of products available for your home...
- Page 2 Table of Contents Table of Contents ........2 Pre-Installation .
- Page 3 Pre-Installation PLANNING INSTALLATION Compare all parts with the Hardware Included and Package Contents sections. If any part appears missing or damaged, do not install this product and contact the Customer Service Team at 1-877-527-0313. NOTE: Hardware not shown to actual size. TOOLS REQUIRED Power drill with Ladder...
- Page 4 Installation - Surface Mounting Identify the wires □ Turn the power OFF at the switch and fusebox or the circuit breaker. □ Identify the wiring: (black – line voltage, white – neutral, and green - ground) white wire black wire green wire Attaching the mounting plate □...
- Page 5 Installation - Surface Mounting (continued) Installing the toggle bolts □ Remove the mounting plate (BB) from the junction box. □ Drill four holes where marked using a ½ in. drill bit. □ Remove the wings from the 3/16 in. toggle bolts (CC). □...
- Page 6 Installation - Surface Mounting (continued) Installing the panel light □ Using a Philips head screwdriver (not provided), unscrew the safety screw on the vvJ-Box of the fixture. □ Open one knockout and bring in the supply line. Using the three easy connectors (DD), connect the wires coming from the fixture to the junction box wires (Black –...
- Page 7 Installation - T-Grid Mounting Turning off the power □ Turn the power OFF at the switch and fusebox or the circuit breaker. Place the fixture on the T-Bar Grid □ Place four (4) felt pads (GG) in each corner of the fixture and two (2) in the middle of each side.
- Page 8 Installation - T-Grid Mounting Installing the Panel Light □ Using the three easy connectors (DD), connect the wires coming from the fixture to the junction box wires (Black – line voltage, White – neutral, and green – ground). □ Close the access plate and screw once connection is completed, while ensuring all wires are kept inside the J-box.
- Page 9 This page intentionally left blank. HOMEDEPOT.COM Please contact 1-877-527-0313 for further assistance.
- Page 10 Questions, problems, missing parts? Before returning to the store, call Commercial Electric Customer Service 8 a.m. - 7 p.m., EST, Monday-Friday, 9 a.m. - 6 p.m., EST, Saturday 1-877-527-0313 HOMEDEPOT.COM Retain this manual for future use.
- Page 11 GRACIAS Agradecemos la confianza que ha puesto en Commercial Electric con la compra de esta luz empotrada. Nos esforzamos continuamente para crear productos de calidad diseñados para mejorar su hogar. Visítenos en línea para ver nuestra línea completa de productos disponibles...
- Page 12 Índice Índice ......... . . 12 Antes de la instalación .
- Page 13 Antes de la instalación PLANIFICACIÓN DE LA INSTALACIÓN Verifique todas las piezas con las secciones de Herraje incluido y Contenido del paquete. Si alguna pieza falta o está dañada, no instale este producto y póngase en contacto con el Equipo de Servicio al Cliente al 1-877-527-0313. NOTA: Piezas no mostradas a tamaño real HERRAMIENTAS REQUERIDAS Lentes...
- Page 14 Instalación - Montaje en superficie Identificar los cables □ APAGUE la alimentación con el interruptor, y la caja de fusibles o el disyuntor. □ Identifique los cables: (negro: línea de tensión, blanco: neutro y verde: tierra). cable blanco cable negro cable verde Colocar la placa de montaje □...
- Page 15 Instalación - Montaje en superficie (continuación) Instalar los pernos acodados □ Retire la placa de montaje (BB) de la caja de conexiones. □ Haga cuatro perforaciones en la ubicacion marcada con una broca de ½”. □ Quite las aletas de los pernos de 3/16” (CC). □...
- Page 16 Instalación - Montaje en superficie (continuación) Instalar el panel de luz □ Con un destornillador Philips (no incluido), desenrosque el tornillo de seguridad en la caja de conexiones de la lampara. □ Abra un agujero y haga pasar la línea de tensión. Con los tres conectores rápidos (DD), una los cables que vienen de la lampara con los cables de la caja de conexiones (negro: línea de tensión, blanco: neutro y verde: tierra).
- Page 17 Instalación - Montaje en cielo falso (Ceiling Grid) Apagar la alimentación □ APAGUE la alimentación con el interruptor, y la caja de fusibles o el disyuntor. Colocar la lampara en el cielo falso □ Coloque cuatro (4) bases de fieltro (GG) en cada esquina de la lampara y dos (2) en el medio de cada lado;...
- Page 18 Instalación - Montaje en cielo falso (continuación) Instalar el panel de luz □ Usando los tres conectores rápidos (DD), una los cables que vienen de la lampara con los cables de la caja de conexiones (negro: línea de tensión, blanco: neutro y verde: tierra). □...
- Page 19 Esta pagina esta en blanco intencionalmente HOMEDEPOT.COM Llame al 1-877-527-0313 para obtener asistencia adicional.
- Page 20 ¿Tiene preguntas o problemas, o le faltan piezas? Antes de devolver a la tienda, llame al Servicio al Cliente de Commercial Electric Lunes a viernes de 8:00 a.m. a 7:00 p.m., EST, y los sábados de 9:00 a.m. a 6:00 p.m., EST 1-877-527-0313 HOMEDEPOT.COM...
Need help?
Do you have a question about the 1009410795 and is the answer not in the manual?
Questions and answers