Advertisement
Contents
1.
Introduction
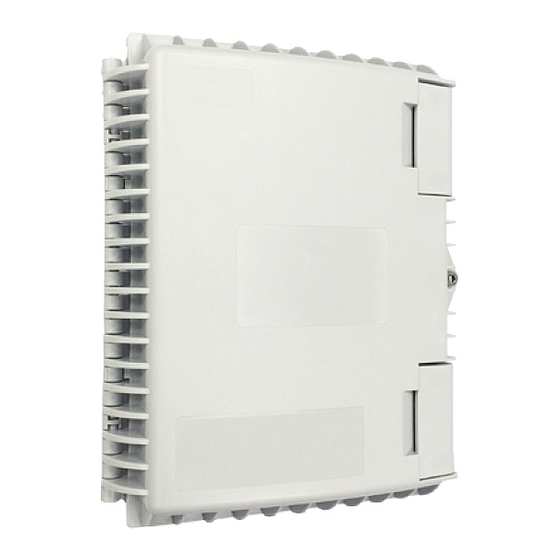
The OWB-S is a small wall-mountable fibre termination box, providing an
environmental and mechanical protection for the fibre management system that
includes the functions of storage, splicing, patching and passive component
integration.
The product is designed for typically use on a wall location, but can also be used in
other outdoors above-ground applications.
OWB-S
INSTALLATION INSTRUCTION
Outdoor Wall-mounted Small Box
1.
Introduction
2.
Kit content
3.
Installation Instruction
Advertisement
Table of Contents

Related Manuals for CommScope OWB-S


Summary of Contents for CommScope OWB-S
-
Page 1: Table Of Contents
3.4 Fibre splicing 3.5 Closing the box Introduction The OWB-S is a small wall-mountable fibre termination box, providing an environmental and mechanical protection for the fibre management system that includes the functions of storage, splicing, patching and passive component integration. -
Page 2: Box Installation
Kit content Box with security screw & latch Organiser tray Splicing tray (optional) Round rubber sealing for knock out port Gel half-sealing for cut out port (optional) Expansion screws or pole mounting option Adaptor, splicing protector or splitter (optional) Foam strip & tie-wraps Installation Instruction Box installation 3.1.1... -
Page 3: Conduit Installation
3.1.3 For wall mounted Push sideward the hook and take off the organiser tray. Knock out 4 fixation holes and fix the box on wall by expansion screws. Put the organiser tray back. Note: The fixation map on page 7 can be used for expansion preparation. - Page 4 3.3.2 Remove the required amount of outer sheath from the cable according manufactures recommended procedures. Note: For splicing application, ensure a minimum 2m length of >2m cable is stripped from the fixation point before fixation. 3.3.3 Lift the rubber seal of the box. Cut and place the bottom half of sealing accessory...
-
Page 5: Fibre Splicing
3.3.5 For splicing application, route the cable to the splicing tray. For no splicing application, plug the connector to adaptor directly. 3.3.6 Push upper half of sealing accessory back over the cable, hook inwards ensuring that it is correctly seated. 3.3.7 Install the other cables same as above. - Page 6 CommScope (logo)is a trademark of the CommScope group of companies and its licensors. Users should rely on their own judgment to evaluate the suitability of a product for a certain purpose and test each product for its intended application. CommScope only obligations are those stated in CommScope Standard Terms and Conditions of Sale.
- Page 7 Fixation map (scale 1:1) 110mm 4xφ5mm 110mm...
Need help?
Do you have a question about the OWB-S and is the answer not in the manual?
Questions and answers