
Subscribe to Our Youtube Channel
Related Manuals for MERLYN ARYSTO GHF900H-BSS


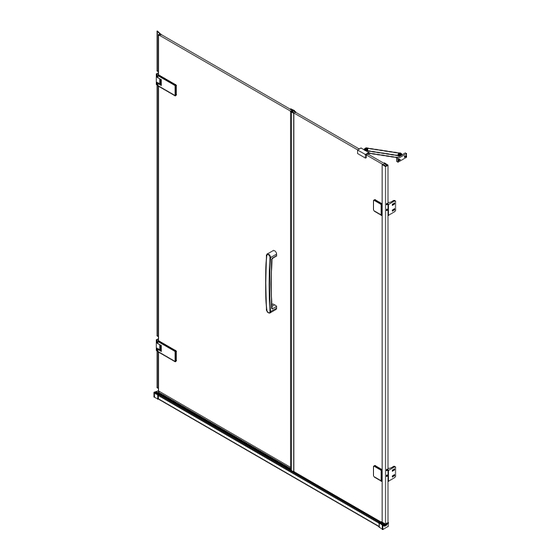
Summary of Contents for MERLYN ARYSTO GHF900H-BSS
- Page 1 Wall Hinge Door& Inline Panel-Recess MERLYN Merlyn Showering Unit 8, Purcellsinch Industrial Park, Dublin Road, Kilkenny, Ireland. Tel: 00353 56 779 1555 INSTALLATION GUIDE Fax: 00353 56 779 1576 www.merlynshowering.com M085-01...
- Page 2 Note:Extra components have been supplied to make this product suitable for left or right hand configuration and therefore some parts will be surplus to requirements. MGVC08AL MGVC08AR MGVC20A MGVC21L MGVC21R MGVC09L MG3DL2142 MGCAP ×4 ×1 ×1 ×1 ×1 ×1 ×4 ×2 MGVCS0107 A06S0046...
- Page 3 Step 3 Step 1 IMPORTANT! Note the position of the labels on the wall profile.Make sure Label 'T' is to the top Whether fitting on a tray or on a tiled and 'B' is to the bottom. Line up the outside edge of the profile with the mark and Wetroom the tray or floor must be 100% level!...
- Page 4 Step 4 Step 6 Hinged side only ! Remove profile. Take the plastic template and line it up with Insert track into brackets keeping beveled face to inside. each set of marks.Mark the third hole. Note: Make sure the third hole for each hinge is marked towards the outside of the enclosure.Drill holes for the hinge with 8mm masonry bit and insert wall plugs.Ensure wall plugs are flush with the wall.
- Page 5 Step 8 Step 10 Before assembling the brackets to the fixed panel make sure it is orientated the Fix wall brackets loosely ensuring fixing holes are to the inside of Inline panel. correct way. Measure hole centres from top and bottom to determine correct orientation of panel.
- Page 6 Step 14 Step 12 Fit vertical closing seal to the Inline panel. Make sure the fin is on the inside. Fix wall brackets to the pre drilled holes.Do not fully tighten,leave Do not fully tighten bracket to glass, leave enough slack for adjustment. enough slack for adjustment.Secure top bracket first.
- Page 7 Step 16 Step 18 Fit hinge to door keeping removable hinge plate to inside of door. Lift door onto positioning aids. Secure the moving panel in place with the Tip: Use MDF tool for squaring hinges. door holding seal SP010SP281000. Please note:Place screws and screwdriver inside enclosure as door is fixed from the inside.
- Page 8 Step 20 Step 22 To remove bottom positioning aids open door outwards. To fit bottom seal push on end with 45° cut tight to corresponding cut in vertical seal. Notch fin to end of bottom seal where it meets the closing seal. INSIDE INSIDE INSIDE...
- Page 9 Step 24 Fix the top rail and the handle. Step 25 Door adjustment To adjust door to get required contact against closing seal first support door with door locating aids.Loosen all bolts fixing both hinges to glass and move by required amount.
- Page 10 Step 28 Sealing your enclosure. Make sure all surfaces are thoroughly cleaned and dry before applying sealant. Only seal the outside of the enclosure(red line). Do not seal the inside. Seal vertically along the wall, along the outside edge of the bottom profile and any joins in the profile, including where the bottom track meets the end brackets.
Need help?
Do you have a question about the ARYSTO GHF900H-BSS and is the answer not in the manual?
Questions and answers